
This is the first post from the series on “PX Best Practices” more coming your way!
Guided tours are an essential part of any SaaS product, especially when the product is evolving and new enhancements are part of the daily routine.
It’s just that you built something for your customers and hid it from them if the users are not guided to use it correctly with the absolute context of “why to use it.”
So like any other PX customer, we at Gainsight use our PX to build guided tours for our customers, and over some time, we have figured out a few best practices around building perfect guides.
Tip 1: Templates make life easy
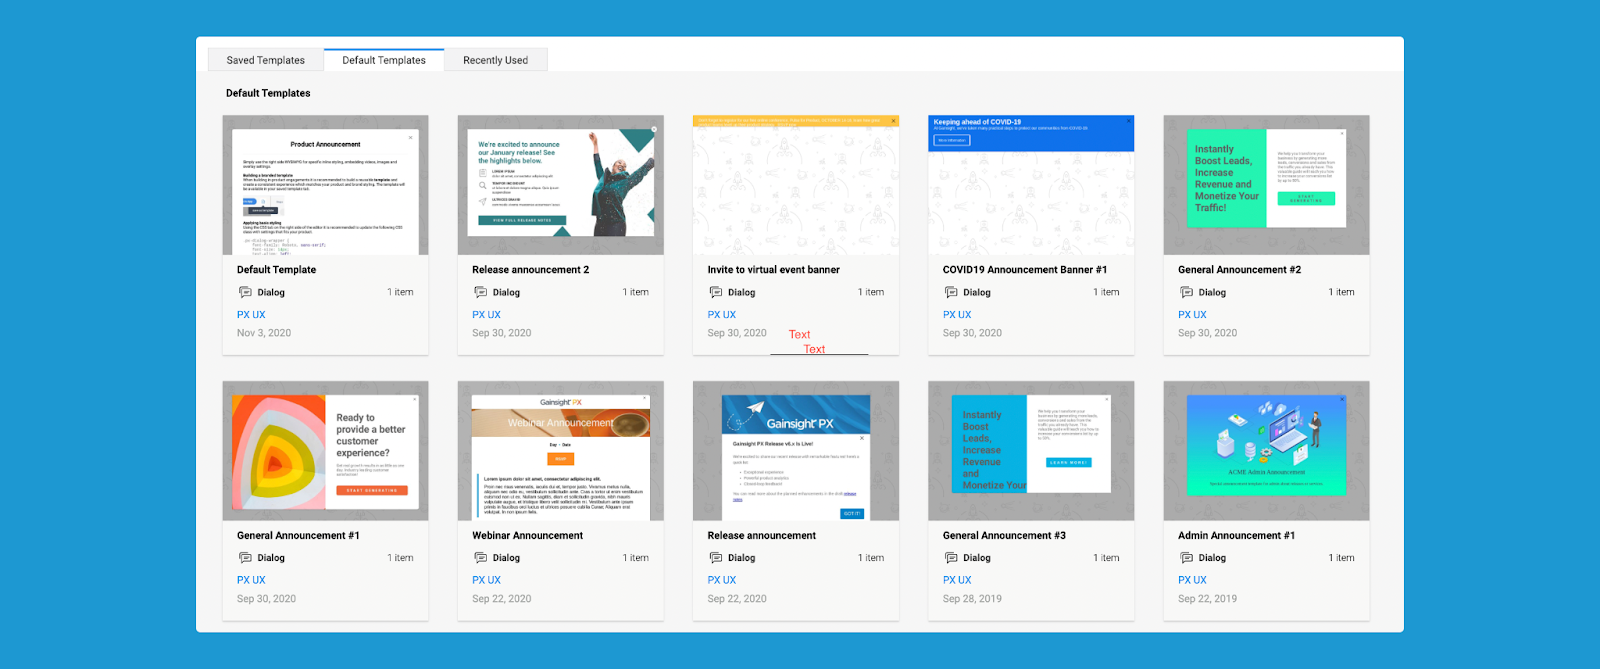
It’s not essential to start from scratch, especially when branding engagements. That’s where setting up a few branded templates and saving them reduces the rework and hard work around setting up new campaigns.
Hence, create and save 2-3 in-app templates for each engagement type.
Tip 2: Break the guide to maximize the impact
A single guided tour is never nurturing. Also, if your guided tour is big enough to make users drop off in the middle, that’s not a good sign. Hence, breaking the guided tour into two parts is always a good practice.
-
The awareness part: A dialog or slider explaining the feature/module/enhancement need.
-
The virtual tour: After a while, a guided tour can be launched to provide more info or handhold users for enablement after awareness has been created.
Tip 3: Gif and videos save your guides
The goal of a guided tour is to create awareness and provide the necessary info to start using the feature. It doesn’t always need to be in the text format alone. With all the customisations available for each engagement, one can play around with fonts, images, videos to make it more informative in fewer steps. If you feel the navigation of the guide or actions are more than 4-5 from the start point, try to embed a Gif or Video explaining the same. This way, it’s easy to share relevant information without a chain of tooltips.
Tip 4: Announce without invasion
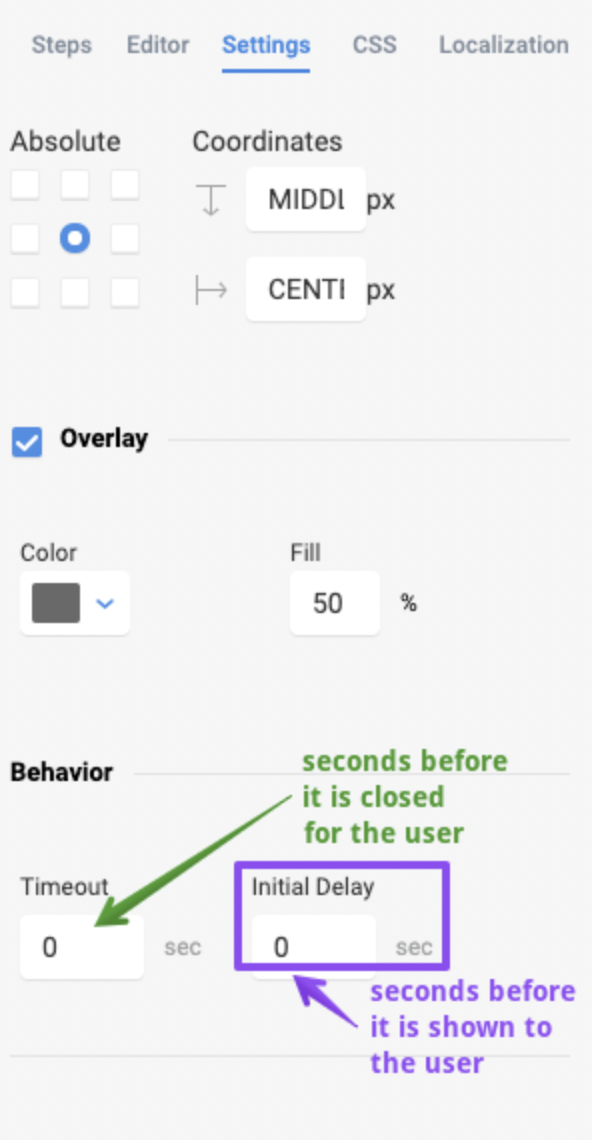
For dialogs, use a 10-20 seconds timeout. This setting makes the engagement non-invasive and improves the user experience to a greater extent.
I hope this post helps master PX to a new level, and you can expect more posts on this series soon.
Until then….
Happy PX-ing!!?
