Last Updated On: March 19, 2025
This article helps admins connect Tableau App with Customer Communities Data Lake.
For information on how to connect to Tableau Online App, refer here.
Overview
Analyzing data in the Gainsight Customer Communities (CC) data lake provides valuable insights into user behavior, engagement, and overall community performance.
To achieve this, admins must connect Tableau to the CC data lake. This requires AWS access credentials (Access Key ID and Secret Access Key), which can be obtained from the Control.
IMPORTANT:
- If any of the four Data Connectors is not used for 60 days consecutively, they are automatically uninstalled by Gainsight.
- Data for newly installed connectors may take up to 48 hours to be fully available.
Generate AWS Credentials
Gainsight CC provides a one-click functionality to simplify and speed up the process of creating the Tableau connection.
To generate AWS credentials:
- Login to Control.
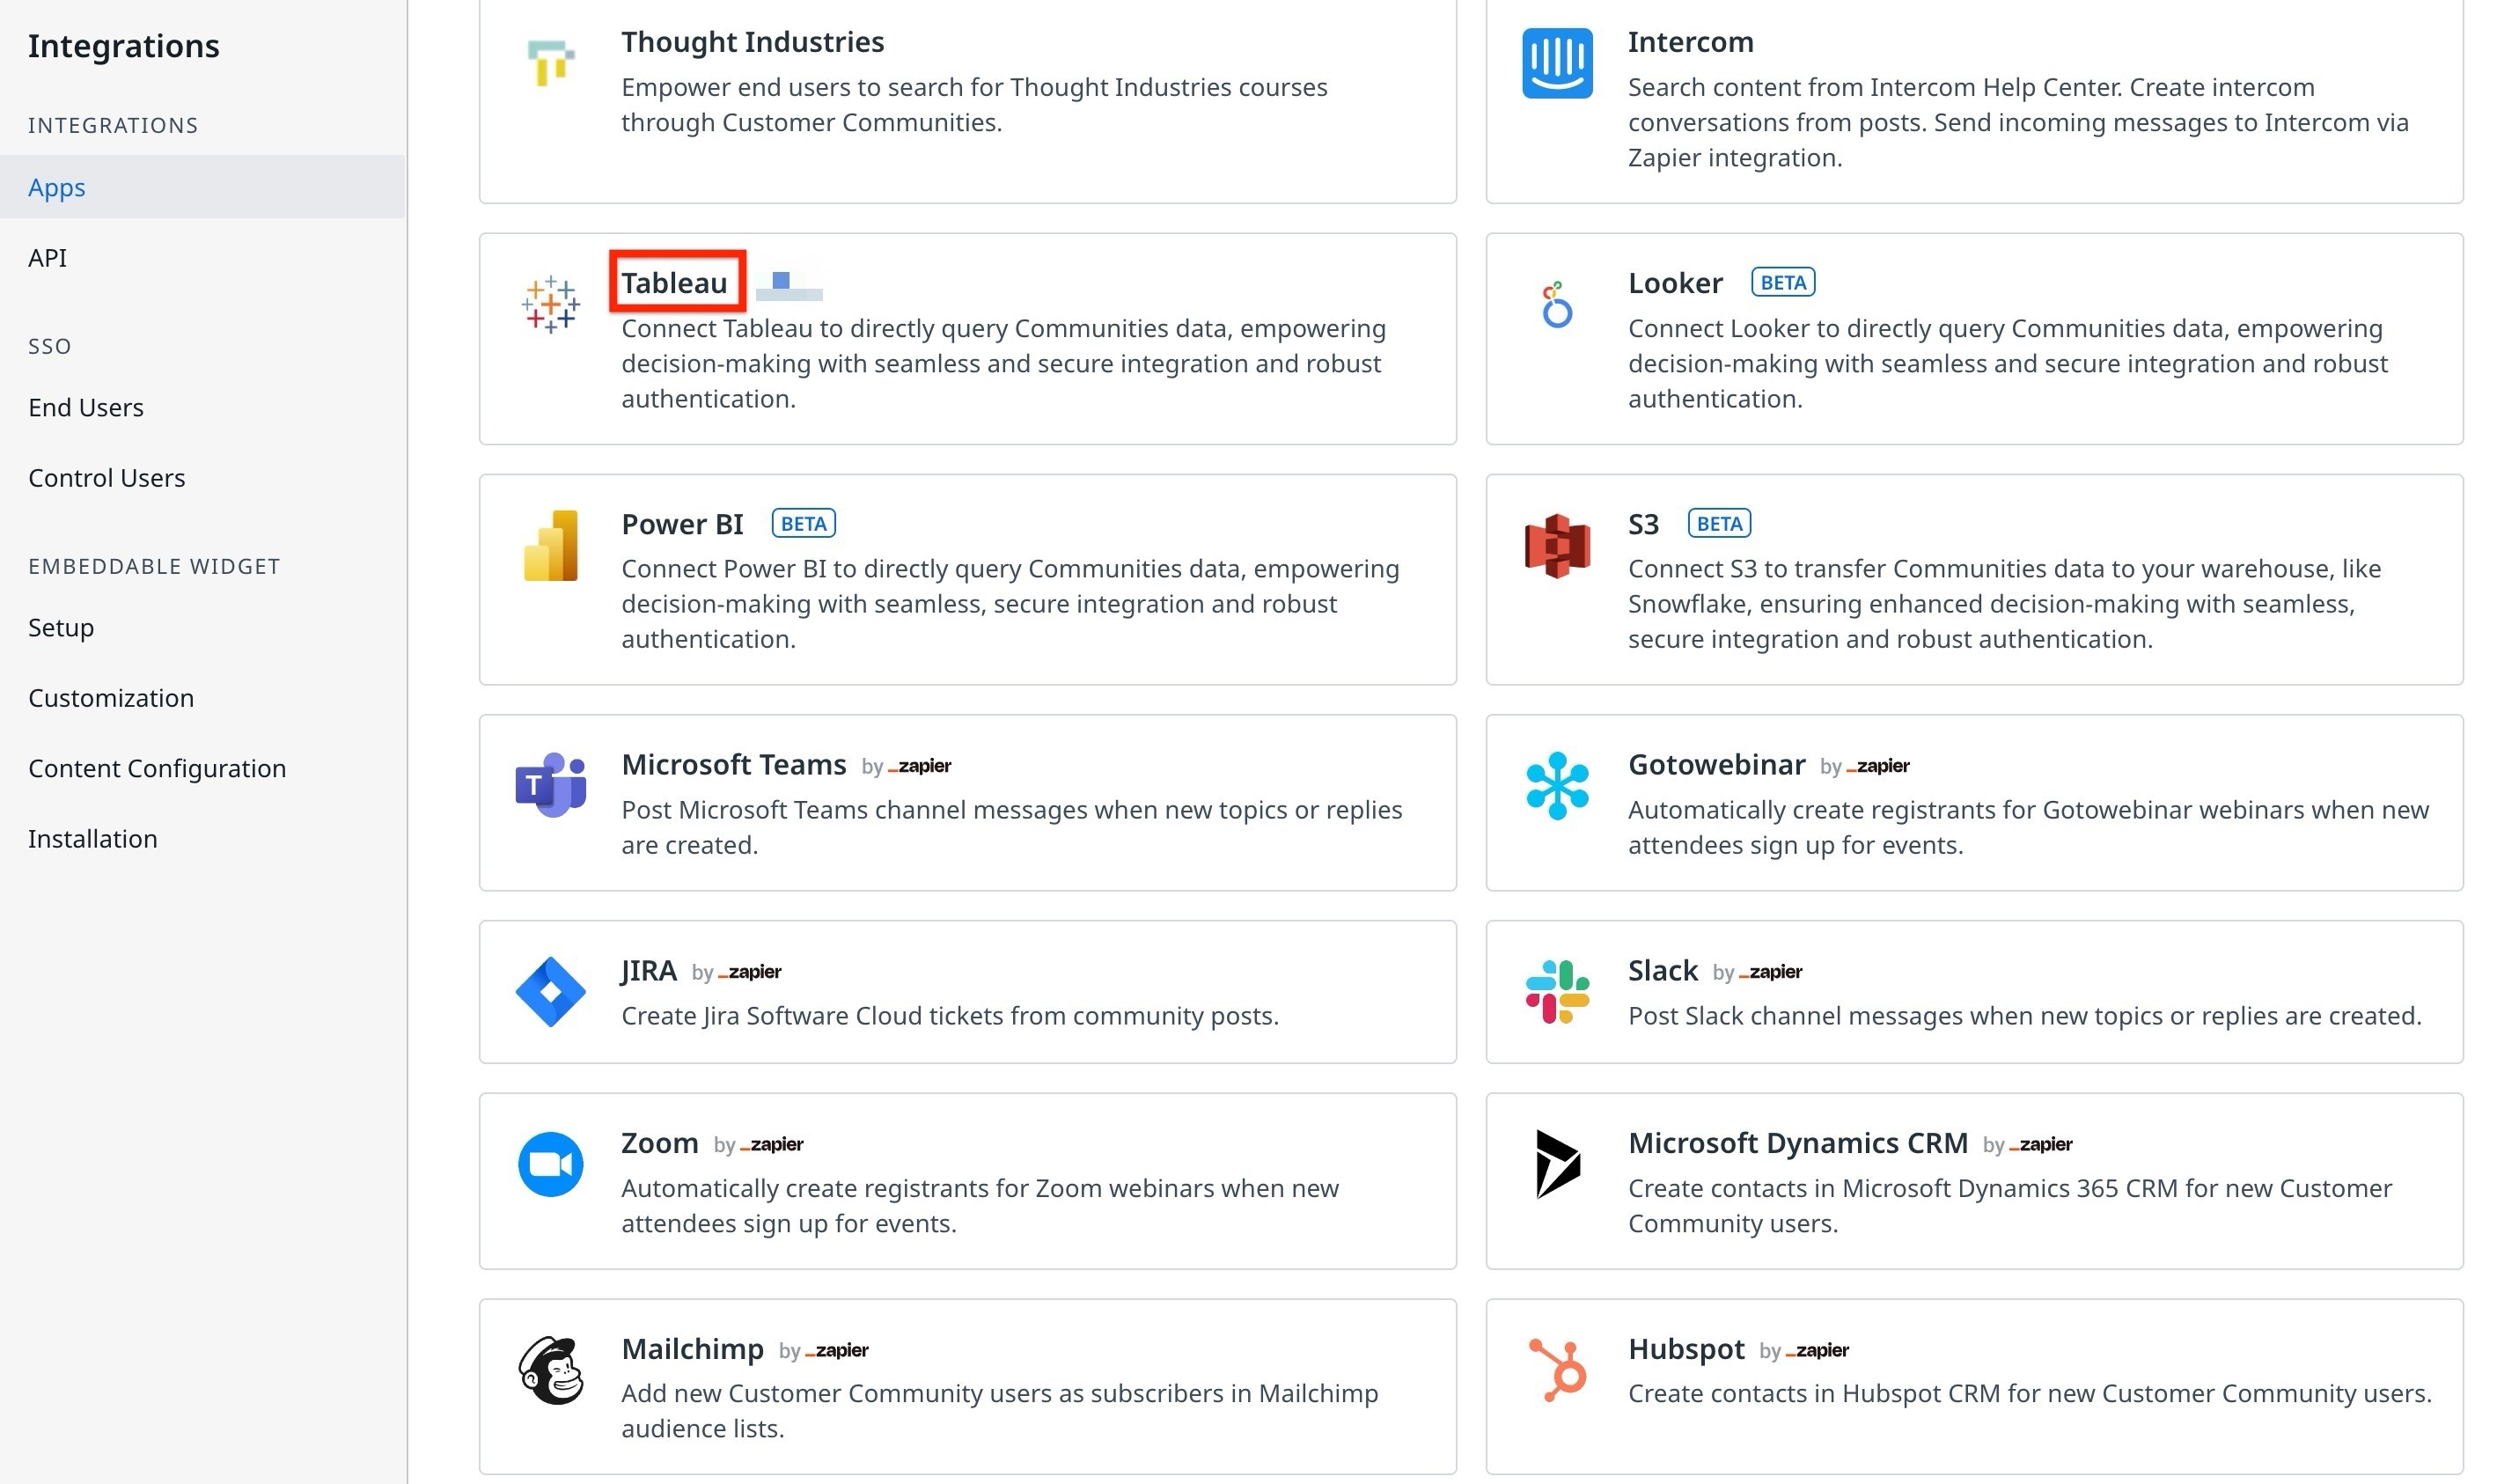
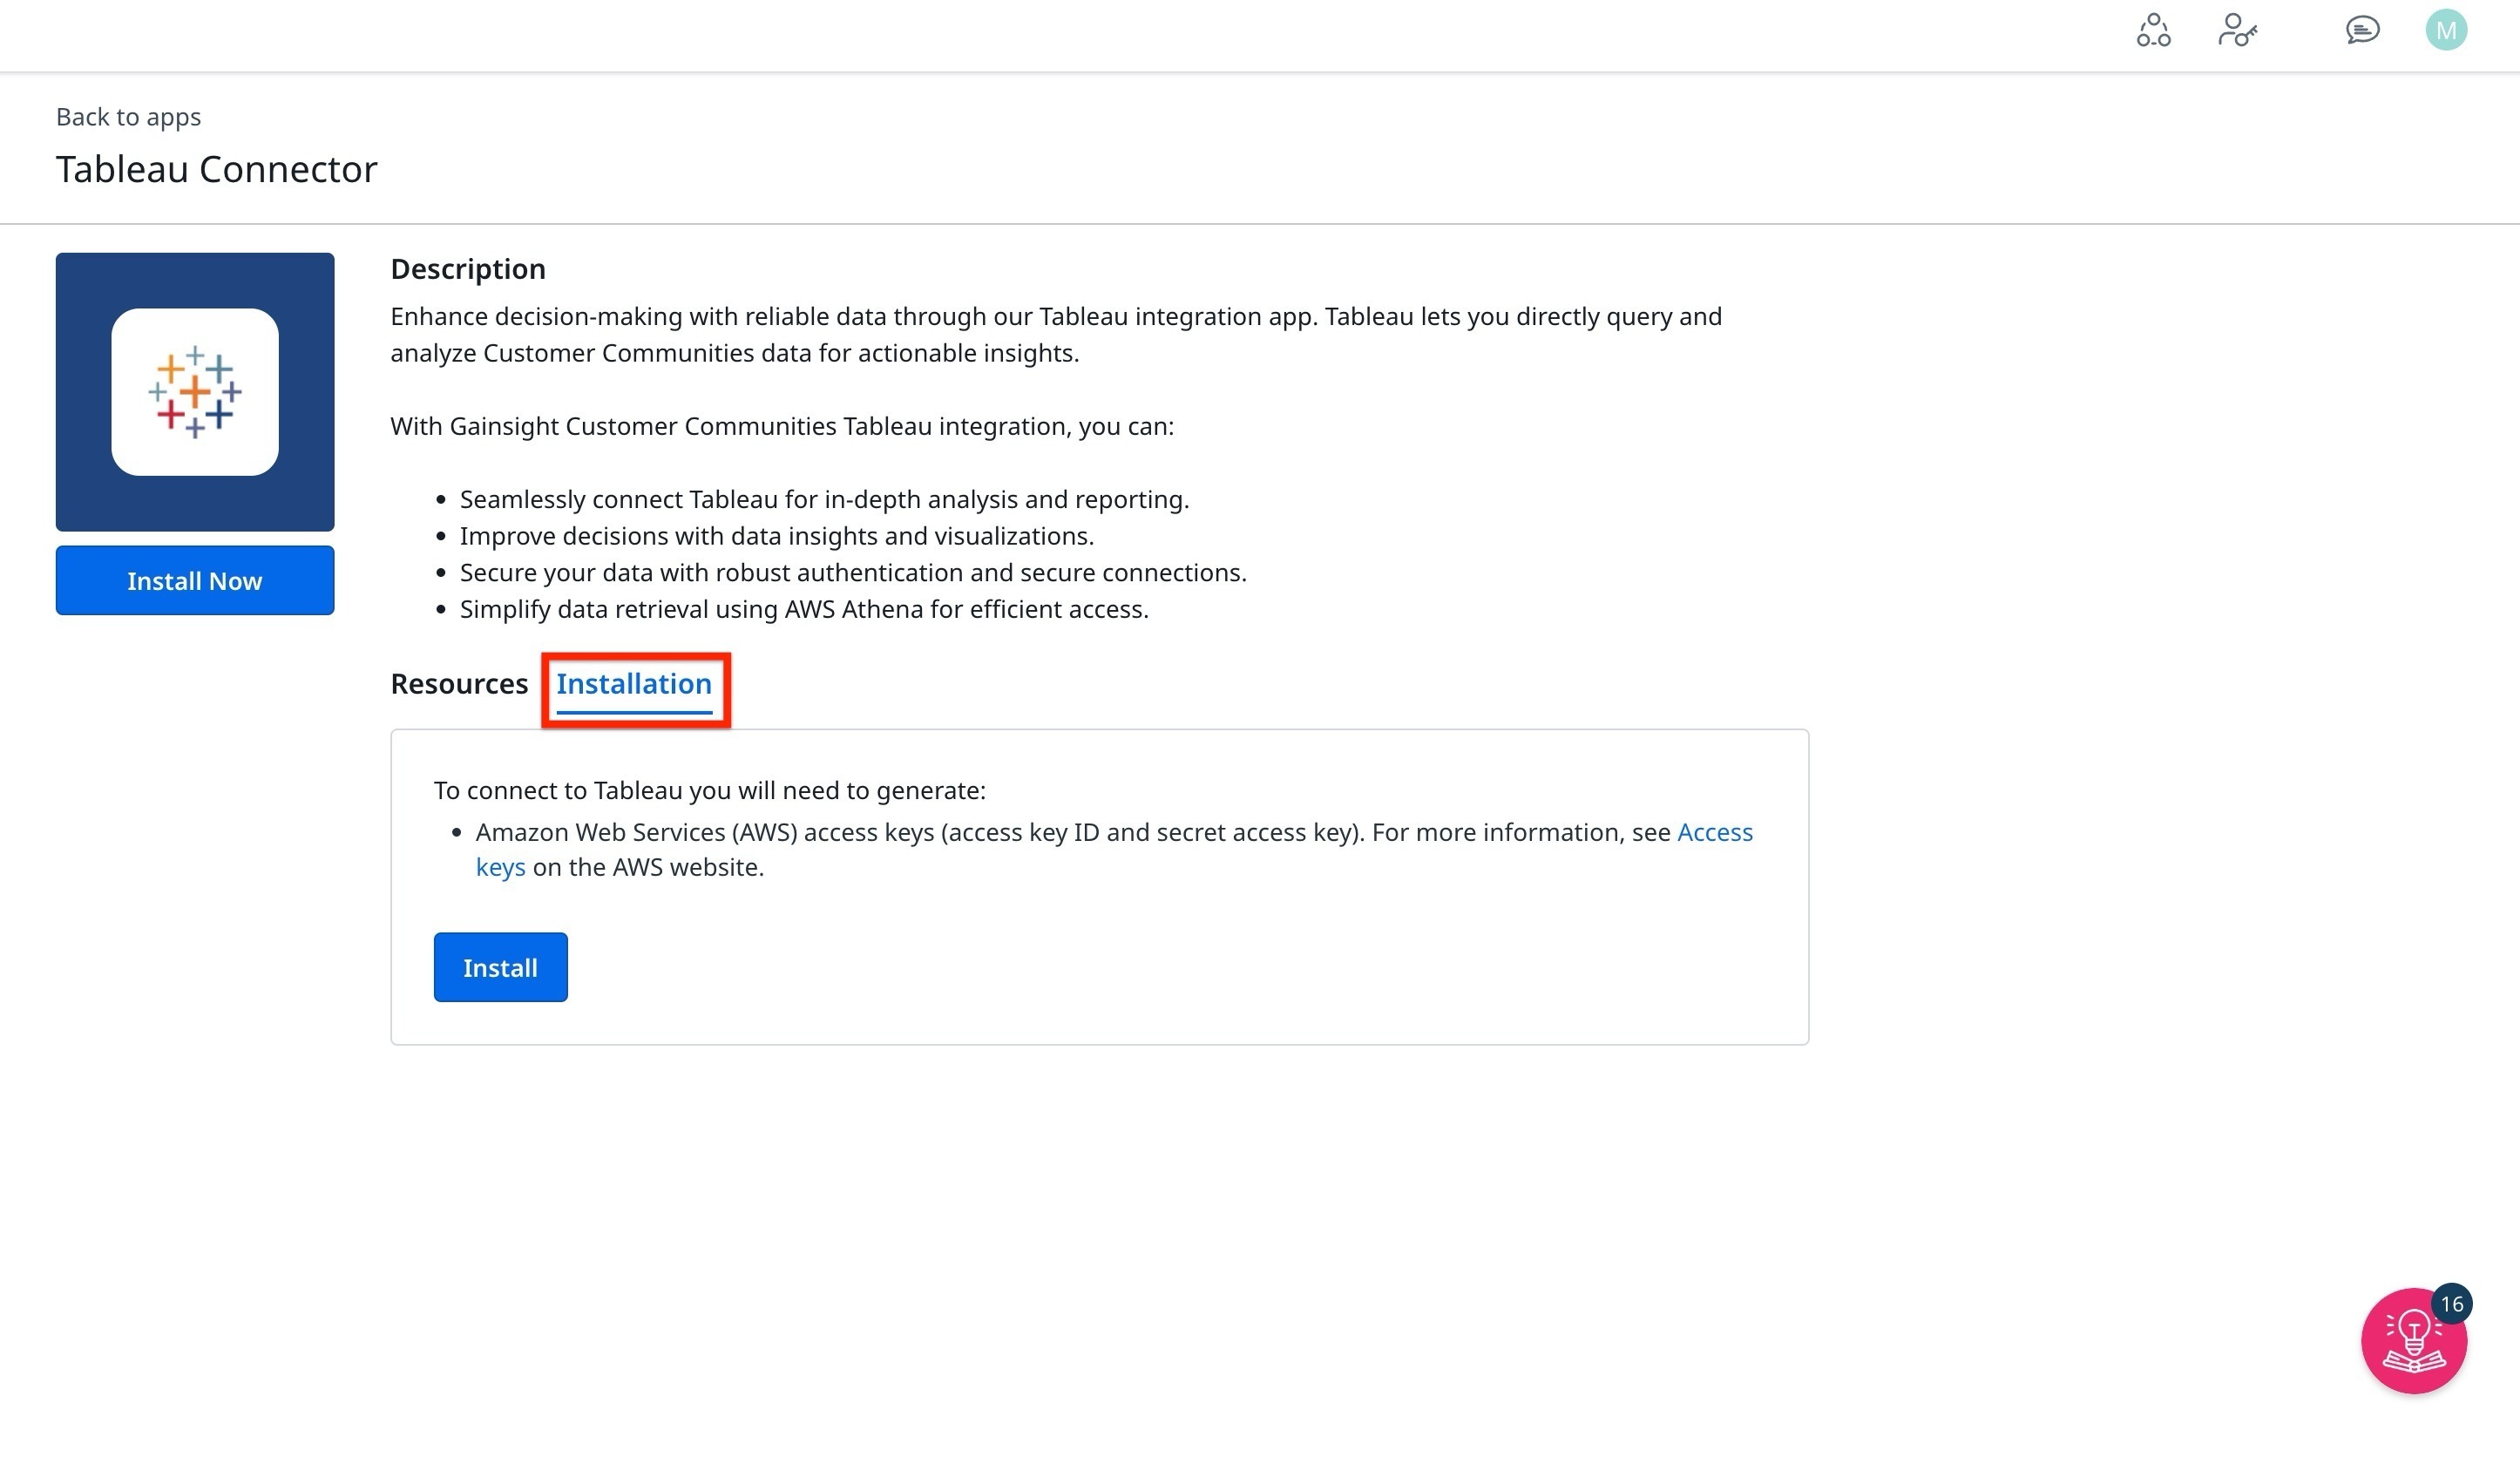
- Navigate to Integrations > Apps > Tableau Connector.

- Under the Installation tab, click Install.

-
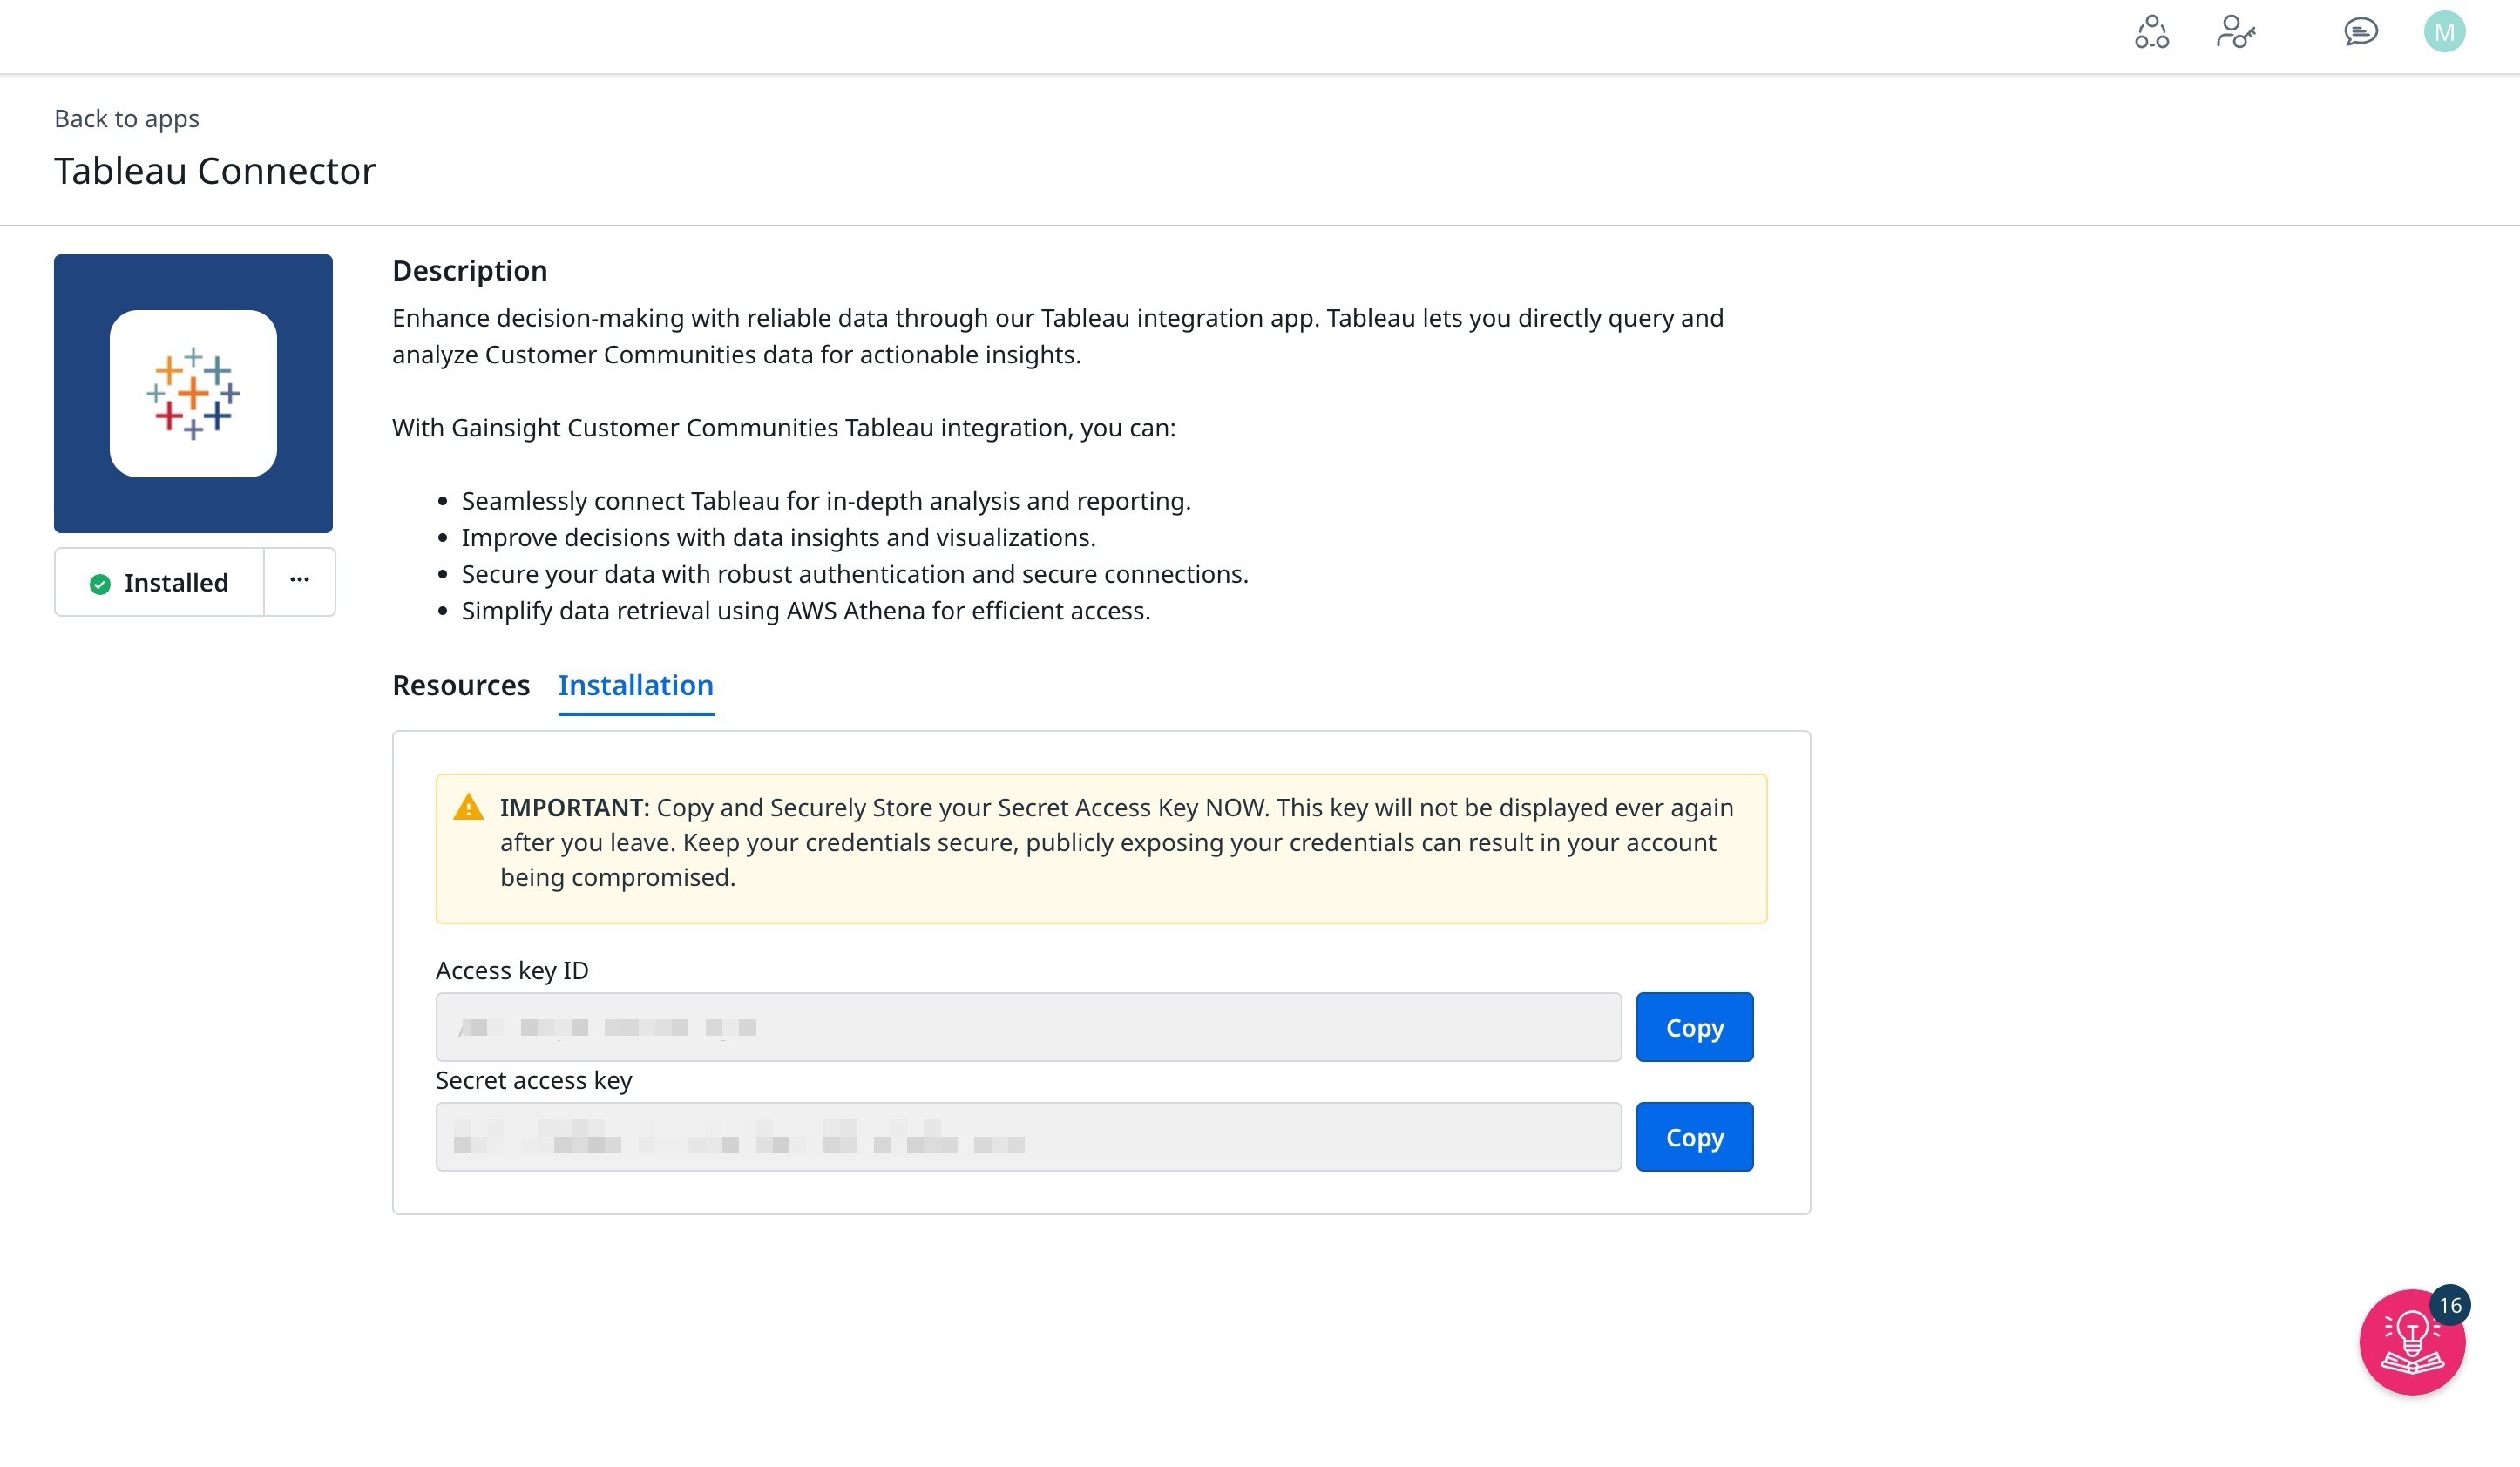
Copy the Access Key ID and the Secrect Access Key.

IMPORTANT : Ensure to copy and store the Secret Access key securely. The Secret Access key is displayed only one time. Once you navigate away from the page the key will not be shown again.
JDBC driver required
This connector requires a driver to talk to the database. You might already have the required driver installed on your computer. If the driver is not installed on your computer, Tableau displays a message in the connection dialog box with a link to the Driver Download page where you can find driver links and installation instructions.
Complete the following steps to install the JDBC driver for Amazon Athena on your computer:
- Download the JDBC Driver with AWS SDK (.zip file) from the Amazon Athena User Guide on Amazon's website.
- Extract the contents of the .zip file and move the JDBC x.x version of the extracted .jar file to
- Windows: C:\Program Files\Tableau\Drivers
- Mac: /Library/JDBC or ~/Library/JDBC
- Linux: /opt/tableau/tableau_driver/jdbc
If need more information please check: https://help.tableau.com/current/pro/desktop/en-us/jdbc_tableau.htm
Tableau Desktop App
- Go and log into your Tableau Desktop app
- Select Data in top menu
- Select New Data Source
- Search and select Amazon Athena
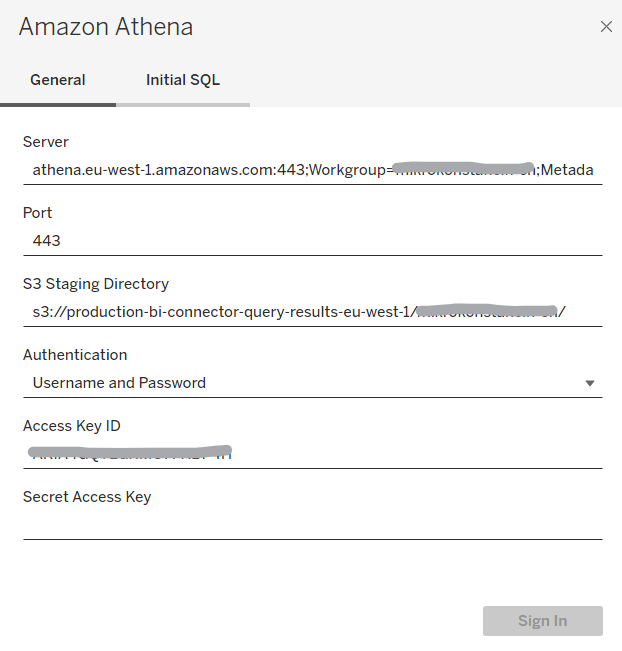
- In the new pop out window provide:

-
Server: athena.{REGION}.amazonaws.com:443;Workgroup={COMMUNITY_ID};MetadataRetrievalMethod=Query;S3OutputEncOption=SSE_S3;{REGION};
-
Port: 443
-
S3 Staging Directory: s3://production-bi-connector-query-results-{REGION}/{COMMUNITY_ID}/
-
Authentication: Username and Password
-
Access Key ID: Access Key ID that you got when Installing BI connector
-
Secret Access Key: The secret Access Key that you got when Installing BI connector
-
Note, REGION can be eu-west-1 or us-west-2 depending on the region of your community.
- Click on Sign in button
- Select Catalog> AwsDataCatalog
- Select Database> your COMMUNITY_ID
- You should see now the list of all the available data objects
- To be able to preview data you need then to edit your connection details. Change the server value to this one: athena.{REGION}.amazonaws.com:443;Workgroup={COMMUNITY_ID};MetadataRetrievalMethod=ProxyApi;S3OutputEncOption=SSE_S3; and Sign in
- Now you are setup to visualize the data:
If ever you want to add new tables, change the value of server again with this value:
athena.{REGION}.amazonaws.com:443;Workgroup={COMMUNITY_ID};MetadataRetrievalMethod=Query;S3OutputEncOption=SSE_S3;
Once new tables added, edit the connection again with this value:
athena.{REGION}.amazonaws.com:443;Workgroup={COMMUNITY_ID};MetadataRetrievalMethod=ProxyApi;S3OutputEncOption=SSE_S3;
