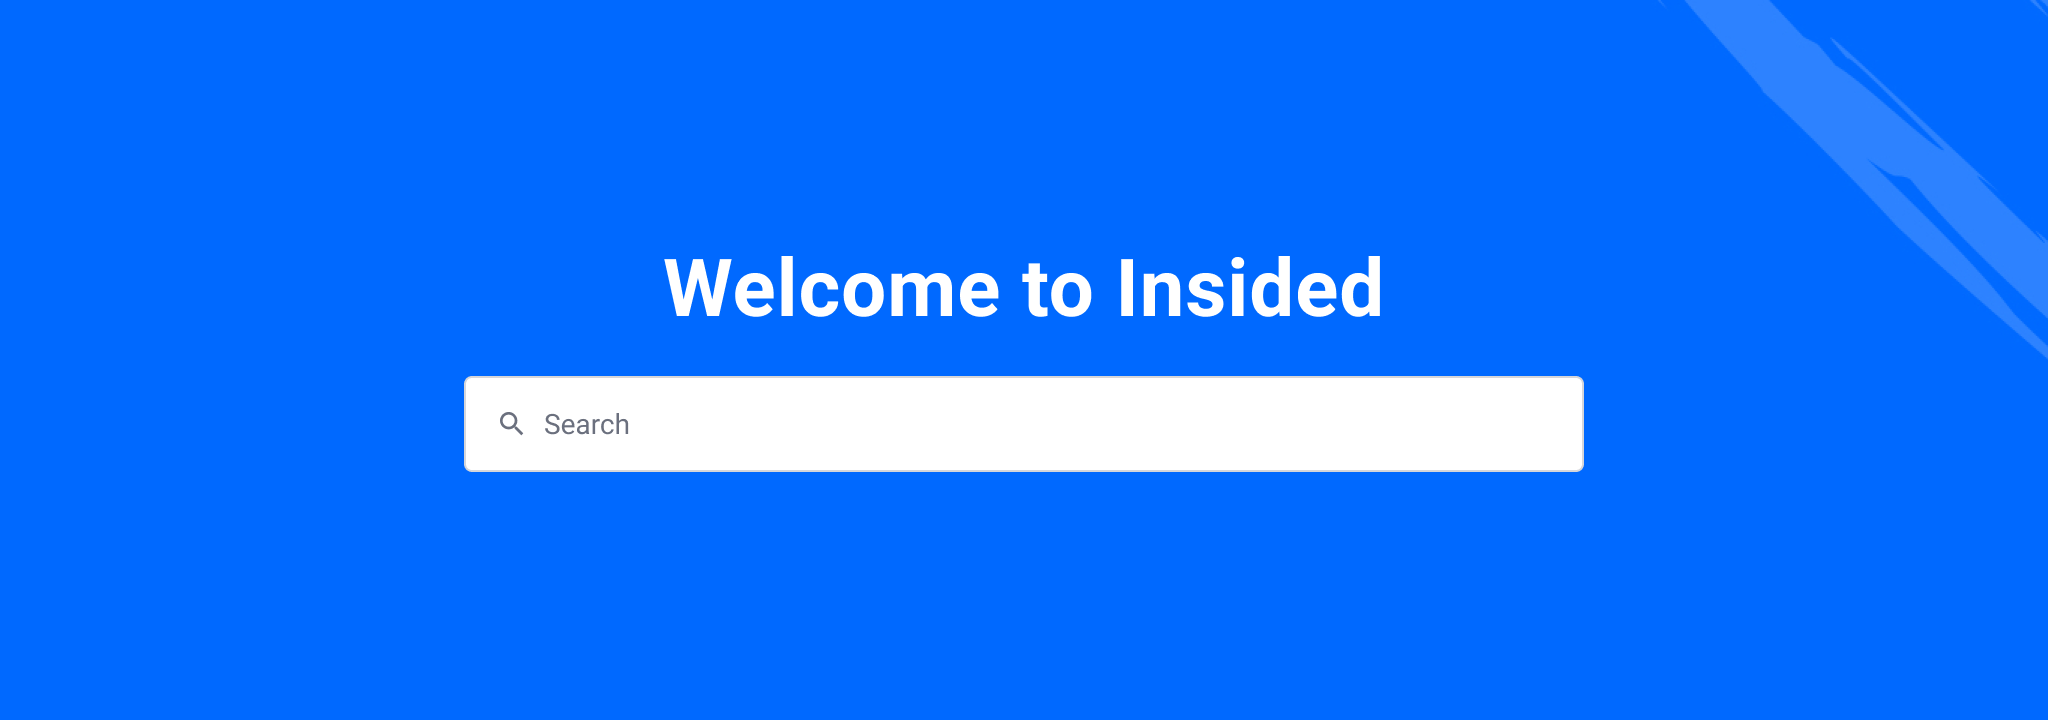
The hero banner consist of a nice visual, your community headline and the search bar. It is the very first thing your users will notice when they land on your community homepage. In this post you will learn home to change the look and feel of the hero banner by customizing its CSS.
Learn how to add Custom CSS in this article: How To Add Custom CSS
Test first: Consider using your staging environment first to test and try your changes before applying them to your production community
Change the height of the Hero banner image
You can change the height of the hero banner image by applying the following Custom CSS
/* hero banner change height */
.custom-hero-banner {
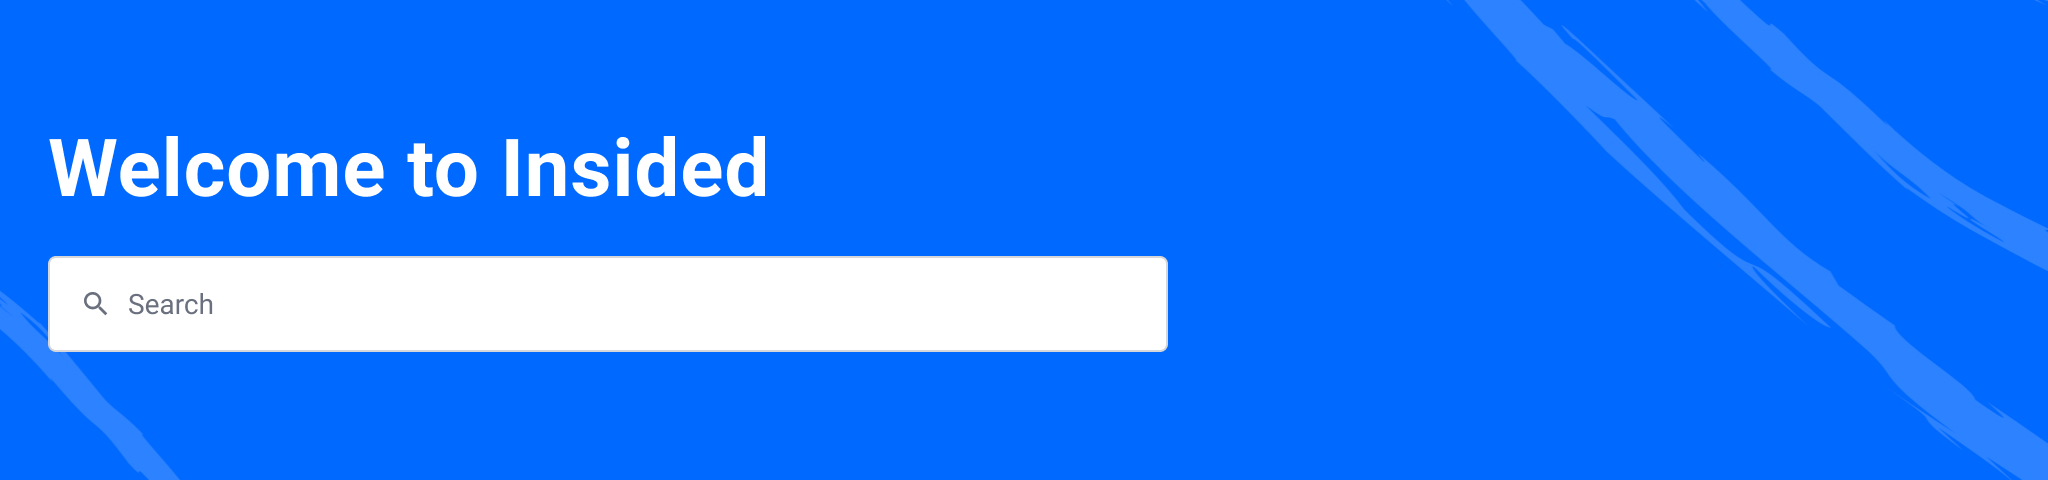
height: 360px; /* default: 240px */
}
In this example we applied a height of 360px, the default height of the hero banner is 240px
Align headline and search on the left
You can move the community tagline and search bar to the left side by applying the following Custom CSS
/* hero banner left aligned */
.custom-hero-banner {
 padding-bottom: 40px;
}
.custom-hero-banner .brand-hero-title {
 text-align: left;
}
.custom-hero-banner .hero-search {
 margin: 0;
}
In this example, we moved the items to the left side, by default the tagline and search are positioned in the center
Remove timestamp from featured banners
You can remove the timestamp in the ‘featured_banner’ topic by applying the following Custom CSS (see request)
.featuredBanner .thread-meta-item__date {display:none;}
Change Background Image Via CSS
You can change the background image via the CSS by adding the !important tag at the end.
/* Hero Banner Custom Background */
.custom-hero-banner{
 background-image: url(image url here)!important;
}
For some extra helpful tips regarding styling background images in CSS you can view this Documentation from W3 School

 .
.