Our platform visibility settings enable you to change who is able to view your community.
We offer three visibility settings: Public, Private, and Offline. After reading this guide, you’ll get an understanding of what each visibility setting is typically used for, and details about the implications of each setting.
How to change the visibility:
- Go to Control → Settings → PLATFORM Platform visibility
- Choose your visibility setting. There are some extra configuration options for the Private/Offline settings (see below)
- Click ‘Save changes’.
Public visibility
Public visibility is the most widely used setting. When the community is public, content in visible categories can be read by anyone who visits, and can be found via Google.
It also means any user can register on the community (however, if you’re using SSO, then you can configure our platform so that only users with an account on your identity provider will be able to register/login).
We recommend this setting for the majority of communities running on the inSided platform.
Note: visibility can also be set on a category-level setting, so it’s still possible to limit access to certain content on a more granular level, and prevent it from being indexed on Google.
An example of this is if you want to limit an ideation category so only your customers have access, rather than anyone who visits the community. This is recommended over making the entire community private.
Follow our guide on hidden community areas to set this up.
Private visibility
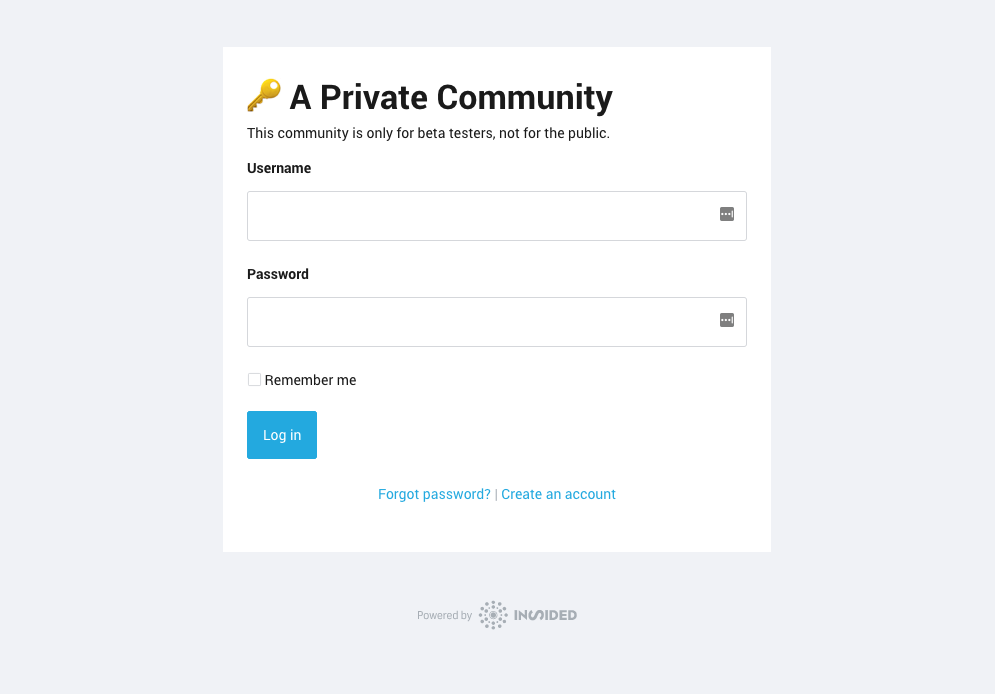
Private visibility is typically used for communities that are limited to a subset of users with certain privileges you’ve given them (e.g. a beta tester community), or for communities that are temporarily invite-only, whilst you work on building up content and community buy-in from your top customers and internal colleagues.
When your community has private visibility, content can only be read by users who are registered and logged in, and cannot be found on Google. Again, visibility can be set on a category-level even if you’re using a private community, so it’s possible to give some users specific access to only one section of the community.
With a private community you can configure a few extra settings:
Details for a private community
- Title
This is the title that displays on the login page of the community.
- Description
This is a description that you can add beneath the title on the login page of the community. Some basic formatting is enabled here.
Allow registration
- No
No new users will be able to create an account. - Yes
Any user who visits the page is able to register for the community. After activating their account they can view the community as normal. - Yes, with unlock code
Users can sign up to the community if they provide an unlock code during registration (you can configure the unlock code to be whatever you want in the field below).
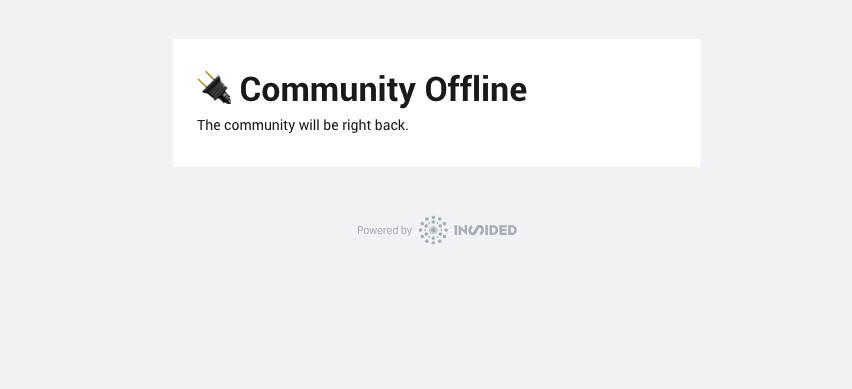
Offline
Typically used for maintenance. Community content cannot be viewed disabled - anyone visiting the community will see a static page with a message. You can configure this using the form in Control:
Details for offline community:
- Title
This is the title that will display on the page shown to any user who tries to visit the community - Description
This is an extra description that will show up underneath the title on the same page
Custom user role for an admin to configure visibility
Custom user roles. When a user has this role, he/she can adjust the visibility of the platform (making the community private access via password / offline / change forum description)
