This article helps community managers and administrators configure the Branding elements in Destination.
Overview
Incorporating your company's branding is a crucial step when setting up a community. It helps your customers immediately recognize the community and associate it with the company. It also helps present the community as an extension of your company’s official website.
Configure Branding Elements
IMPORTANT: With the release of the BRANDING configuration, the Customization > Site Identity page in Control is deprecated. Control users with relevant access can now make changes to the branding elements in Destination through this configuration.
The BRANDING configurations are available in the Theme drop-down list in Destination. It contains four sections: LOGO, FAVICON, BRAND COLORS, and SEO & SOCIAL. Each section allows you to configure global branding elements of your community.
Configure Logo
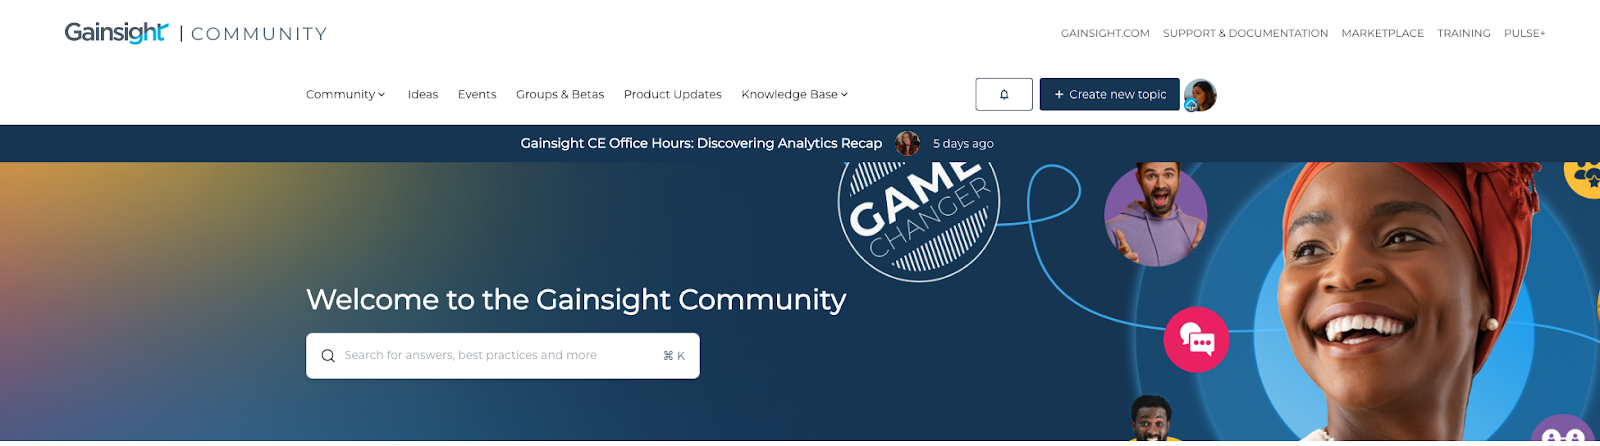
The LOGO section allows you to upload your company or community logo to be reused and displayed in different UI elements like the navigation bar.
To configure the LOGO section:
- Log in to Destination.
- From the Style drop-down list, select Branding. The Branding slide-out panel appears.

- Expand the LOGO section. A preview of the existing logo and an option to change the image appears.
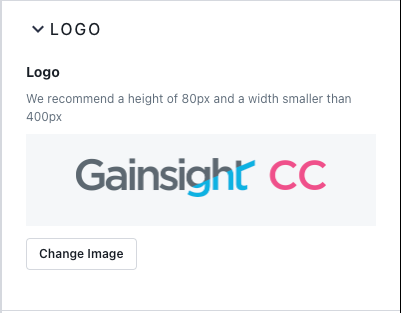
- Click Change Image. You are prompted to upload an image from your local system.
- Adjust the image with the cropping tool as required.
- Click Done.
- Click Publish. The Logo is saved and displayed in areas using branding elements.
Configure Favicon
The FAVICON section allows you to add a favicon as well as a share image. It helps users easily recognize your community and locate it among their numerous open tabs.
To configure the FAVICON section:
- In the Branding configurations, expand the FAVICON section. The uploaded favicon with a preview appears.
- Click Change Image. You are prompted to upload an image from your local system. Follow the recommended size instructions for the best results.
- Adjust the image with the cropping tool as required. The PREVIEW section displays how the uploaded favicon will appear.

- Click Done.
- Click Publish. The updated favicon is published.
Configure Brand Colors
The BRAND COLORS section allows you to choose the primary and secondary colors that are to be used across the community.
To configure the BRAND COLORS section:
- In the Branding configurations, expand the BRAND COLORS section. The primary and secondary color selectors appear.
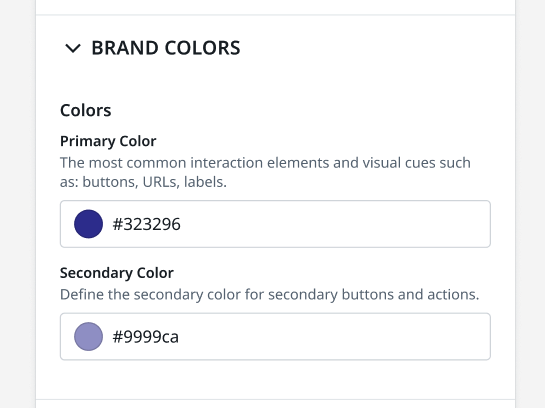
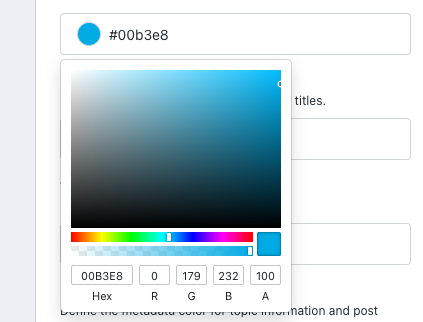
- Set the Primary and Secondary Colors using the Hex code, adjusting the RGBA values, or clicking the selector.
- Click Done.
- Click Publish. The primary and secondary brand colors are updated successfully.
Configure SEO & Social
The SEO & SOCIAL section allows you to configure how a link preview would look like when shared externally.
To configure the SEO & SOCIAL section:
- In the Branding configurations, expand the SEO & SOCIAL section.
- (Optional) In the SEO & SOCIAL section, you can perform the following actions:
- Title: Enter a search engine-friendly title of your community for the shared links.
- Description: Enter a search engine-friendly description of your community for the shared links.
- Change Image: Update the image to be displayed in the shared links. To change the image:
- Click Change Image.
- Upload the image from your local system.
- Adjust the image with the cropping tool as required
- PREVIEW: Displays a preview of the above configured settings.

- Click Done.
- Click Publish.
If you have any queries or feedback, please drop an email to docs@gainsight.com or post a reply to this article.