

Configure Mega Menu Widget in Destination
Last Updated On: February 24, 2026
This article helps community managers and administrators set up the Mega Menu widget in customization mode in Destination.
Overview
The mega menu bar in the community serves as the main navigation for your community users. This menu bar helps users to access primary sections of your community effortlessly. You can configure the mega menu bar through its widget in customization mode in Destination.
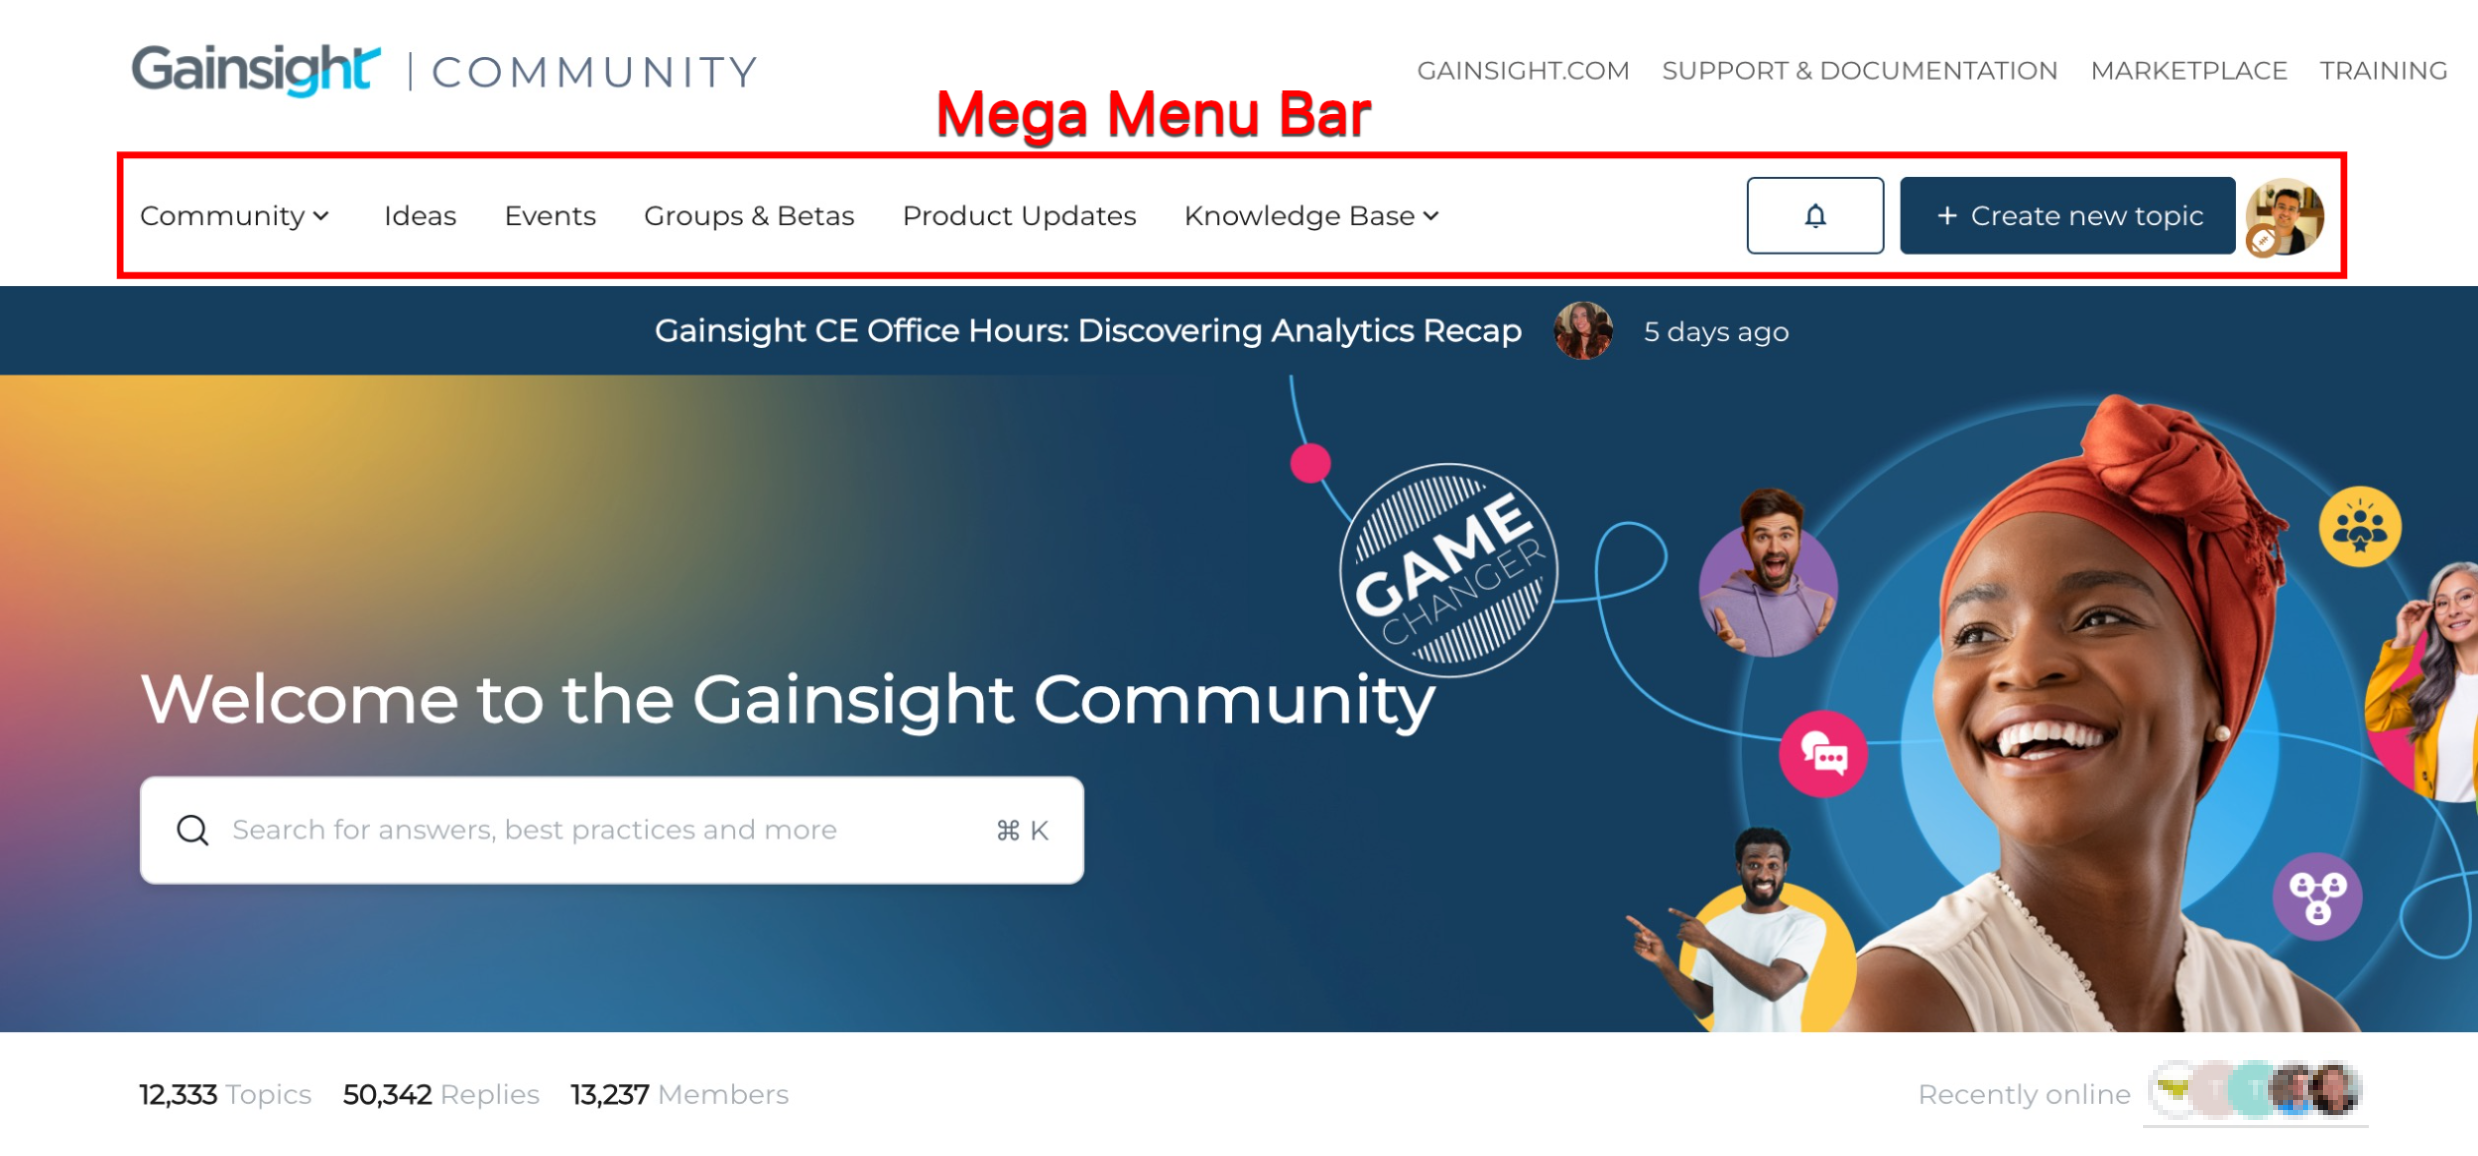
Configure Mega Menu Widget
The MEGA MENU widget contains four sections: CONTENT, IMAGE, LAYOUT, and STYLE. Each section allows you to configure the navigation elements and set your preferred style of the mega menu bar.
Configure Content
The CONTENT section displays a list of out-of-the-box and customized pages created in Control. This section helps your community users easily access main pages of the community.
To configure the CONTENT section:
- Log in to Destination.
- Click Edit Layout. The customization mode is activated.
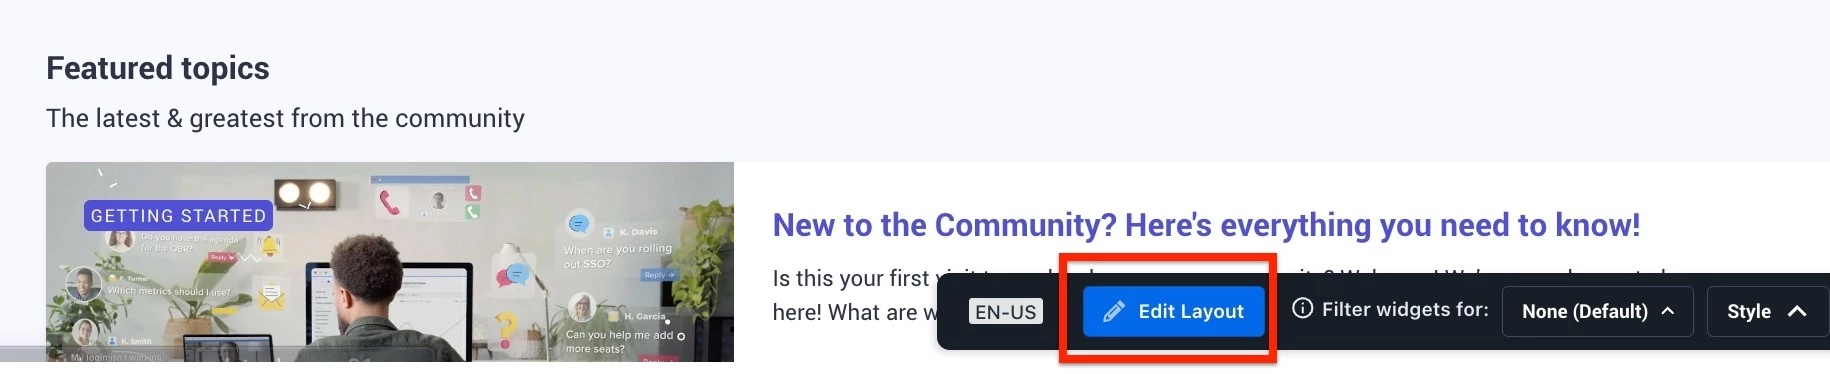
- Hover on the Mega Menu widget.
- Click the pencil icon. The Mega Menu slide-out panel appears.

- Expand the CONTENT section. The list of community modules appears.
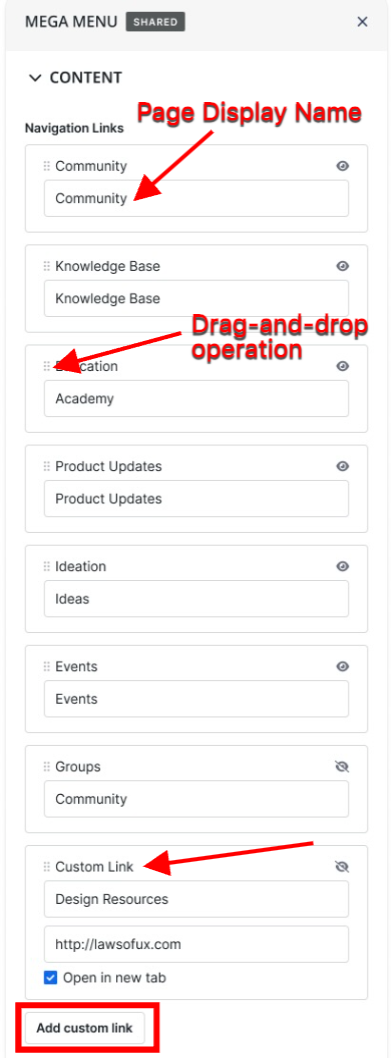
- In the CONTENT section, you can perform the following actions:
- Edit the display names of the existing modules.
- Manage the visibility of each item using the eye icon.
- Reorder the page display sequence using the drag-and-drop operation.
- Add custom links. To add:
- Click Add custom link. A custom link panel is added.
- In the custom link panel, provide the Name and URL of the custom link.
- (Optional) Select the Open in new tab checkbox.
- Click DONE.
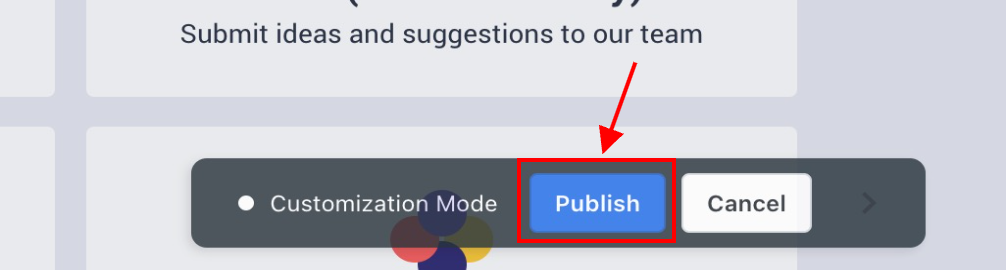
- Click Publish. The changes are published and visible to community users.
Configure Segment Visibility
Each item in the Mega Menu can be configured to be visible to specific community users. This empowers you to create a personalized experience on your site by displaying specific pages only to targeted user segments. With this feature, you can curate your page layouts based on roles, behaviors, or even anonymous (guest) access, leading to improved content relevancy, engagement, and user satisfaction.
Prerequisites
To control the user view, the admin must first create segments to assign the pages. For more information on how to create segments, refer to the Segments article.
To assign pages from the Mega Menu to segments:
- Log in to Destination.
- Click Edit Layout.
- Hover on the Mega menu widget.
- Click the pencil icon. The MEGA MENU slide-out panel appears.
- Expand the page you want to add to the segments.
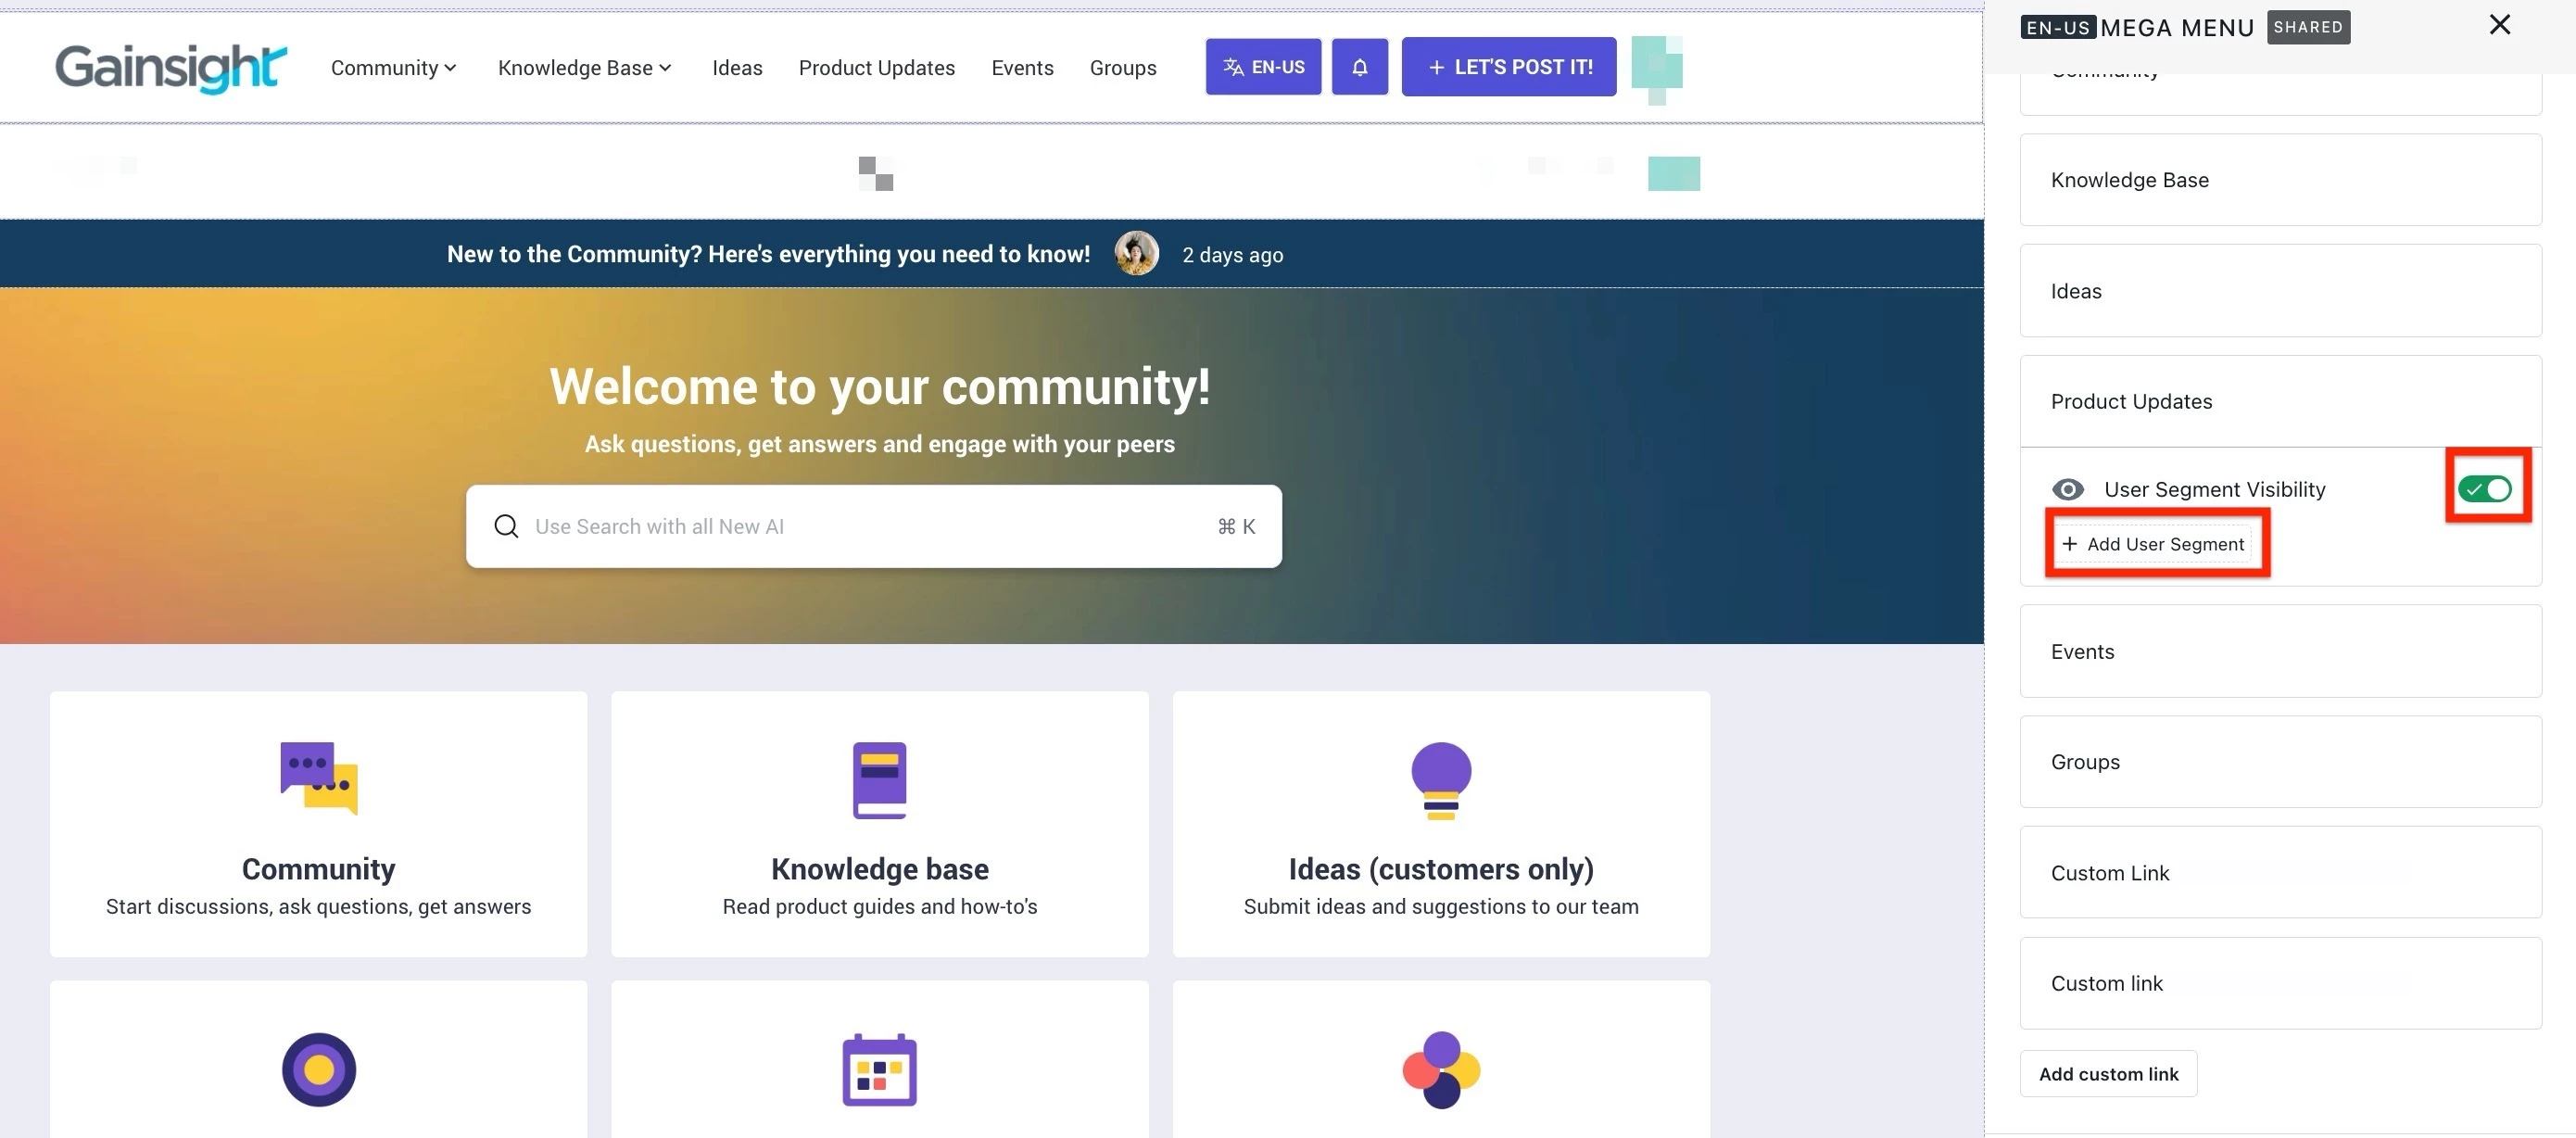
- Turn on the User Segment Visibility toggle.
- Click +Add User Segment.
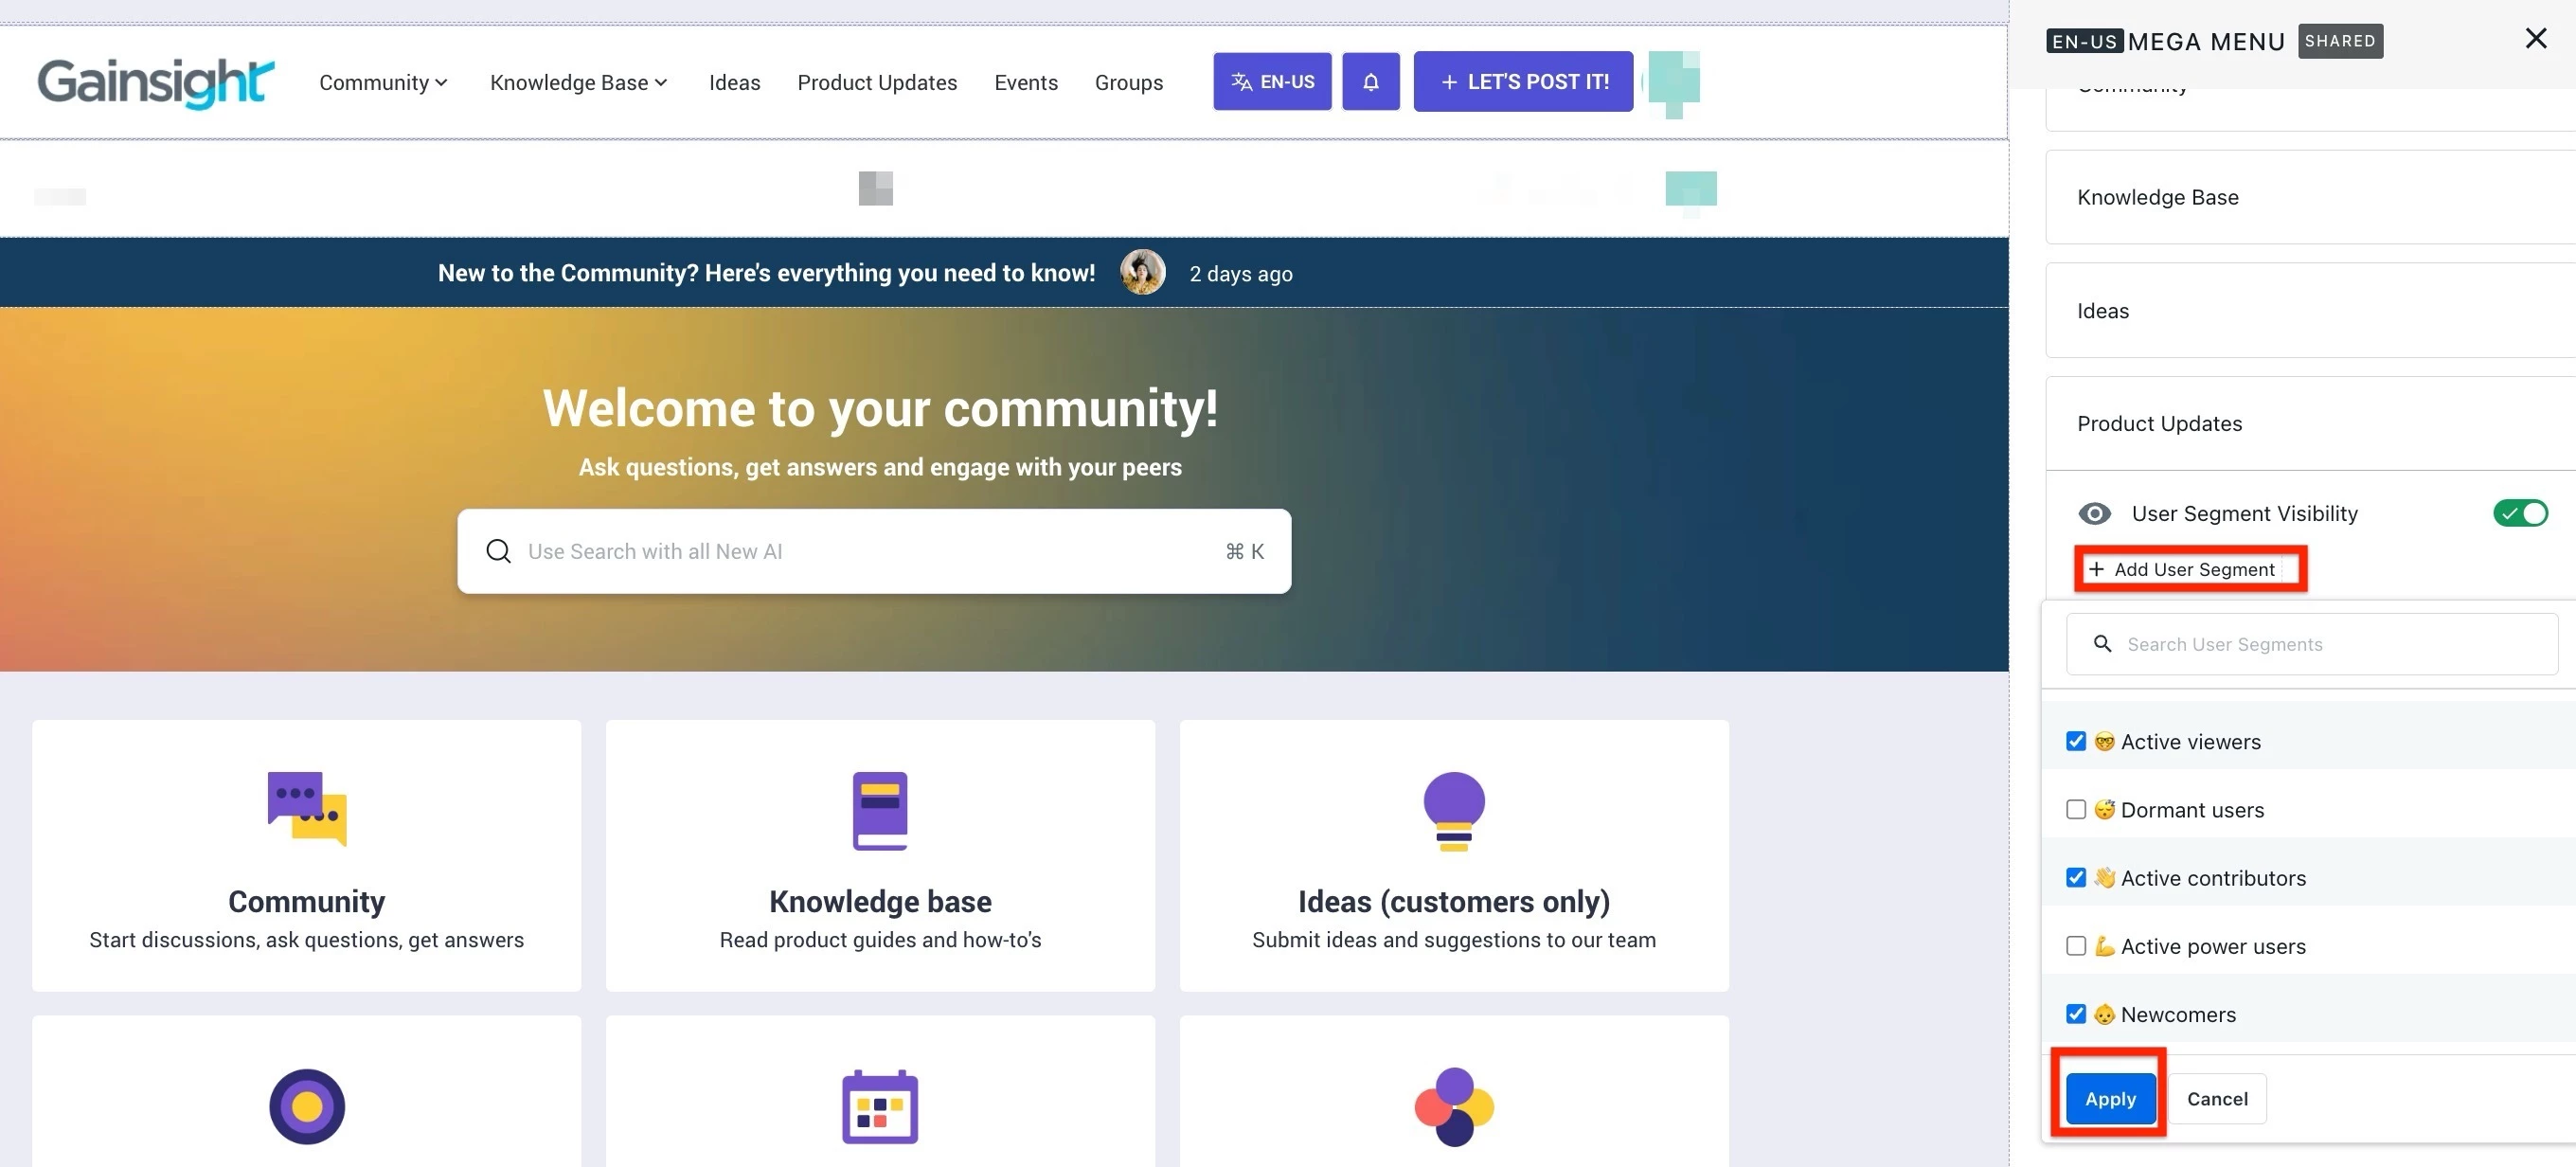
- From the downtown list, select the user segments to be associated with the navigation item.
- Click Apply.
- Click Done.
- Click Publish to accept the new changes.
Configure Dropdown Menu for Custom Pages
Community managers and admins can add a dropdown list for custom pages in Destination. This empowers you to curate your page layouts depending on requirements.
For example, a main page called Products can contain a list of all the sub-products along with their URLs to redirect users to the product specific pages.
To configure dropdown list for custom pages:
- Log in to Destination.
- Click Edit Layout.
- Hover on the Mega menu widget.
- Click the pencil icon. The MEGA MENU slide-out panel appears.
- Expand the custom page where the dropdown list is to be added.
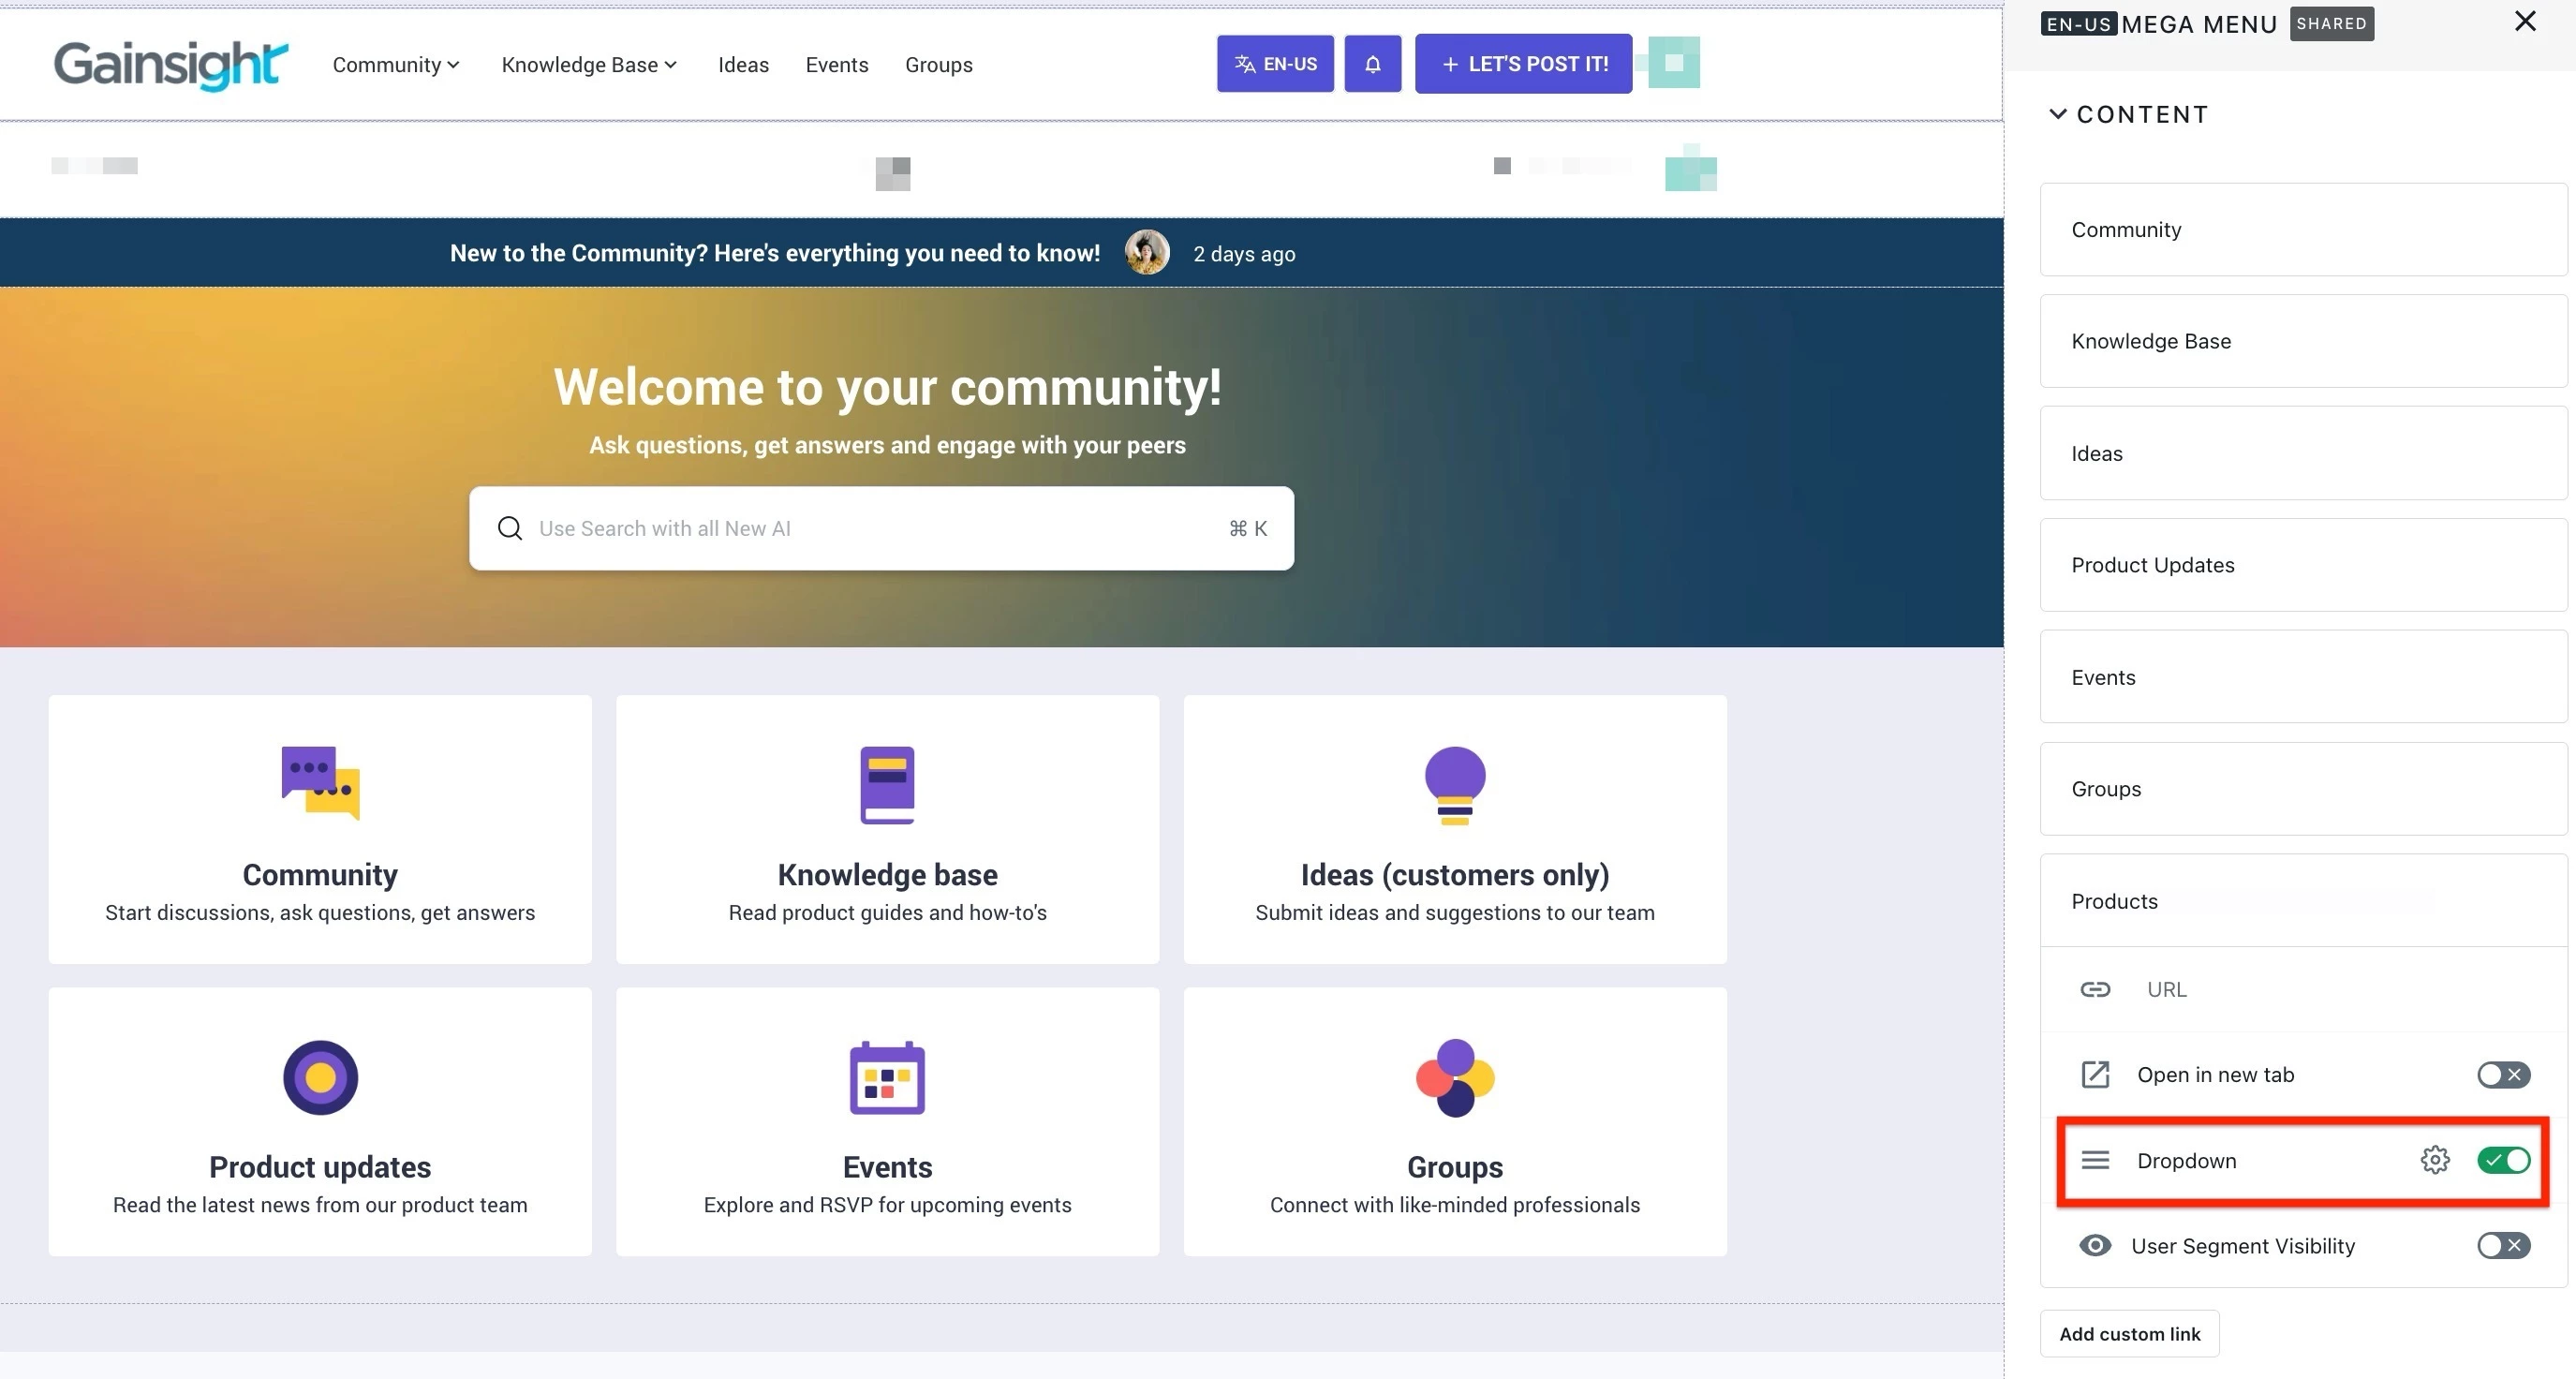
- Turn on the Dropdown toggle.
-
Click the Settings icon. The DROPDOWN SETTINGS slide-out panel appears.
-
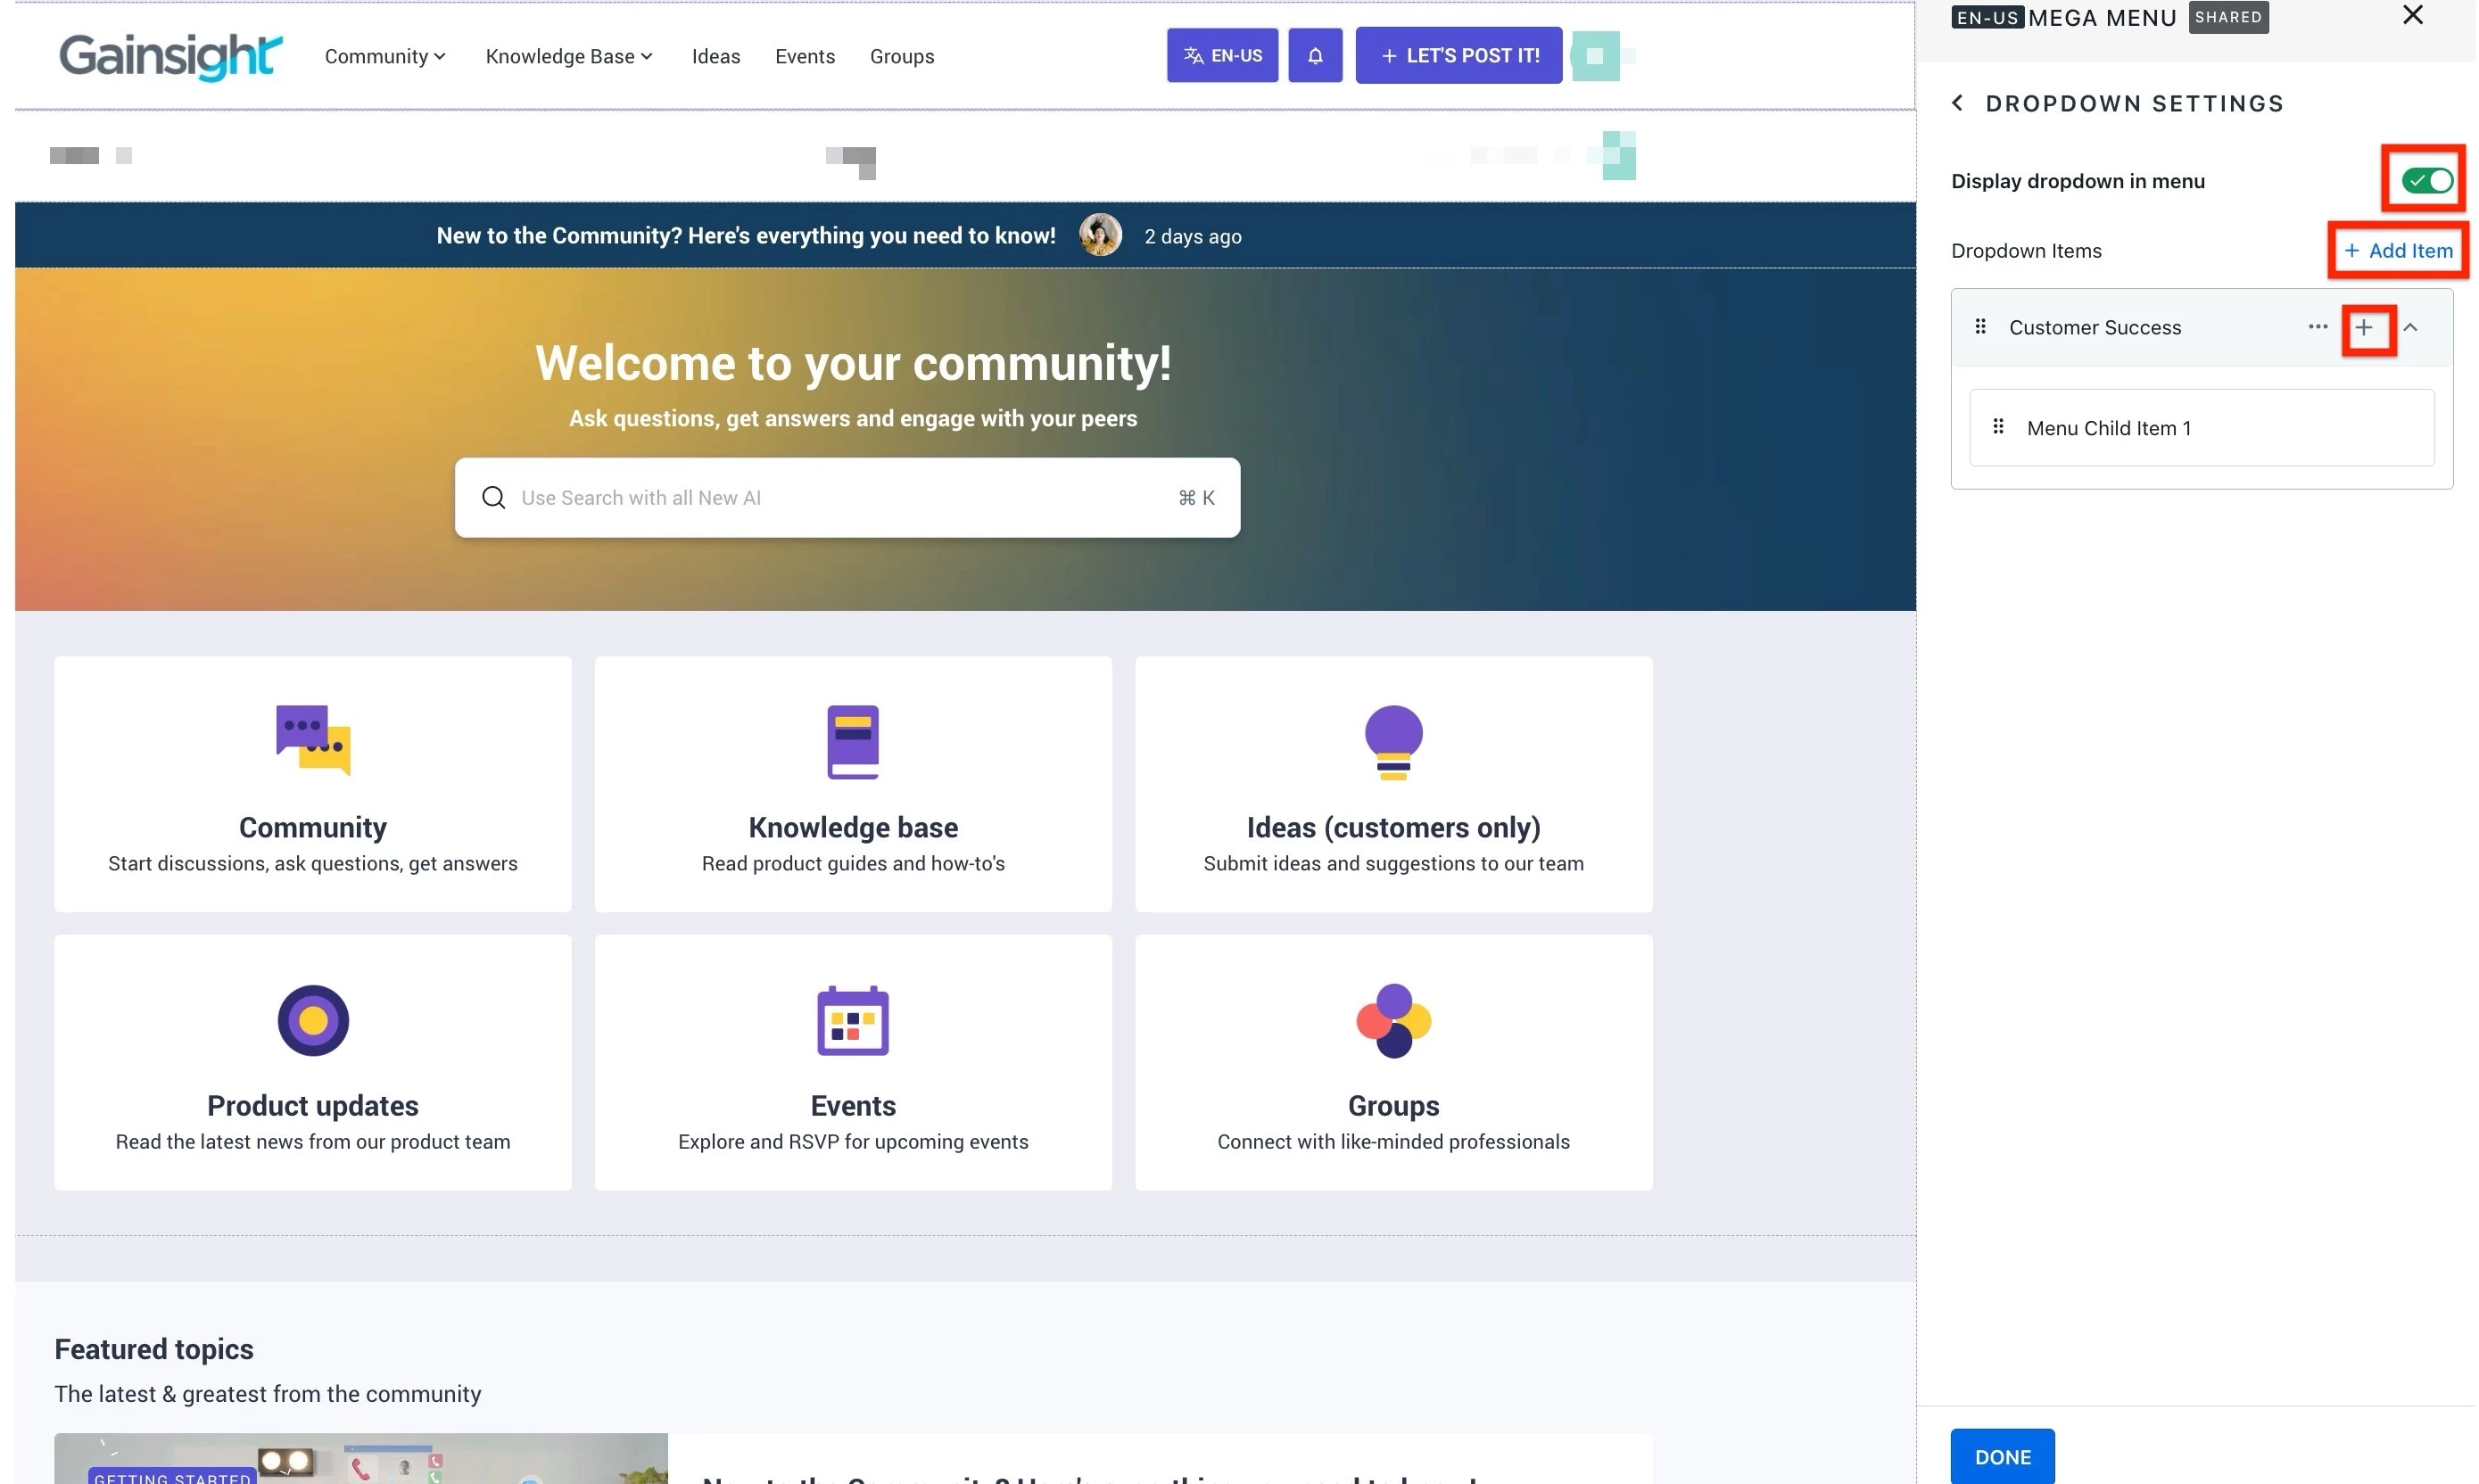
Click +Add Item.
-
Enter the dropdown item as required.
-
(Optional) Click the Plus icon to add child items to the dropdown list.
-
Click Done.
-
Click Publish to save the changes.
Configure Image
The IMAGE section allows you to display a desired visual next to the navigation elements. It can be your company or community logo or any image you would like to upload.
To configure the IMAGE section:
- In the Mega Menu widget, expand the IMAGE section.
- Select one of the following options:
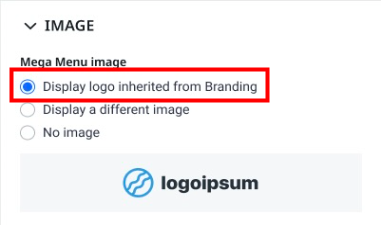
- Display logo inherited from Branding: This option populates the logo assigned in the Branding configuration options.
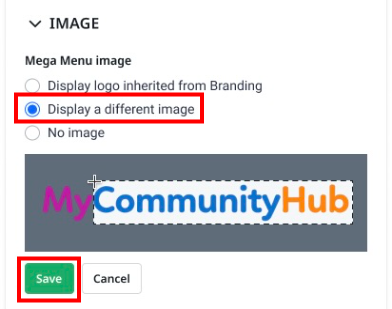
- Display a different image: This option allows uploading an image from a local drive. To upload the logo image.
- Click Upload Image.
- Select and upload the image from your local drive.
- (Optional) Crop the image as required.
- Click Save.
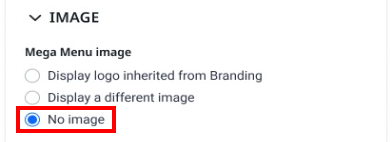
- No image: This option does not display any image in the navigation bar.
- Display logo inherited from Branding: This option populates the logo assigned in the Branding configuration options.
- Click DONE.
- Click Publish.
Configure Layout
The LAYOUT section allows you to choose how the navigation pages appear in the Mega Menu widget.
To configure the LAYOUT section:
- In the Mega Menu widget, expand the LAYOUT section.
- Select one of the following options:
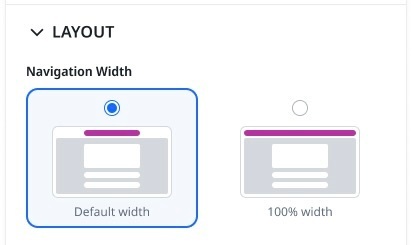
- Default width: This option lists navigation pages across the content width on the community page.
- 100% width: This option lists navigation pages across the entire width of the community page.
- Click DONE.
- Click Publish.
Configure Style
IMPORTANT: With release of the STYLE section in the Mega Menu widget, the Customization > Navigation page in Control is deprecated. Users with access to Control can make changes in the color styling through this widget.
The STYLE section allows you to change the color styling of texts, icons, border, and other elements in the Mega Menu widget.
To configure the STYLE section:
- In the Mega Menu widget, expand the STYLE section.
- In the STYLE section, the following options are available:
- Background color: Sets the background color of the Mega Menu widget.
- Menu text and icon color: Sets the color of the text and icons appearing in the widget. Select the Use text color checkbox to revert to the default Text color set in the Theme > Colors configuration.
- Top Divider: Sets the top border color of the widget. Select the Use border color checkbox to revert to the default border color.
- Bottom Divider: Sets the bottom border color of the widget. Select the Use border color checkbox to revert to the default border color.
- Misc. Elements: Sets the text color for login and registration text (when logged out), and text for create and icon (when logged out). Select the Use brand color checkbox to populate color from the Branding configurations.
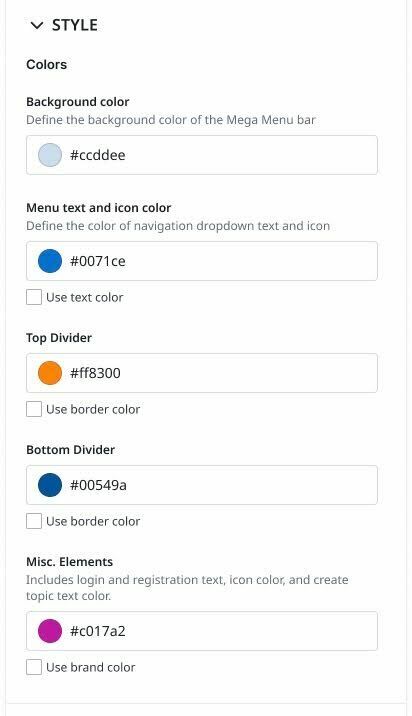
- Click DONE.
- Click Publish.
If you have any queries or feedback, please drop an email to docs@gainsight.com or post a reply to this article.