This document describes how to set up Google SSO for your community users on your community.
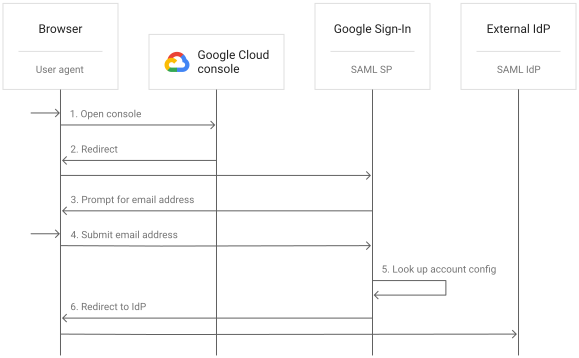
Google SSO flow representation

How to Configure Google SSO on Customer Communities
Create authorization credentials
To create a client ID and client secret, create a Google API Console project, set up an OAuth client ID, and register your Authorized redirect URI(s):
-
Go to the Google API Console.
-
From the project drop-down, select an existing project, or create a new one by selecting Create a new project.
-
In the sidebar under "APIs & Services", select Credentials, then click Configure consent screen.
Choose an Email Address, specify a Product Name, and press Save. -
In the Credentials tab, select the Create credentials drop-down list, and choose OAuth client ID.
-
Under Application type, select Web application.
-
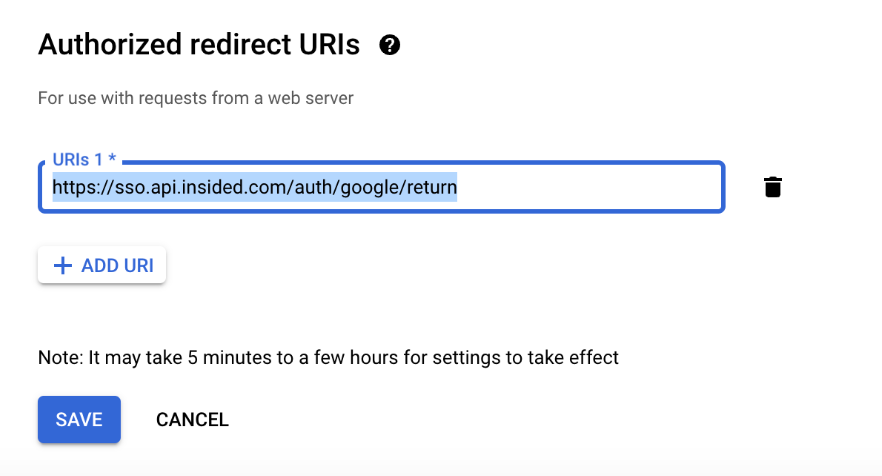
Configure your Authorized redirect URI(s):
-
EU Production URL (for EU-based communities): https://sso.api.insided.com/auth/google/return
-
US Production URL (for US-based communities): https://sso-us-west-2.api.insided.com/auth/google/return
-
Staging URL (for communities in our now deprecated staging environment): https://sso.api.almostinsided.com/auth/google/return
-
After configuration is complete, take note of the Client ID that was created. You will need the Client ID + Client Secret to complete the next steps.
Configuration on Customer Communities
- Log in to Control as an Administrator;
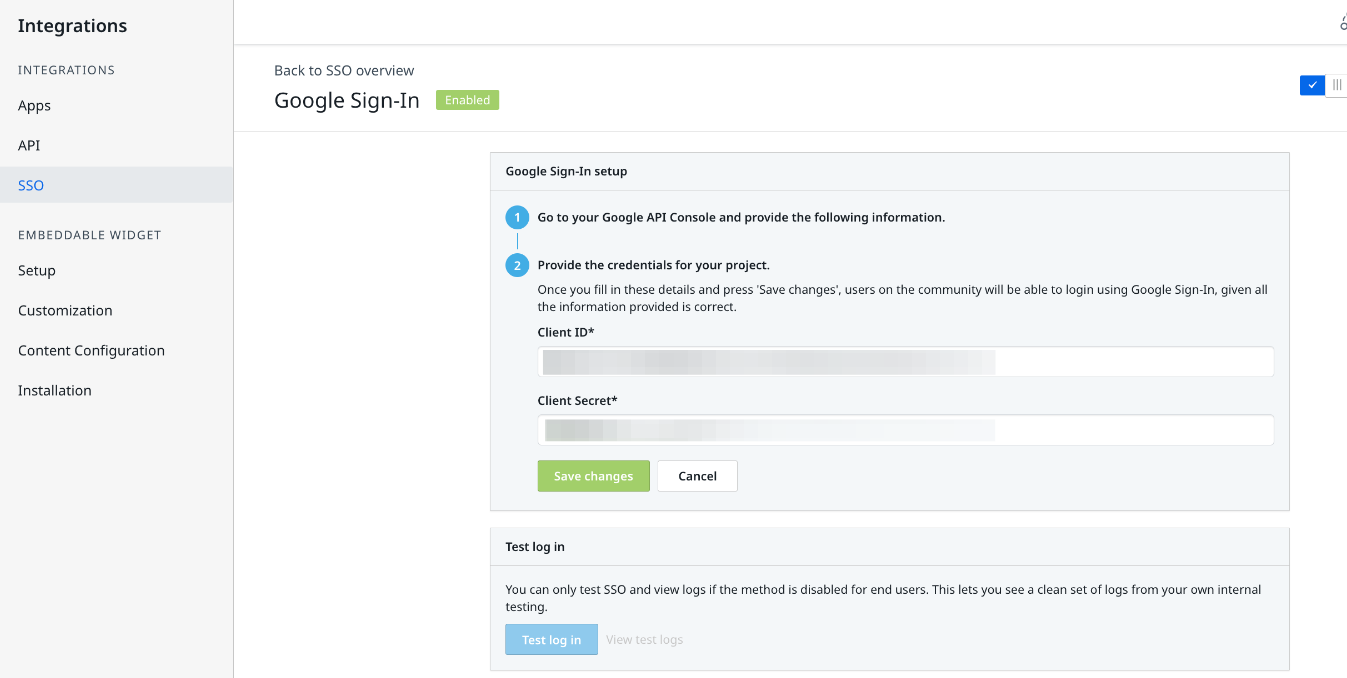
- Go to Integrations > SSO > Google;
- Fill in the following fields:
-
Client ID*
-
Client Secret*
* Indicates required fields
-
- Press Install.
Once you’ve installed your configuration, we recommend using the built-in Customer Communities SSO testing tool before you enable SSO for end users, to make sure everything is working as expected.