PLEASE NOTE:
There is a newer, more up-to-date article published on this topic. This article is out of date.
Please refer to the most recent article for an accurate guide. Here is the link.
Sometimes there is a need to permanently delete content from your community. This can be done to ‘clean up’ your community and also the content view in Control. This article will detail the steps you will want to take to permanently delete Questions or Conversations from your Community.
If you would like to learn how to delete topics from your Knowledge Base, you can find a step by step guide here.
Permanently deleting a content from your Community is a two-step process.
STEP 1:
You will first need to trash a topic by:
- Opening the content from the Content Page in Control.
- Clicking on ‘More Options’ in the top right corner of your screen.
- Selecting Trash topic.

By trashing a topic you will remove it from your community. This means that it will no longer be accessible or searchable. This does not fully delete this post. After you trash a post, it will be marked with a Trashed icon. This is a visual indicator to help you quickly identify items in the trash can when viewing all your content in Control.
STEP 2:
After trashing the topic, you will want to return to the Content section of Control and select Trash Can.
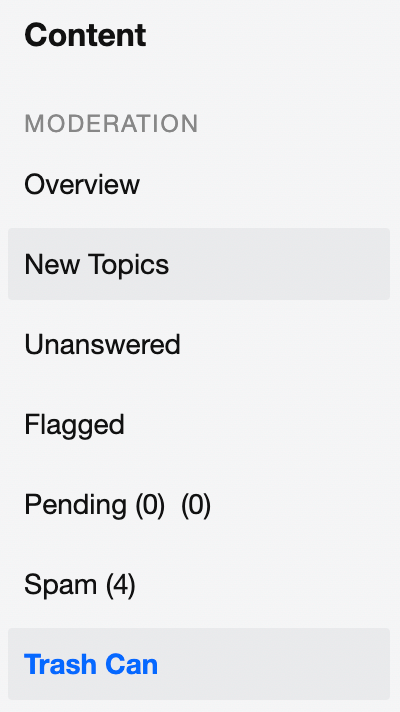
After you click on Trash Can, you will see a list of items that are currently trashed. To permanently delete an item (or a number of items), you want to check the box on the left side of the list. After you select at least one item, a new dropdown titled More will appear at the bottom-right of the list of items. You will want to click on the dropdown and then select Delete permanently.

Please note the following two important items:
- This action is NOT reversible - permanently deleted content cannot be restored and is deleted from the database
- There is no ‘warning modal’ when you select Delete permanently. You will want to take extra care when completing this process.