
This article helps admins configure secure API Connectors in Customer Communities.
Overview
Secure API Connectors empower you to call external APIs directly from your community pages using a secure server-side proxy. This capability makes the community a central hub for all end-user needs by enabling secure integrations with third-party tools, such as Salesforce, Aha! Ideas and Statuspage enable secure integration with customers’ own APIs.
Access to configure this feature follows existing permissions for the Integrations section. For new customers, the configuration area is an empty slate, requiring you to create a new connector.
Setting up a connector involves the configuration of the following two sections under Integrations:
| Sections | Definition and Purpose |
|---|---|
| Connectors | Define an HTTP call to an external API (URL, method, authentication, and so on). The Connector configuration is stored and executed on the backend, acting as a proxy to prevent the front end from receiving confidential information. |
| Secrets | Store sensitive credentials (such as API keys or tokens). Secrets are stored only server-side, encrypted at rest, and are never exposed in the browser. You reference them securely within connector templates using the {{ get_secret('name') }} helper. |
Configure Secrets and Connectors
The admin configuration involves the following process:
Configure and Manage Secrets
This section provides a secure secrets management system that allows you to store sensitive information (such as API keys, passwords, and tokens) and reference them in your connector configurations. This eliminates the need to embed sensitive data directly in connector settings.
Template Syntax: Reference secrets in connectors using the {{ get_secret('secret_name') }} template syntax. This template will be replaced with the actual secret value when the connector executes.
To add new secrets:
- Log in to Control.
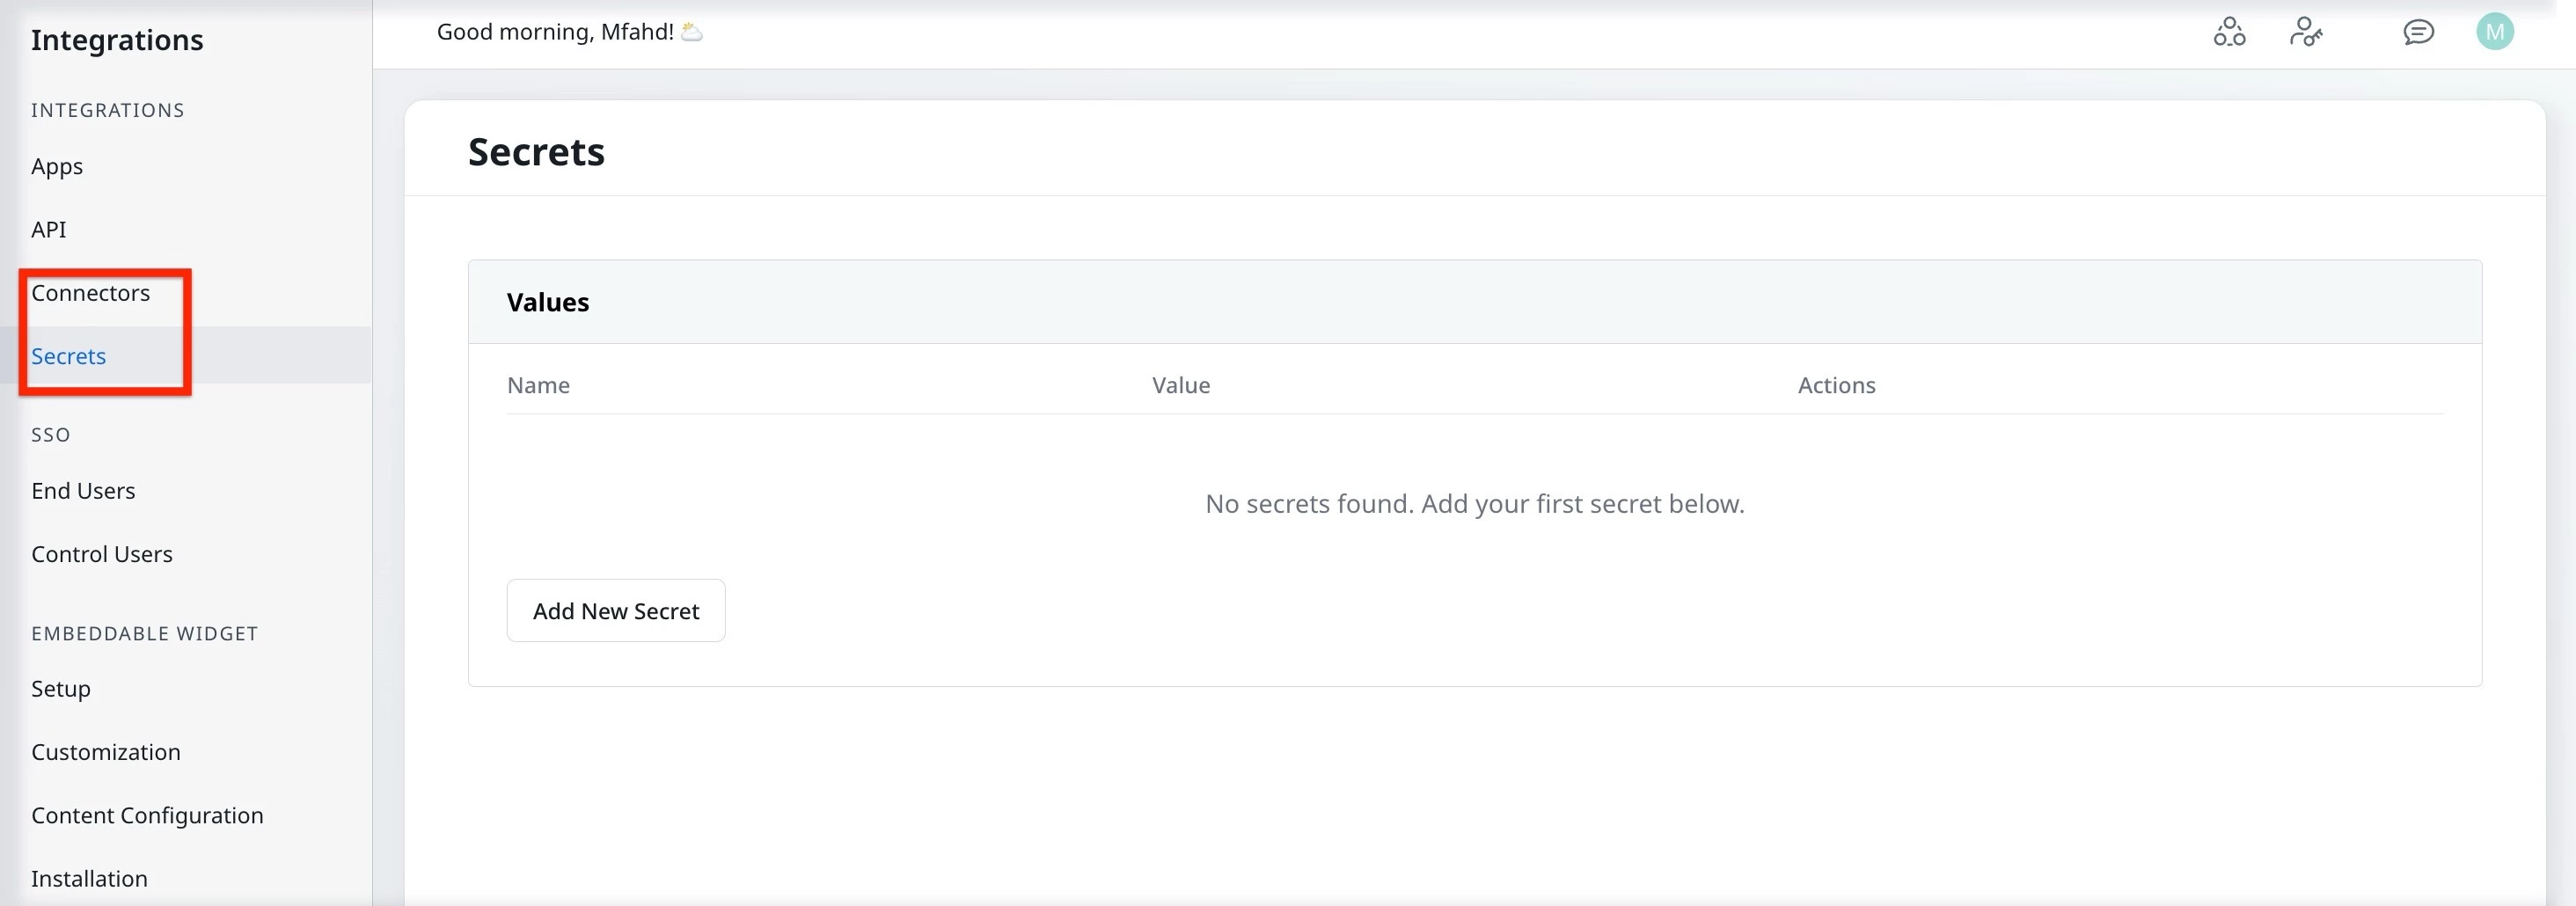
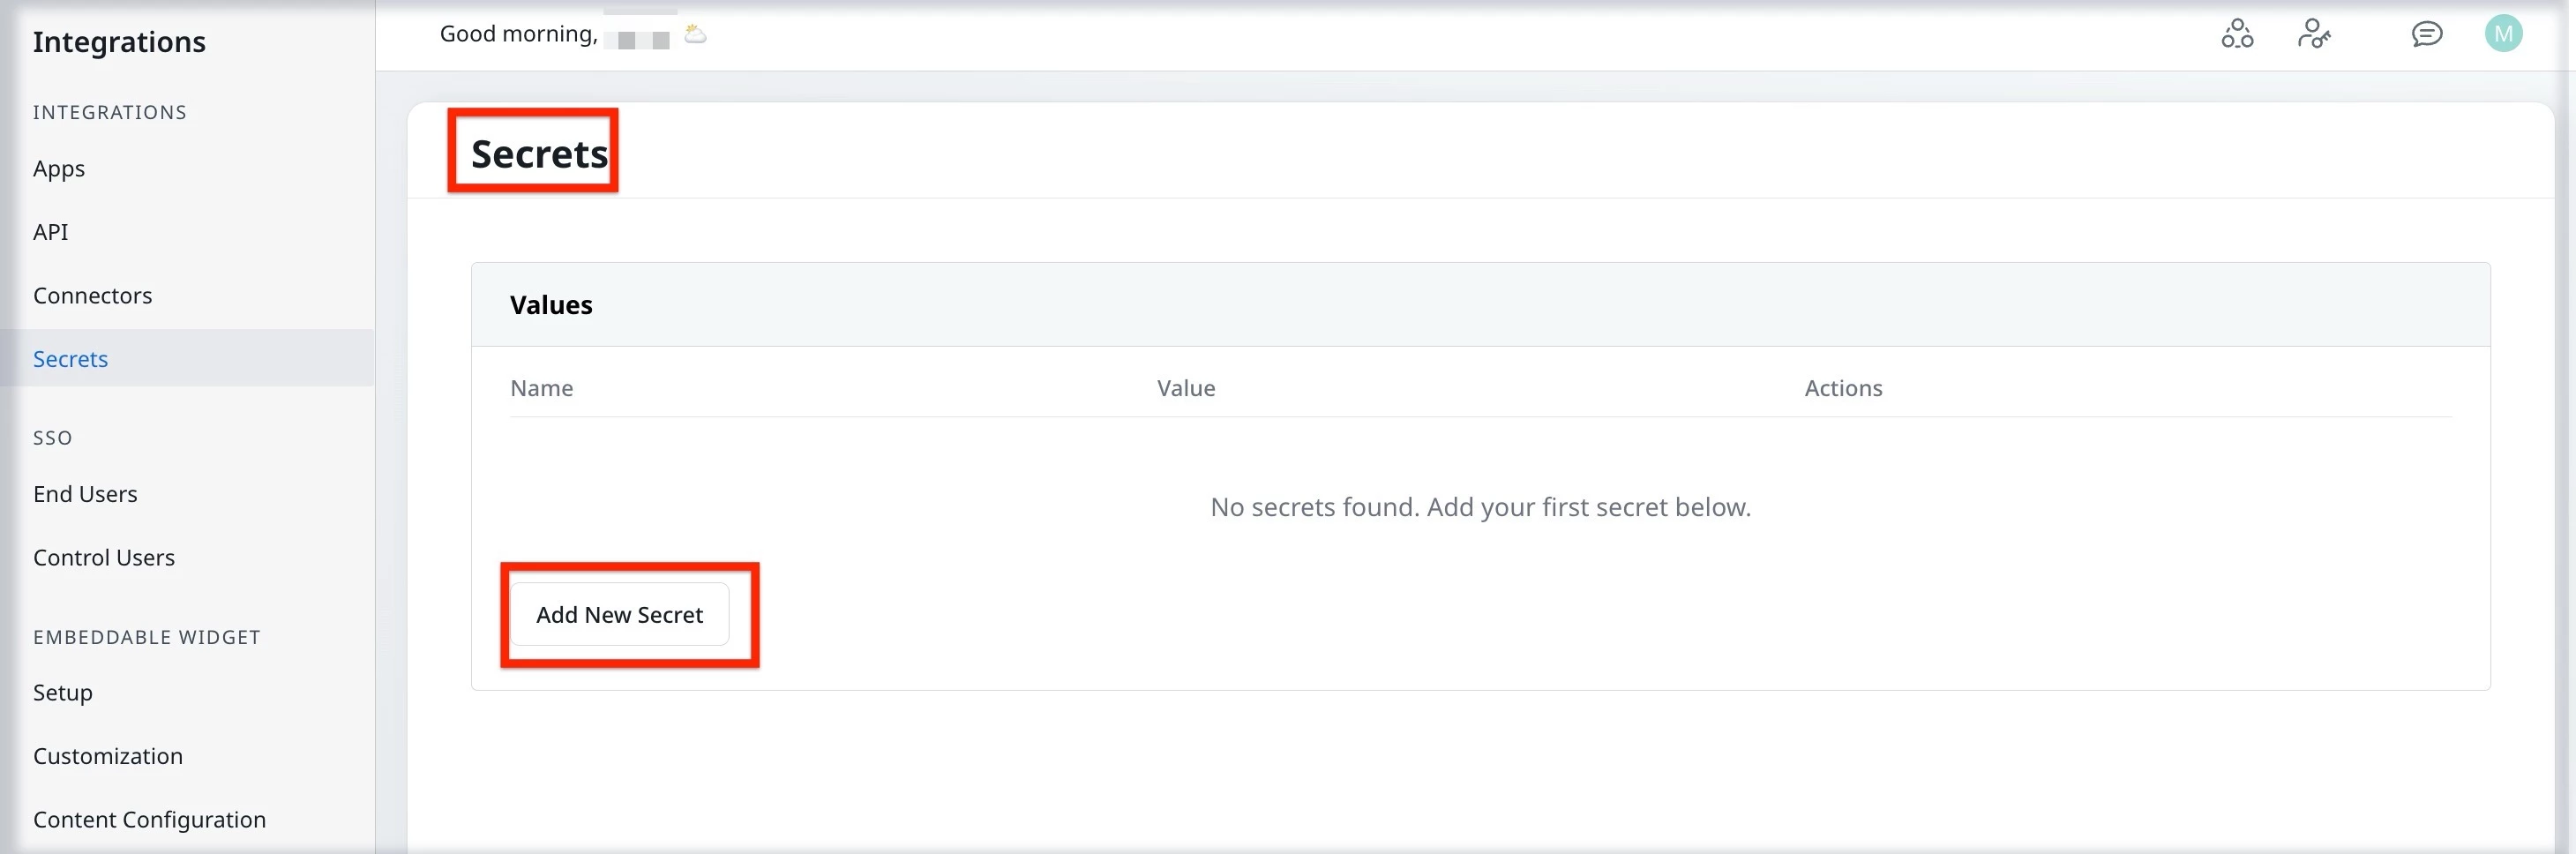
- Navigate to Integrations > Secrets. The Secrets page appears.
- Click Add New Secret, and enter the following information:
- Secret Name: A unique identifier (must be a valid identifier such as api_key or oauth_token).
- Secret Value: The sensitive data, encrypted and securely stored.
- Click Add. The secret is successfully created.
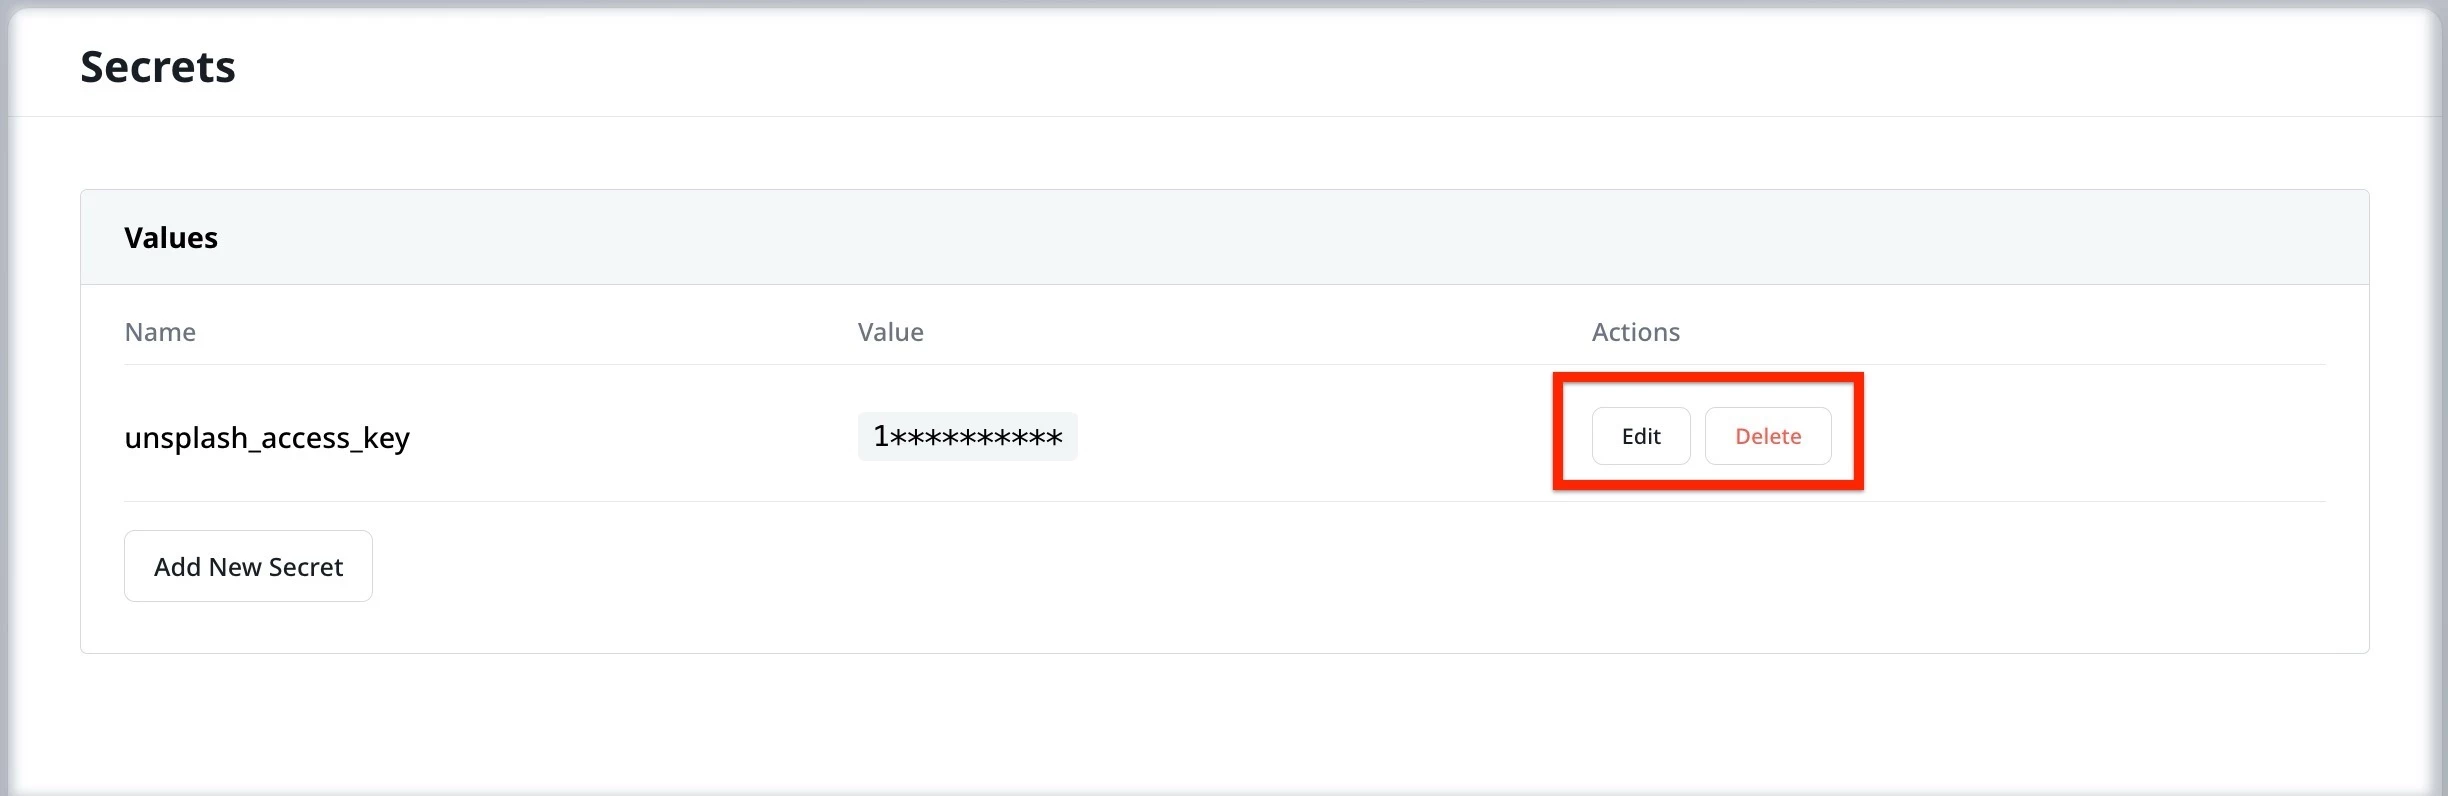
Manage Secrets
You can also manage existing secrets using actions such as Edit and Delete. Edit the Name or Value fields as need or delete the secrets if not required.
Configure Connectors
Connectors are configuration templates that define how to communicate with external APIs and services such as Salesforce, weather APIs, payment systems, and so on.
Each connector specifies:
- Request Body: Data sent with POST or PUT requests (JSON or form data).
- Name: Descriptive identifier for the connector.
- URL: Endpoint to connect to.
- HTTP Method: Action to perform (GET, POST, PUT, PATCH, DELETE, HEAD, or OPTIONS).
- Authentication: Method used to securely identify calls to the external service.
- Headers: Additional details included with requests (for example, content type or API version).
- Query Parameters: Data included in the URL (for example, search terms, filters, or pagination).
To configure the connector:
- Log in to Control.
- Navigate to Integrations > Connectors. The Connectors page appears.

- From the Create New Connector dropdown, select Custom Connector. The New Connector page appears.
On the new connectors page, you can configure the connector either using the form mode or JSON code mode.
To configure a connector using JSON structures instead of the visual form:
- Click Edit as Code. The Edit Connector as JSON editor appears.
- Enter your connector JSON configuration.
Example JSON configuration:
{
  "name": "Weather API Integration",
  "url": "https://api.weather.com/current",
  "method": "GET",
  "headers": [
    {
      "key": "Accept",
      "value": "application/json",
      "overridable": false
    }
  ],
  "query_parameters": [
    {
      "key": "api_key",
      "value": "{{ get_secret('weather_api_key') }}",
      "overridable": false
    },
    {
      "key": "location",
      "value": "New York",
      "overridable": true
    }
  ],
  "authentication": {
    "type": "apikey",
    "config": {
      "in": "query",
      "key": "key",
      "value": "{{ get_secret('weather_api_key') }}"
    }
  }
}Note: When you switch between Code and Form modes, JSON automatically populates the form.
To create a connector using form mode, enter details into the following sections:
- General:
- Connection Name: Choose a descriptive name such as Salesforce Cases or Weather API.
- Endpoint URL: Enter the full endpoint URL (For example, https://api.weather.com/current).
- HTTP Method: Select the appropriate HTTP method for your use case.
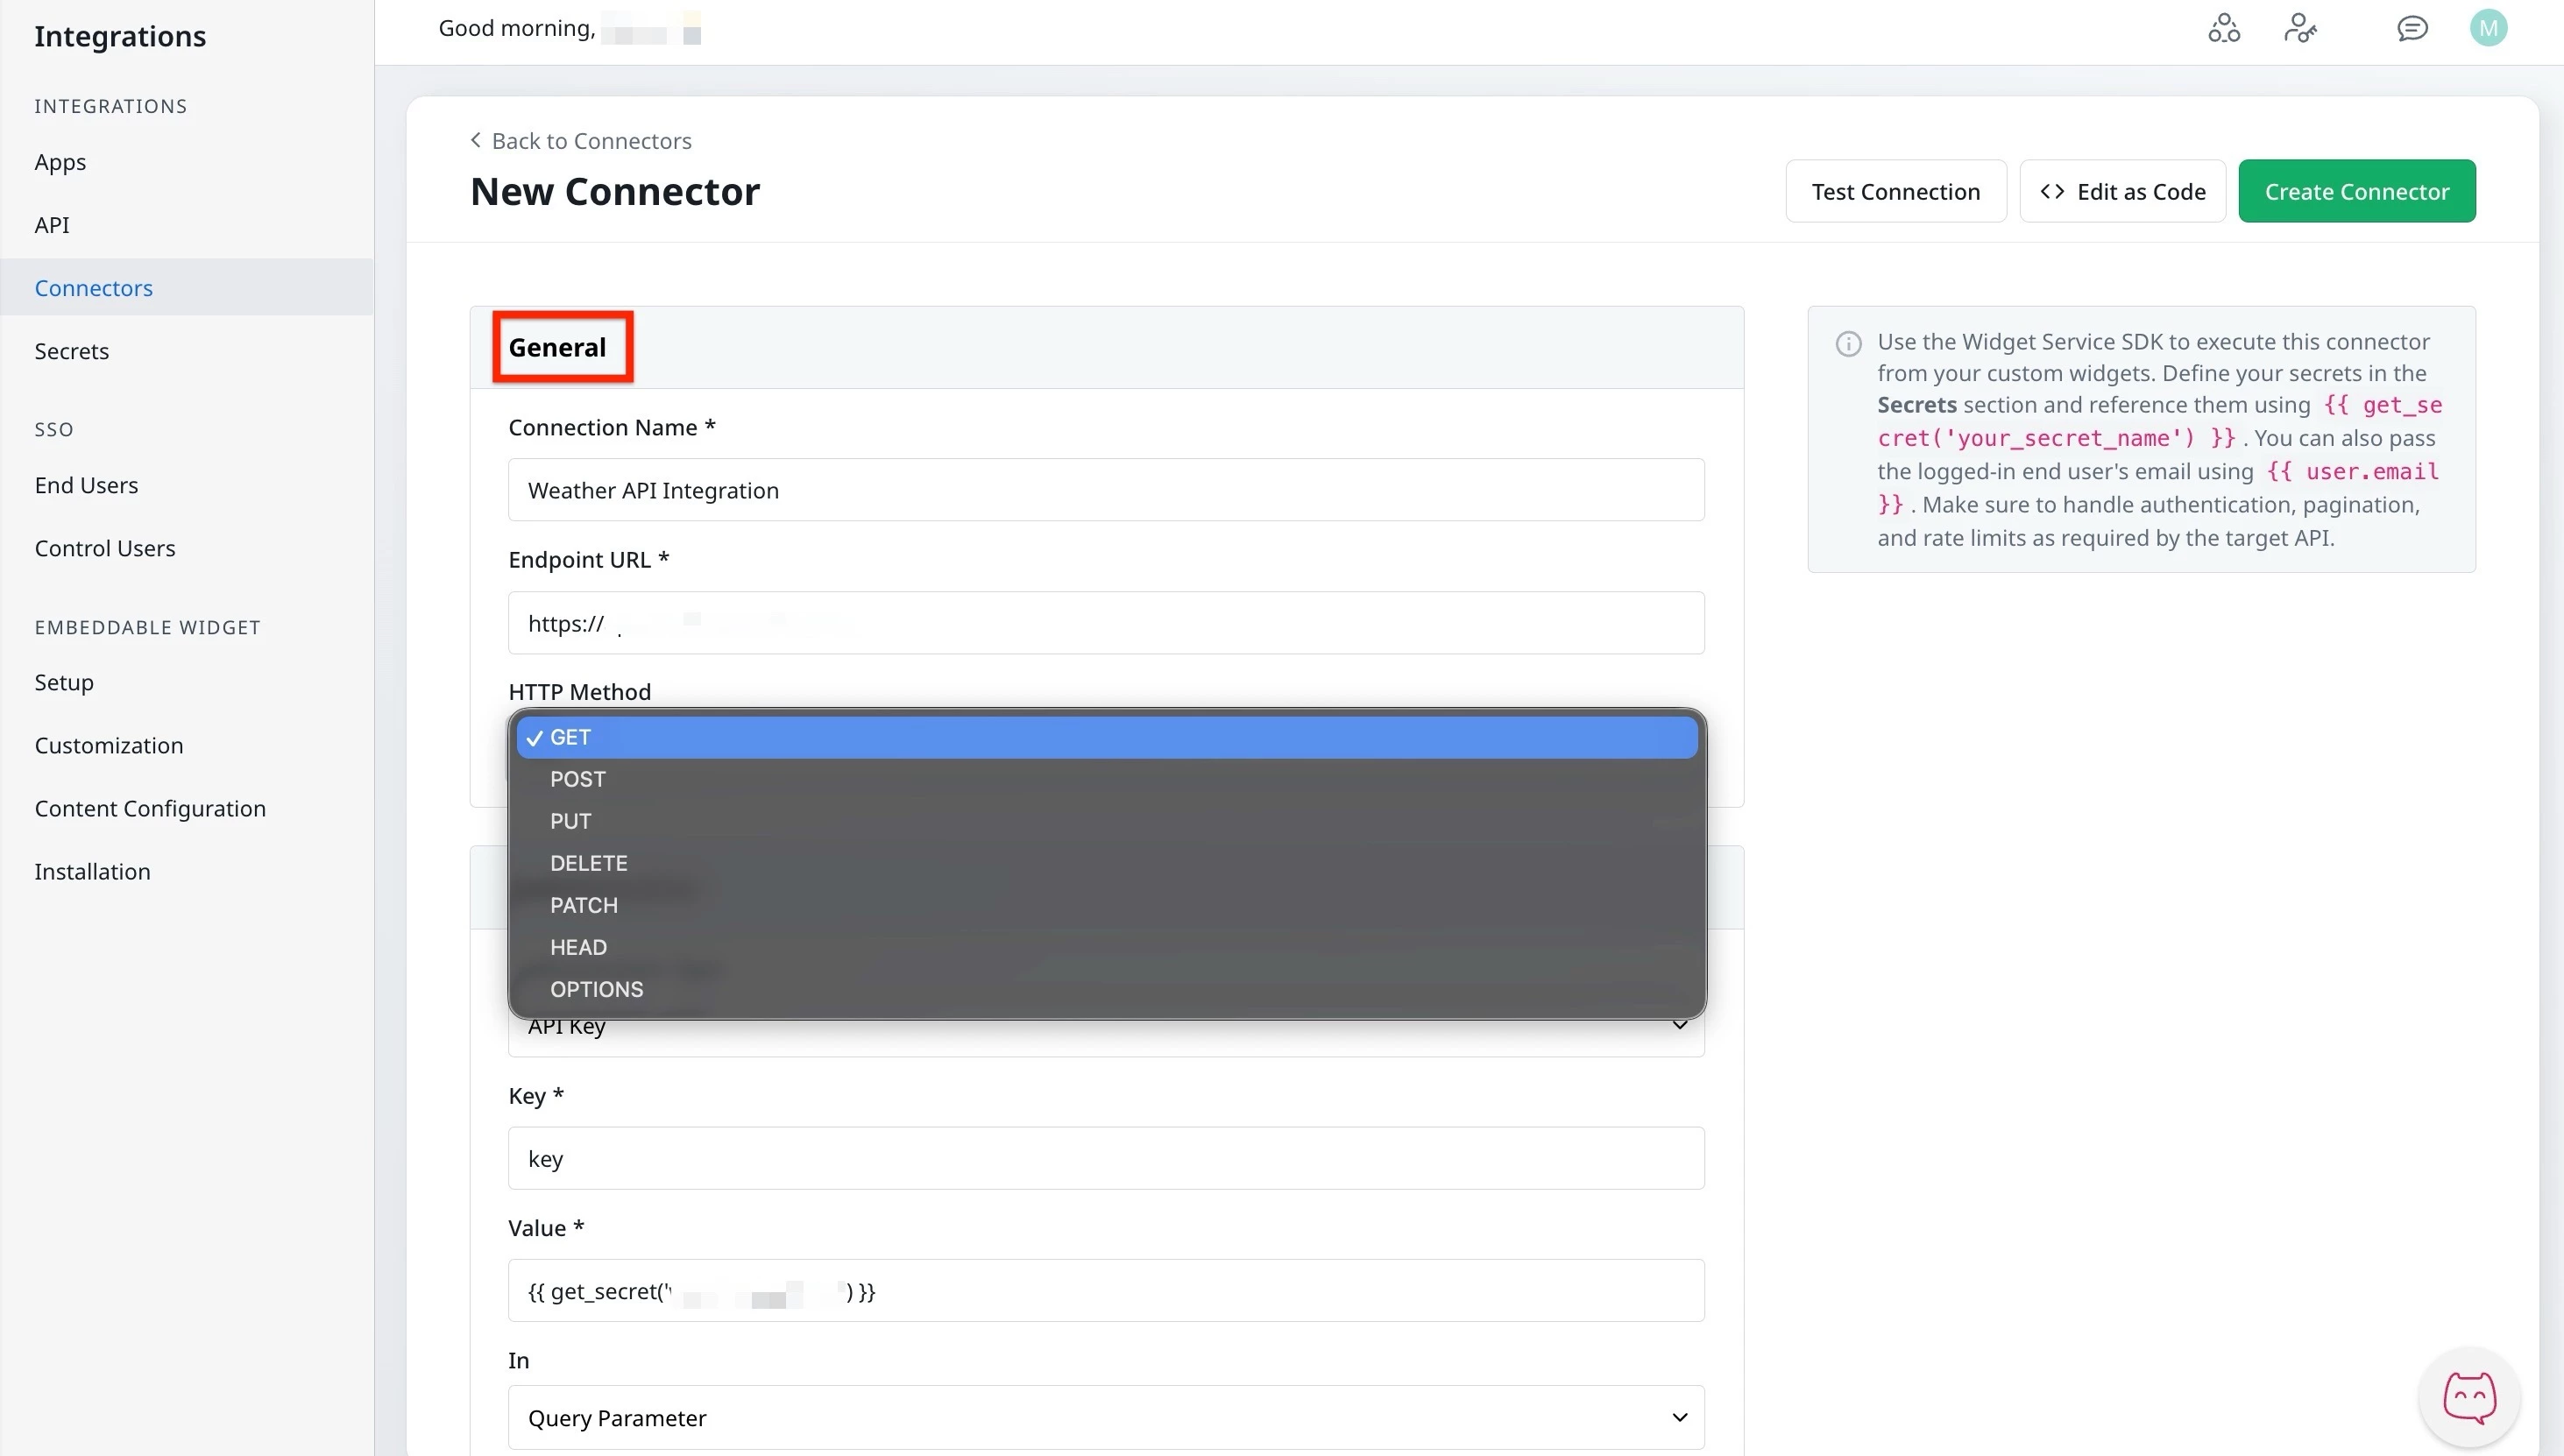
- Authentication:
- From the Authentication Type dropdown, select either API Key or OAuth Client Credentials. The following table represents the credentials required for authorizations:
API Key OAuth Client Credentials Key Client ID Value Client Secret In: Parameters in Header or Query Token URL
- From the Authentication Type dropdown, select either API Key or OAuth Client Credentials. The following table represents the credentials required for authorizations:
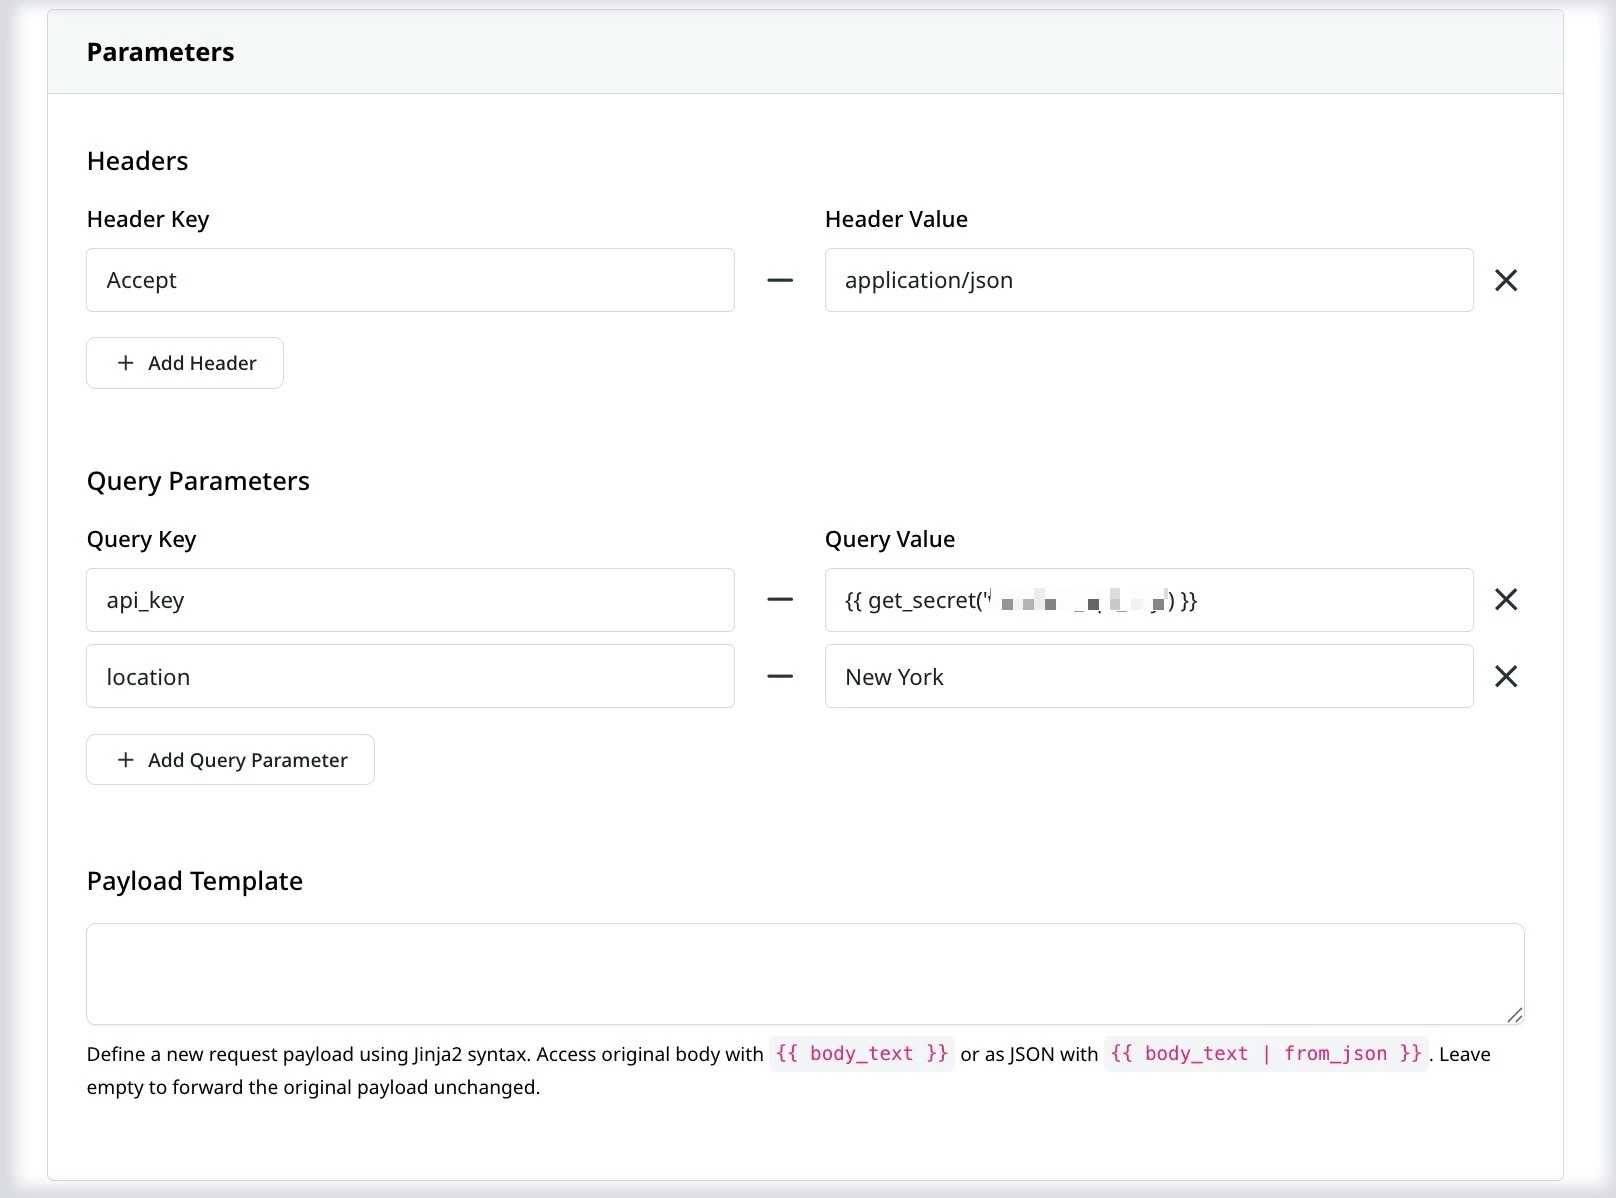
- (Optional) Parameters:
- Headers: Headers provide additional context to your API requests. For Example:
{"key": "Content-Type", "value": "application/json"}
{"key": "Accept", "value": "application/vnd.api+json;version=1"}
{"key": "X-API-Version", "value": "v2", "overridable": false} - Query Parameters: Query parameters are sent as part of the URL for filters, search terms, or pagination. For Example:
{"key": "api_key", "value": "{{ get_secret('service_api_key') }}", "overridable": false}
{"key": "q", "value": "{{ user.search_term }}", "overridable": true}
{"key": "limit", "value": "50", "overridable": true} - Payload Template: Connectors use Jinja2 templating to create dynamic, flexible configurations. This allows you to insert variables, call functions, apply filters, and use logic in your connector settings.
- Headers: Headers provide additional context to your API requests. For Example:
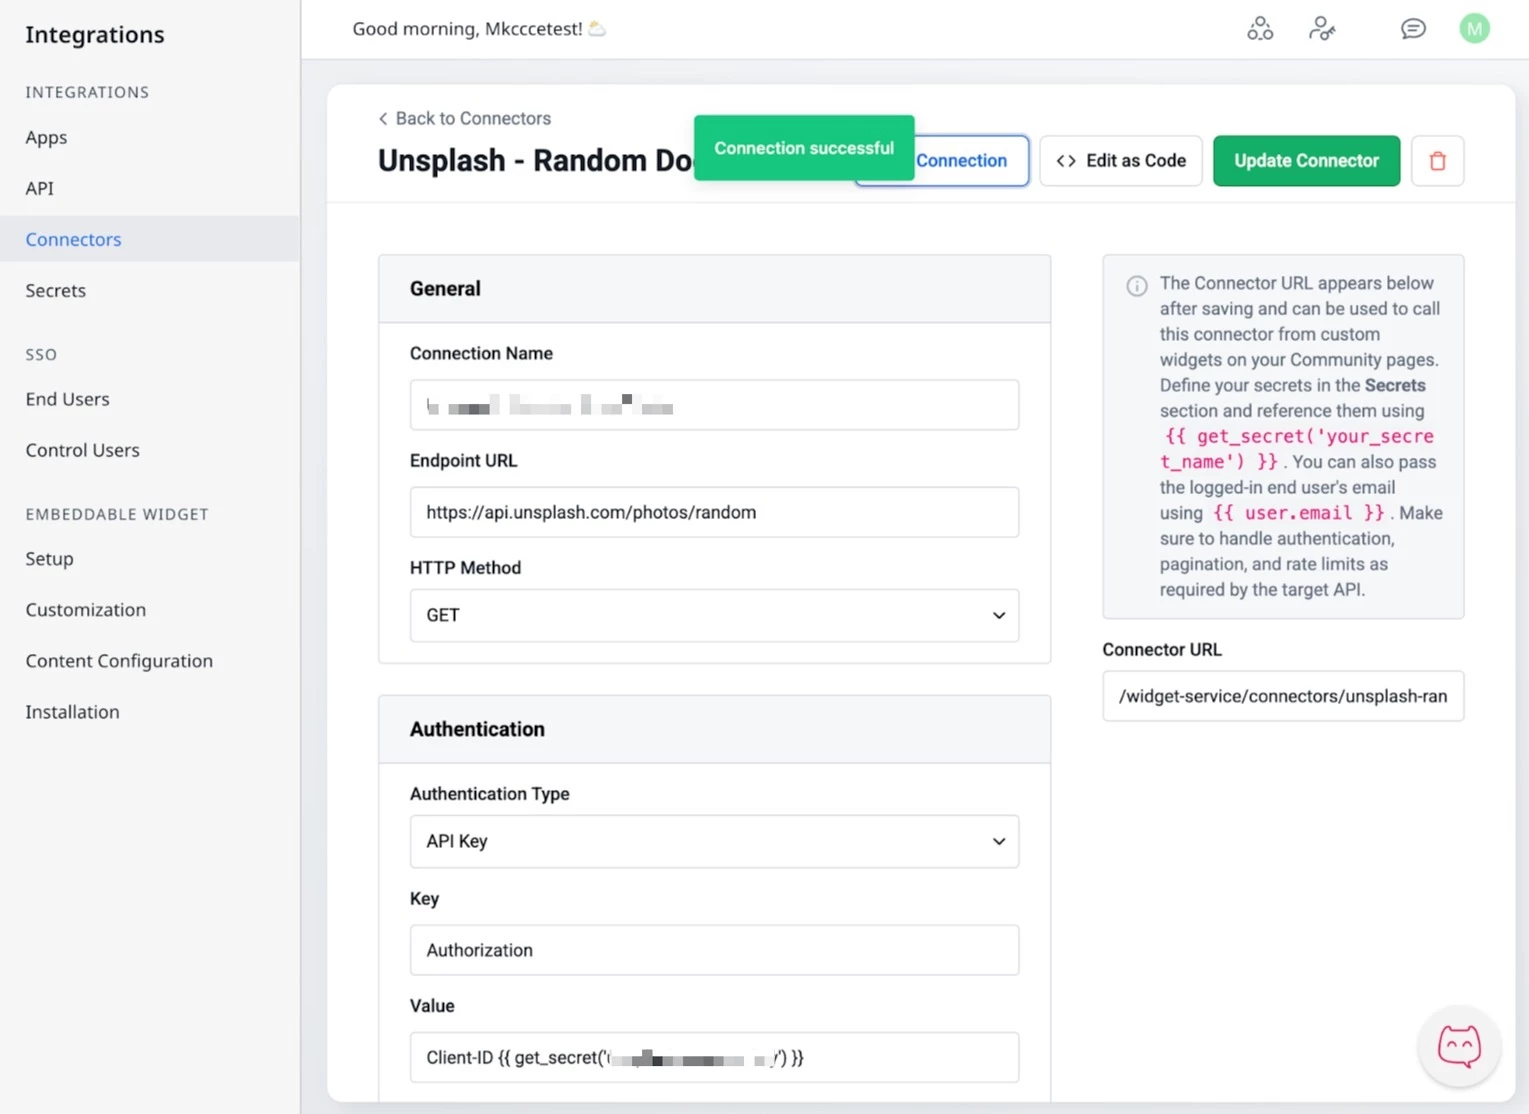
- Click Test Connection to verify the added credentials.
Note: If you encounter any errors, refer to the Fix Common Authentication Issues section.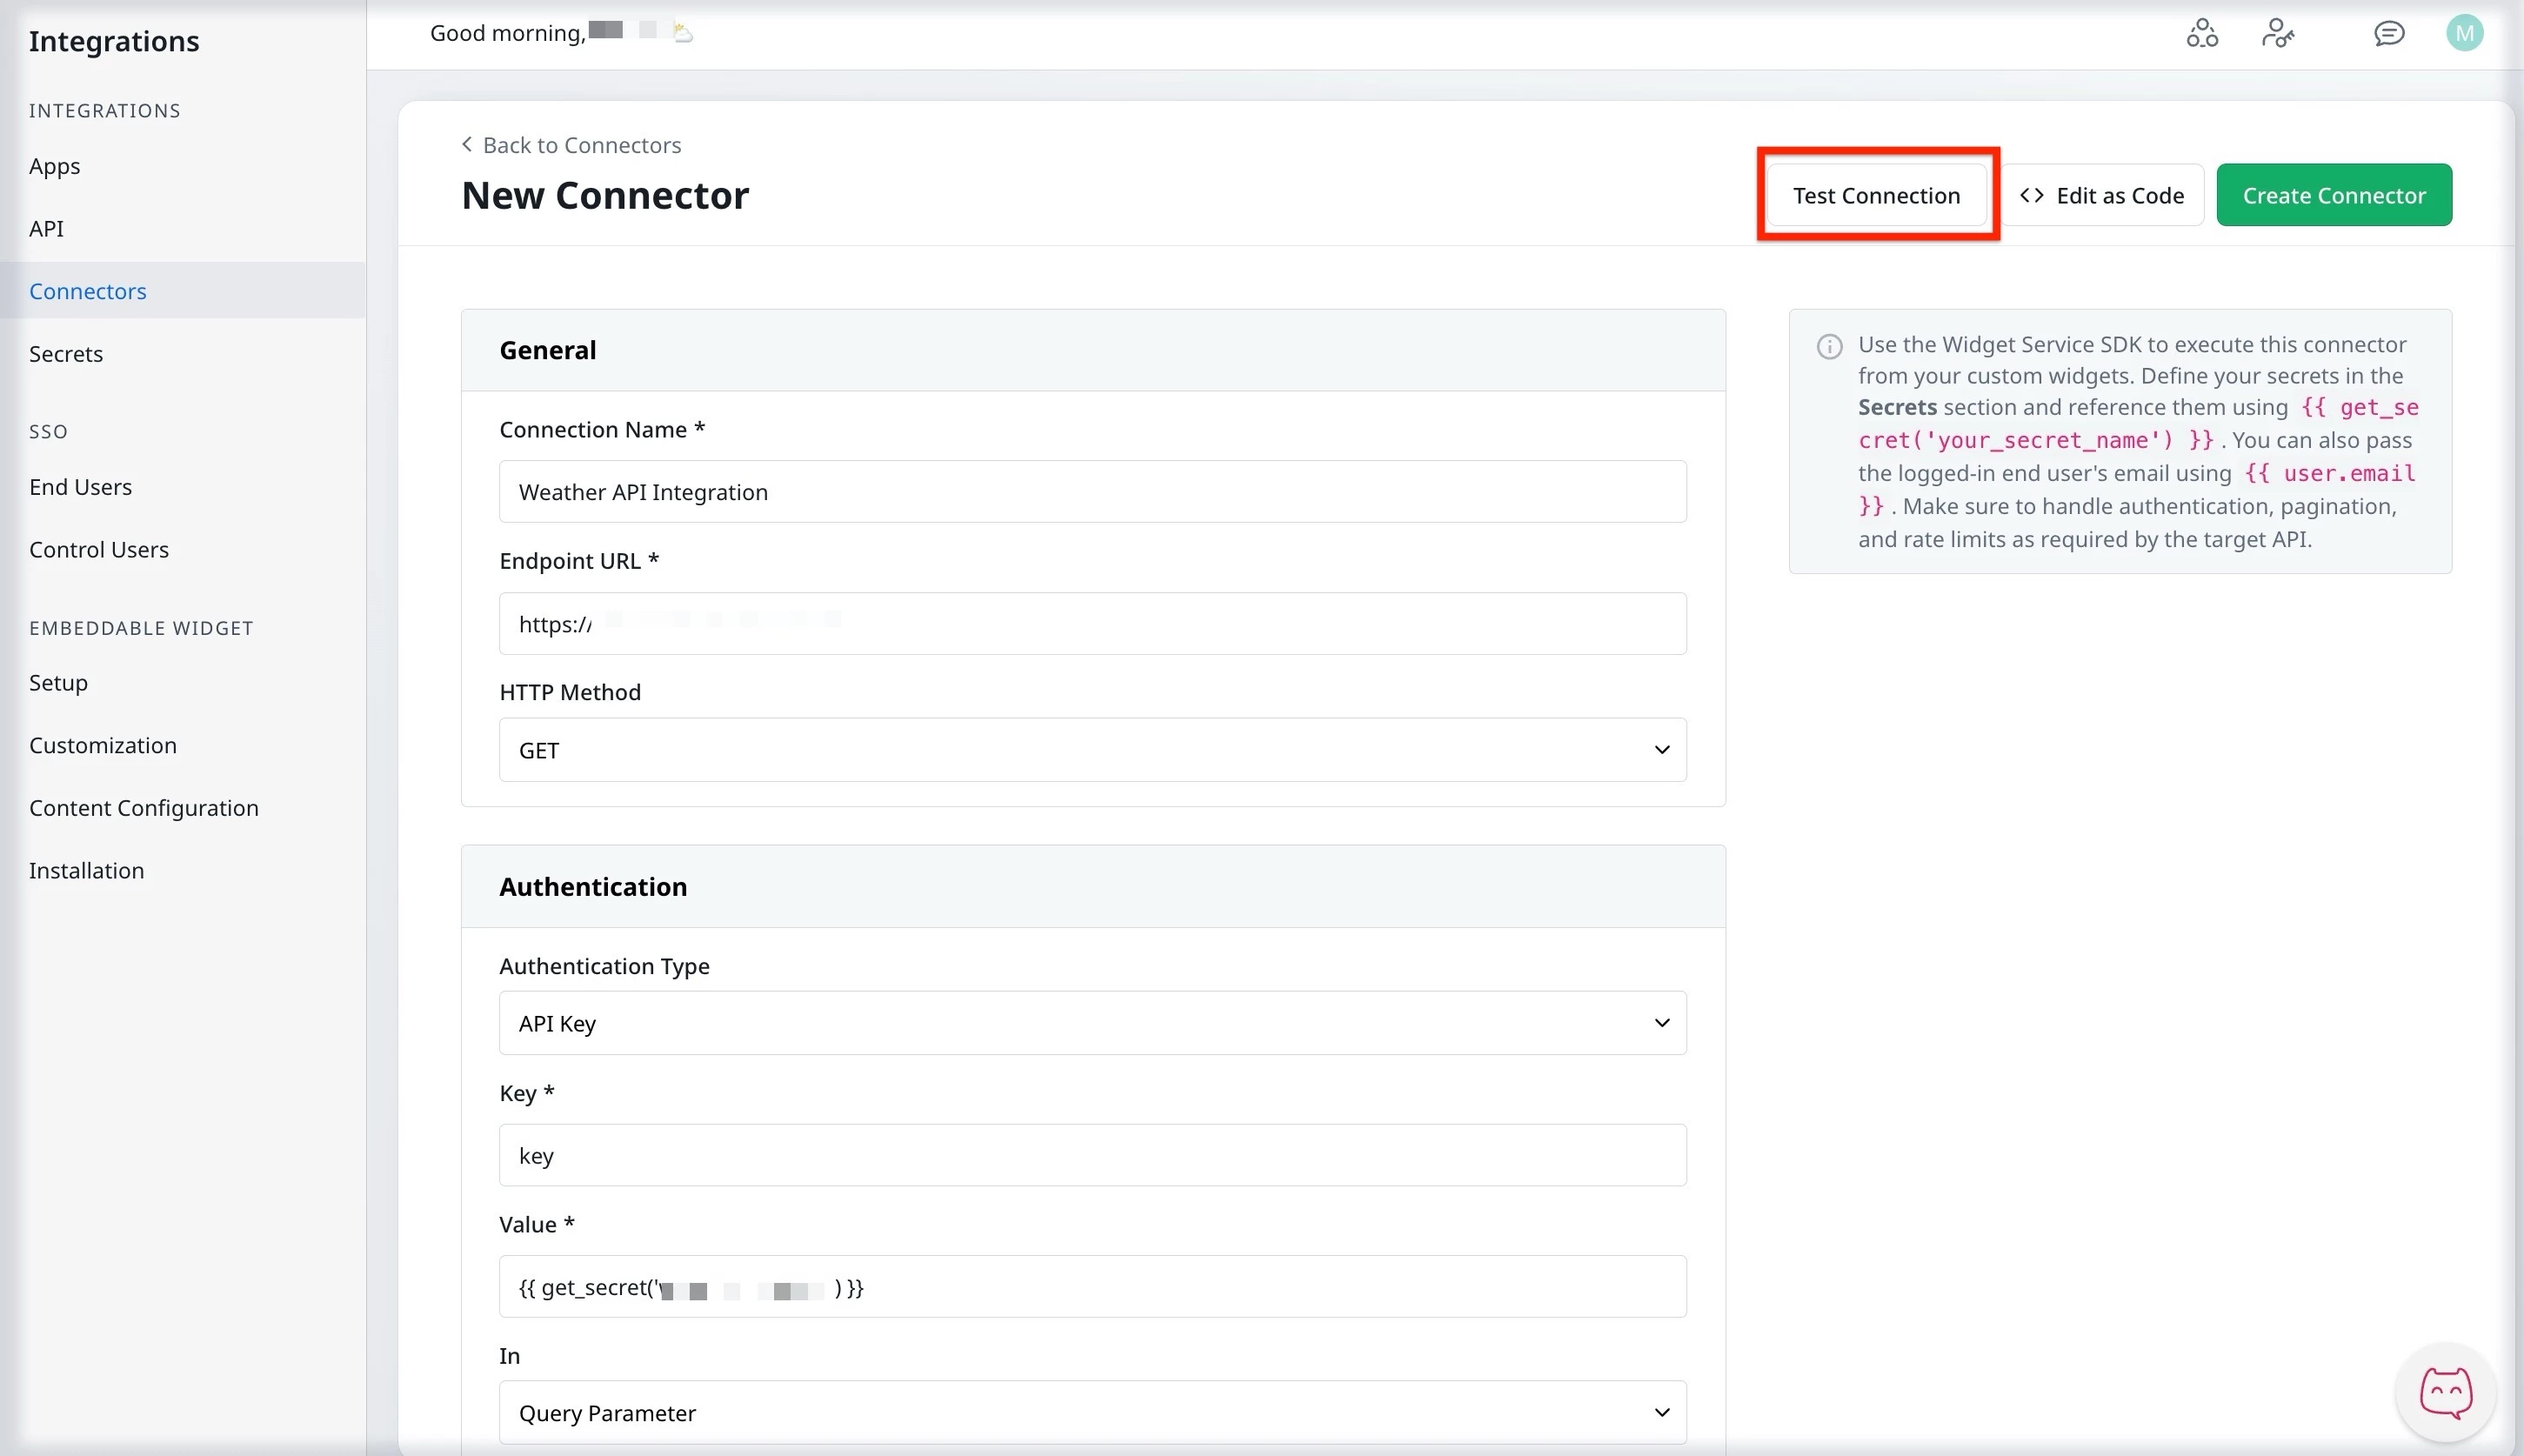
- Click Create Connector to save the connector.
Fix Common Authentication Issues
If the test connection fails to verify the authentication, admins need to resolve the issue based on the errors. The following table provides a brief explanation of common errors that are encountered.
| Symptom | Likely cause | What to check | Fix |
|---|---|---|---|
| 401 Unauthorized | Expired or invalid credential | Secret value, or OAuth token state | Re-authorize or rotate the secret |
| 403 Forbidden | Missing scopes or org-level rules | API scopes, IP allowlist, or tenant rules | Update scopes or allowlist egress IPs |
| 404 Not found | Wrong endpoint or path parameters | Endpoint URL, query, or path templating | Correct URL or parameters |
| 429 Too many requests | Third-party throttling | API rate limits, or retry headers | Add backoff or reduce frequency |
| 5xx Upstream error | Provider outage or internal error | Status page, or provider logs | Retry with backoff or contact provider |
| Empty or unexpected JSON | Templating mismatch | Jinja variables, or user context availability | Ensure that all fields in the form are filled correctly and follow proper syntax |
Add an HTML Widget to Destination
Once a connector is created, you can now display or send information from a Custom HTML widget using:
- A Connector URL such as /widget-service/connectors/aha-ideas-create/execute. This path is displayed when viewing an individual connector.
In this example, a connector is created to fetch a random image from Unsplash. The following JSON code is used to create a connector:
{
  "name": "Unsplash - Random Dog Photo",
  "url": "https://api.unsplash.com/photos/random",
  "method": "GET",
  "headers": [
    {
      "key": "Accept-Version",
      "value": "v1",
      "overridable": false
    }
  ],
  "query_parameters": [
    {
      "key": "query",
      "value": "dog",
      "overridable": false
    }
  ],
  "request_body": null,
  "authentication": {
    "type": "apikey",
    "config": {
      "key": "Authorization",
      "value": "Client-ID {{ get_secret('unsplash_access_key') }}",
      "in": "header"
    }
  }
}
To fetch details on the community page:
- Log in to Destination.
- Click Edit layout.
- Scroll to the location where you want to add the HTML widget and click the plus icon.
- From the Choose a Widget dialog box, select HTML Widget. The HTML Widget slide-out panel appears.
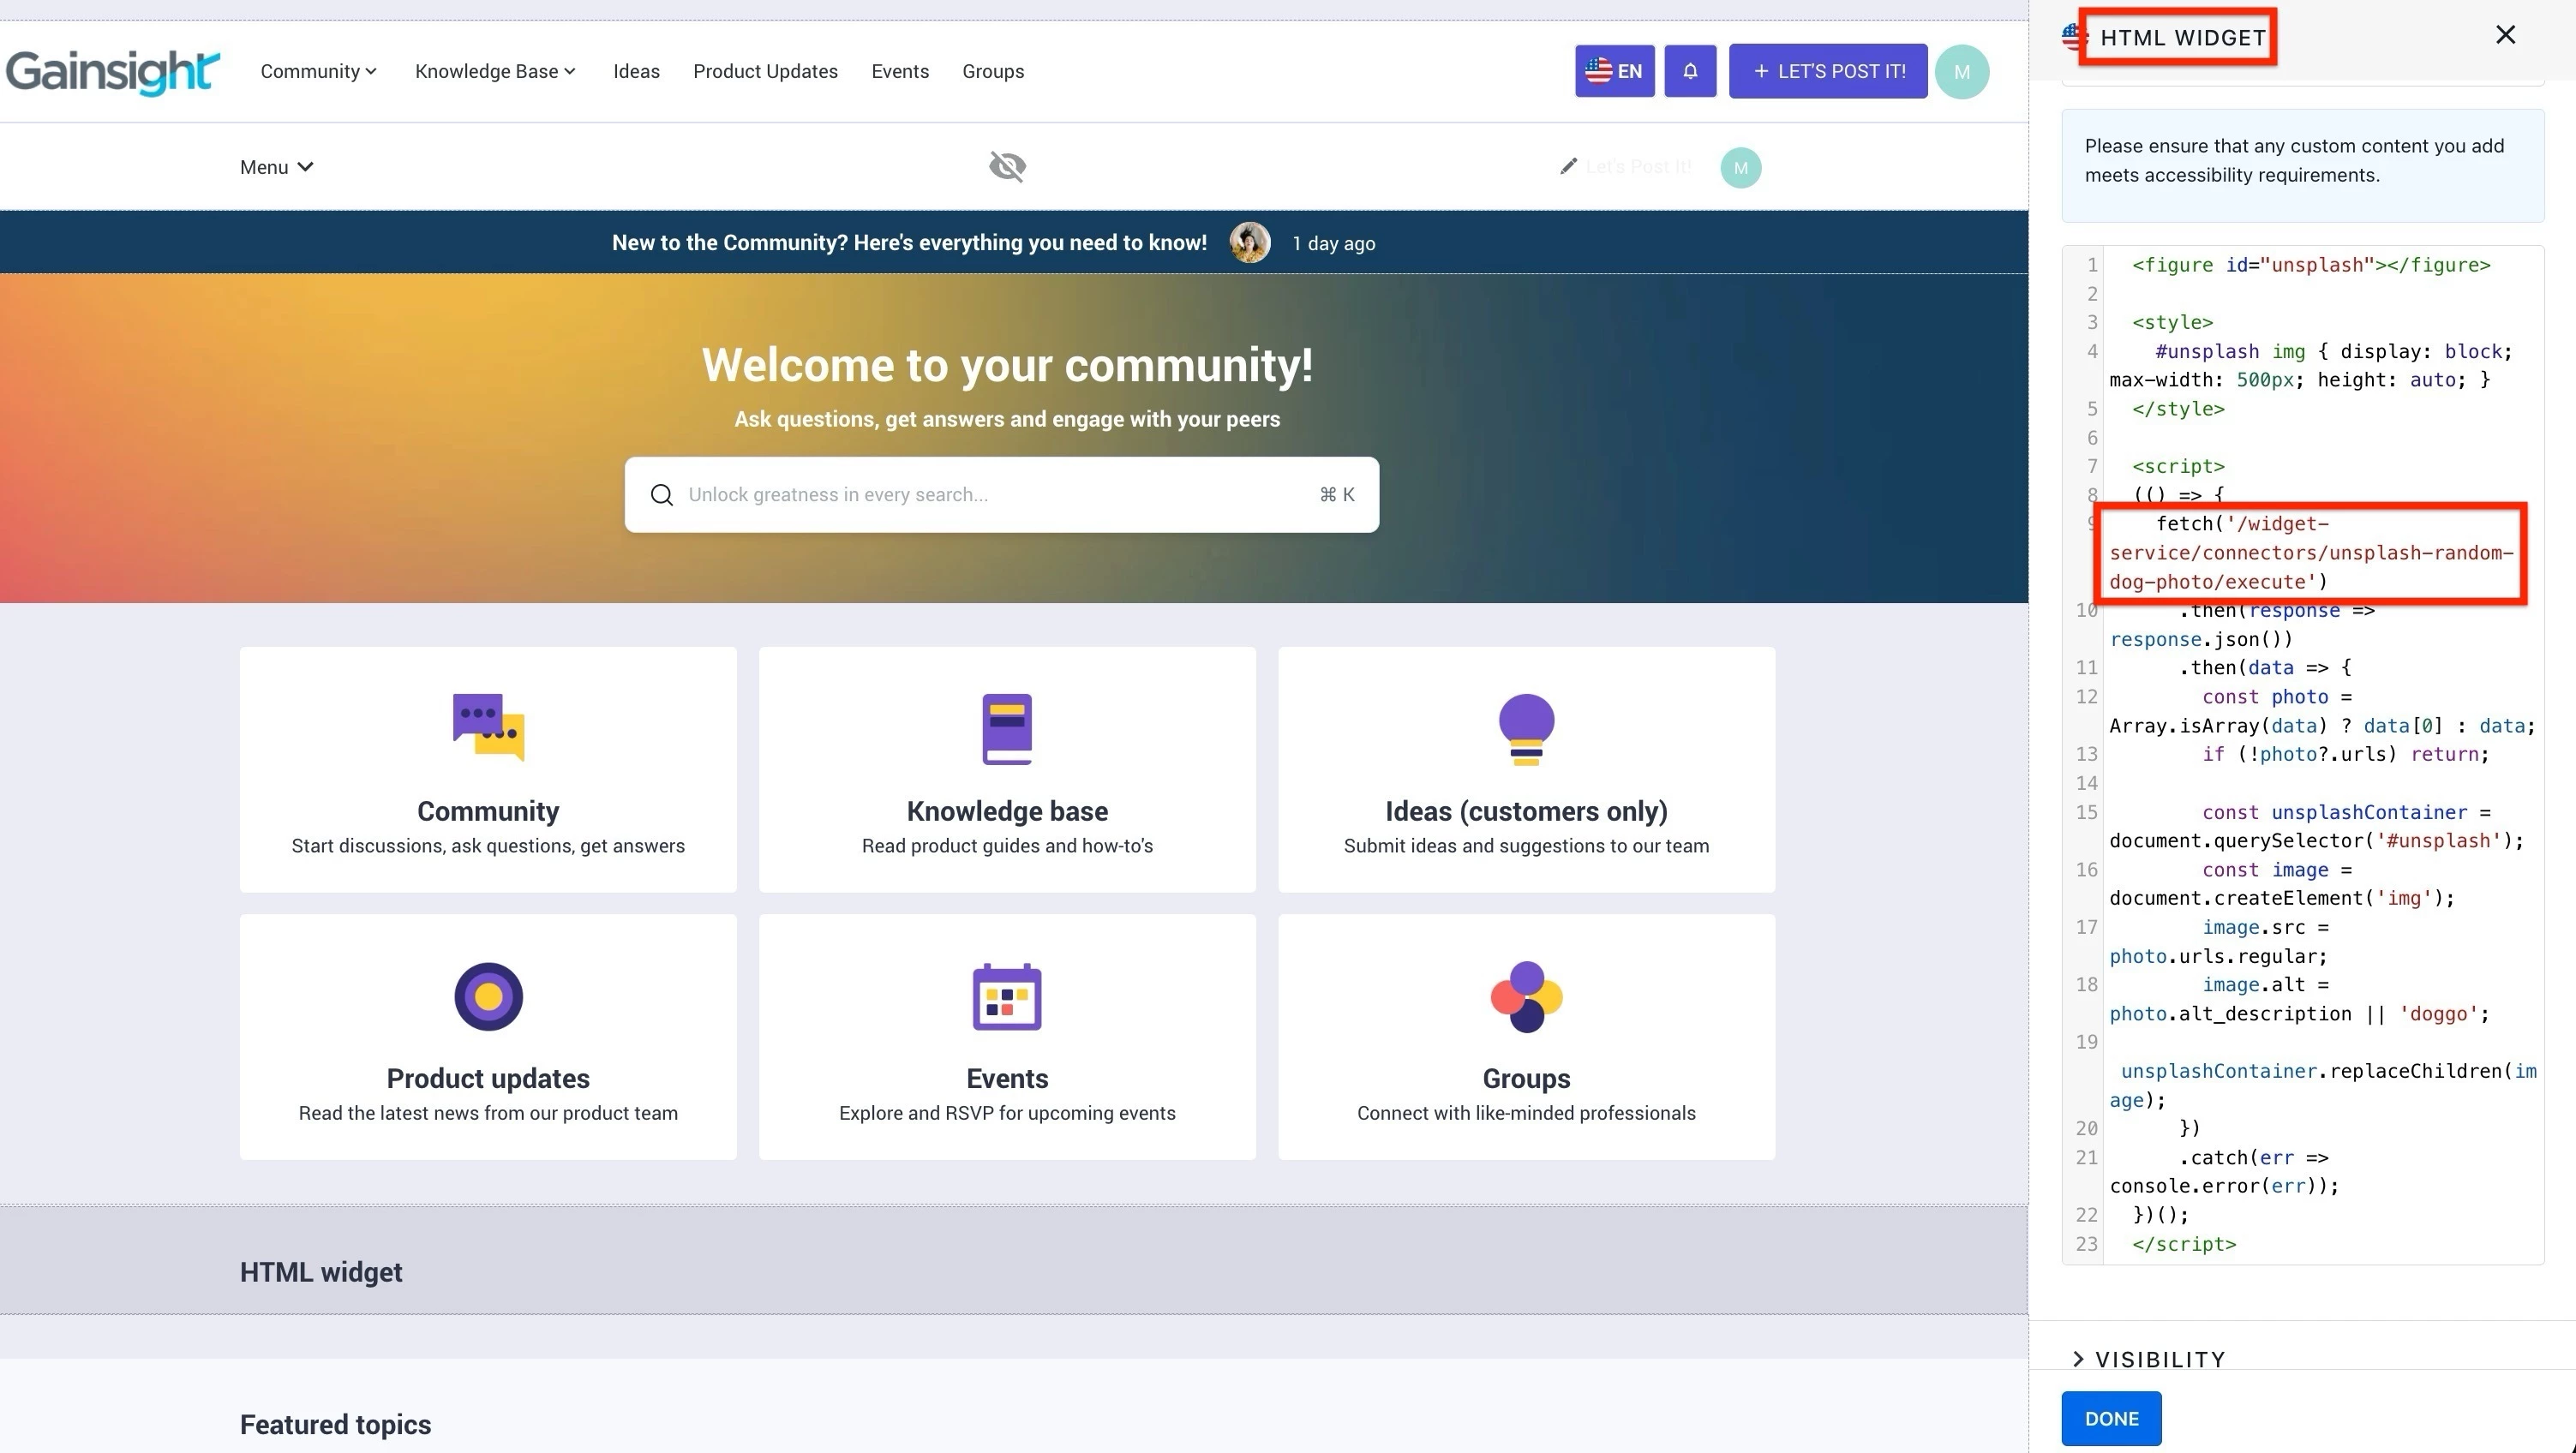
- Enter the HTML code in the widget, and click DONE.
The page now displays the content fetched using the API Connector.