This article guides community managers and administrators to set up the Footer widget in Destination.
Overview
The Footer widget marks the end of your community page. It is often used by organizations to provide crucial resources such as privacy policies, terms of services, and so on. Furthermore, it reinforces the organization's brand identity, providing a consistent experience to community users.

Configure Footer Widget
IMPORTANT: The Footer widget configuration settings are currently available in both Control and Destination. Based on the feature adoption in Destination and customer feedback, this widget configuration will be deprecated from Control in the future. The exact timeline for deprecation is still under review and will be communicated as soon as available to ensure a seamless transition.
Before you configure the Footer widget, it is important to check the widget’s visibility. To manage visibility of the Footer widget:
- Log in to Destination.
- (Optional) Click Customize.
- (Optional) Hover over the widget and click the eye icon to make the Footer widget accessible in your community. With this icon you can manage the Footer visibility, when you do not want the community users to see it while it is being worked on.

- Click Publish. The footer widget appears.
To configure the Footer widget:
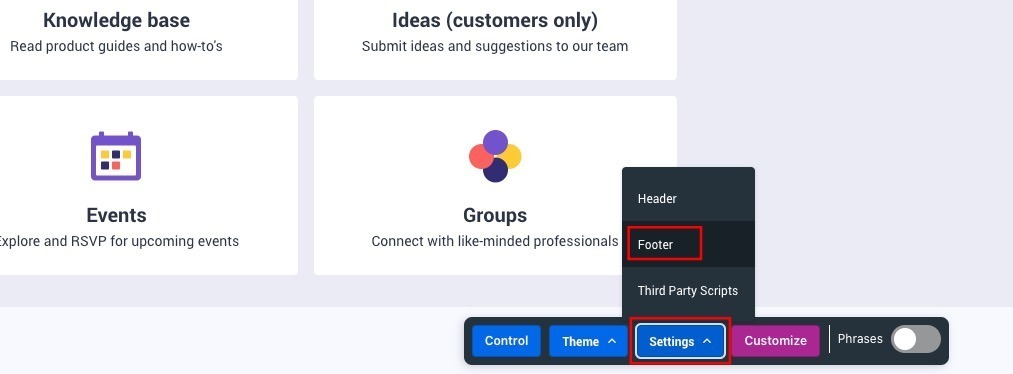
- From the Settings dropdown list, select Footer. The FOOTER configuration slide-out panel appears.
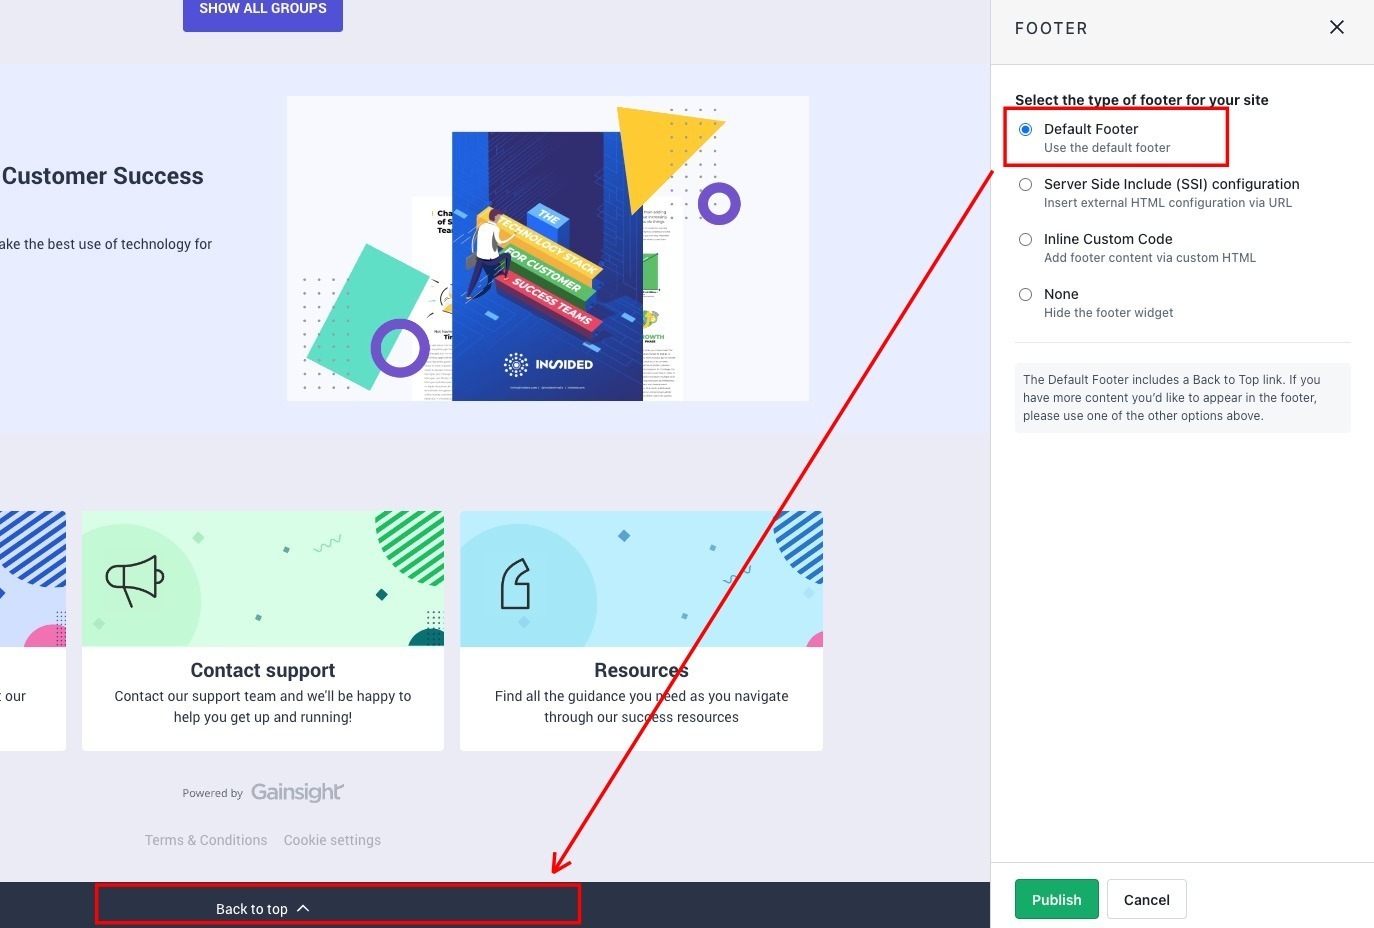
- Select and configure the Footer widget option that you want to apply in your community. The following options are available:
- Default Footer: This is the default footer configuration available for your community. It contains a Back to top link that redirects users to the top page of the community.
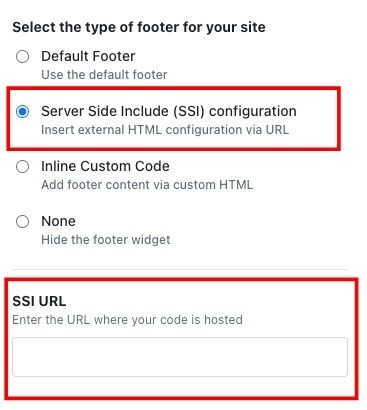
- Server Side Include (SSI) configuration: This option allows you to include your company footer using SSI files. You can inject a
footer.htmland other files into the Customer Communities platform. For more information on adding SSI files, refer to the How To Include SSI Files On Your Community article.
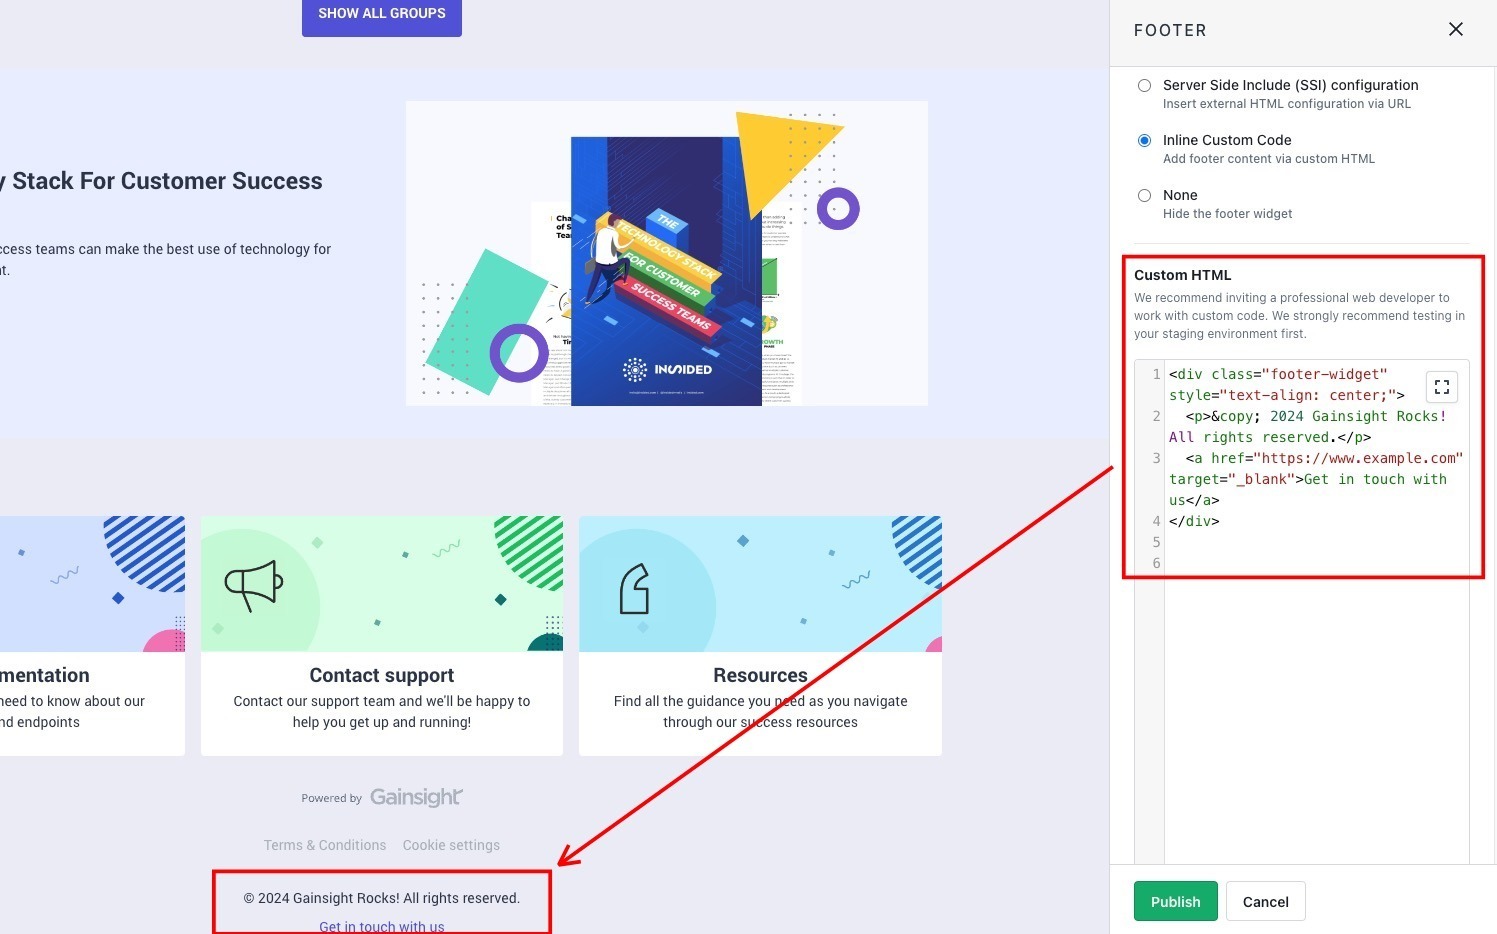
- Inline Custom Code: This option allows you to recreate your company footer using custom HTML code.
- Note: We recommend involving a professional web developer for custom code. Insert code at your own risk and proceed with caution, as Gainsight support cannot assist with custom code issues. To test your code before publishing, use your staging environment.
- None: This option allows you to remove the footer widget from your community.
- Click Publish. The Footer widget is published successfully.
If you have any queries or feedback, please drop an email to docs@gainsight.com or post a reply to this article.
