

DannyPancratz
VIP ⭐️⭐️⭐️⭐️⭐️
April 29, 2025
Solved

How to adjust Hero Image padding in Engagements templates?

  • April 29, 2025
  • 3 replies
  • 52 views

I’m using a Default Template >  Hero Image Dialog. 

When I go to add a new hero image, it places padding bars above and below the image. 
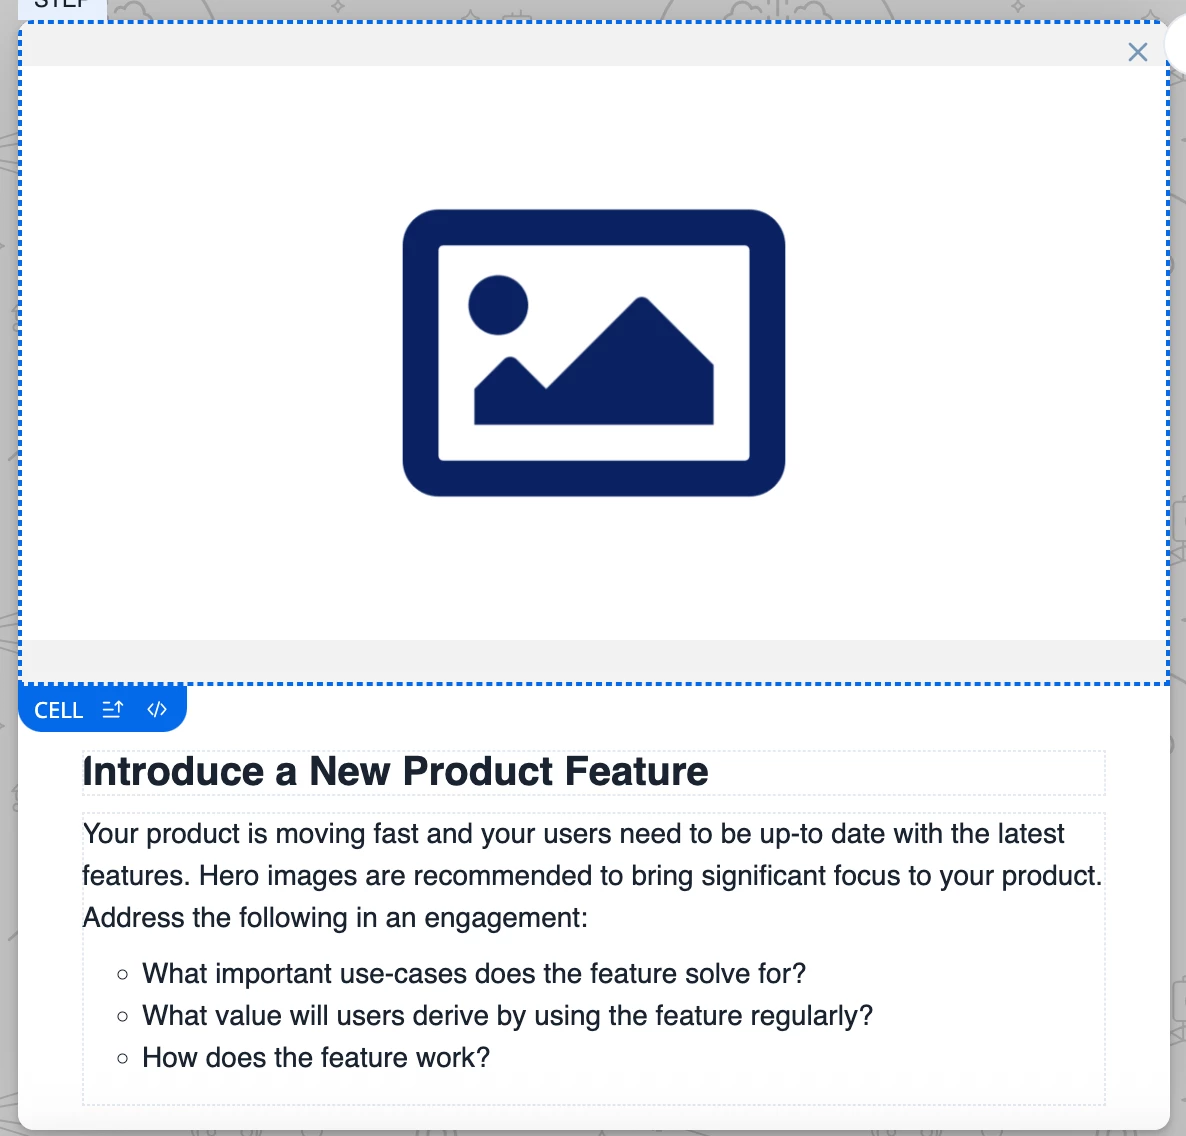
The gray bars above and below the image are what I want to adjust, specifically I want to at least remove the gray bar below the image. 

It is something specific to the cell the image lives within. However, 

  • Code view of the cell reflects nothing related to this
    • HTML lists only the height and width of the image, not the cell.
    • CSS doesn’t have anything obvious related to this
  • There seem to be no WYSIWG settings
  • The coloring of the padding bars seems to be nowhere to be found
  • It doesn’t matter the size of the image I upload, it adds this padding above and below. 


    Best answer by DannyPancratz

    I went back to the Default Hero Image template and I got there some how. 

    It was a combination of using the buttons to switch from the image to the it’s “parent” row. Then

    1. adjust the row size
    2. adjust the image html to remove the <p></p> that was adding a text row

    Somewhere in the style for the row, there seems to be a font size. So even though there was no text, the <p></p> in my html was creating a row of “text” below the image. 

    Oof. 

    3 replies

    DannyPancratz
    VIP ⭐️⭐️⭐️⭐️⭐️
    April 29, 2025

    I think it’s in the template I am using. 

    The Contextual Webinar Invite Template worked when I switched the image. 

    FYI: I am no longer active in this community
    DannyPancratz
    VIP ⭐️⭐️⭐️⭐️⭐️
    April 29, 2025

    But, yikes! That’s not the template I want in terms of action buttons, etc. I just want the image padding to disappear. 

    FYI: I am no longer active in this community
    DannyPancratz
    DannyPancratzAuthorAnswer
    VIP ⭐️⭐️⭐️⭐️⭐️
    April 29, 2025

    I went back to the Default Hero Image template and I got there some how. 

    It was a combination of using the buttons to switch from the image to the it’s “parent” row. Then

    1. adjust the row size
    2. adjust the image html to remove the <p></p> that was adding a text row

    Somewhere in the style for the row, there seems to be a font size. So even though there was no text, the <p></p> in my html was creating a row of “text” below the image. 

    Oof. 

    FYI: I am no longer active in this community