This article guides control users, including community managers, administrators, and moderators on how to create and edit groups.
Overview
Groups help control users to better organize the community and drive growth and retention by providing a sense of belonging among community users. Control users create groups to:
- Manage multi-product communities, providing a space to encourage product-related discussions.
- Gather feedback on products, allowing them to gain insights into customer needs and preferences.
- Provide a private space for discussions, encouraging feedback on beta features.
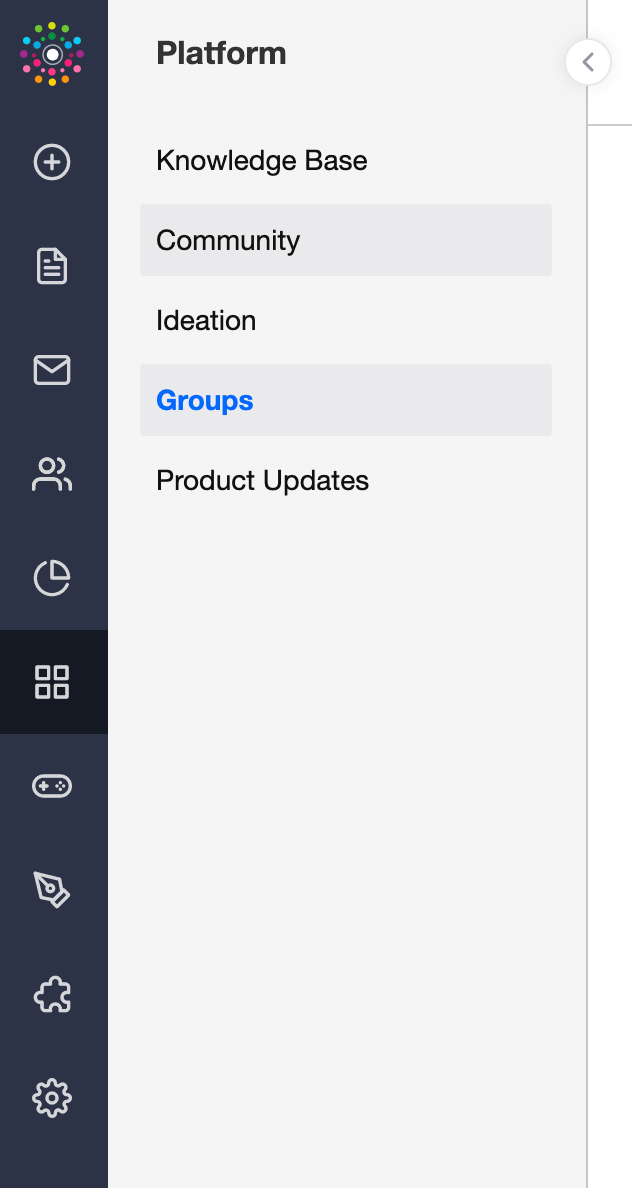
The Groups page in the Control view provides an overview of all active groups in the community. To access the Groups page, log in to Control and navigate to Platform > Groups. The Groups page lists all groups available in the community. The following elements provide specific information for each group.
- Group name: Name of the group.
- Group type: Type of group, public, private, or hidden.
- Members: Members who are currently part of the group.
- Join requests: Pending approval requests from members to join the group.
Note: Groups in the Destination view appear in the same order as they are in the Control view. Reordering groups is not possible in the Control view.

Create a Group
To create a new group:
- Log in to Control
- Navigate to Platform > Groups. The Groups page appears.
- Click New group. The Add group screen appears.
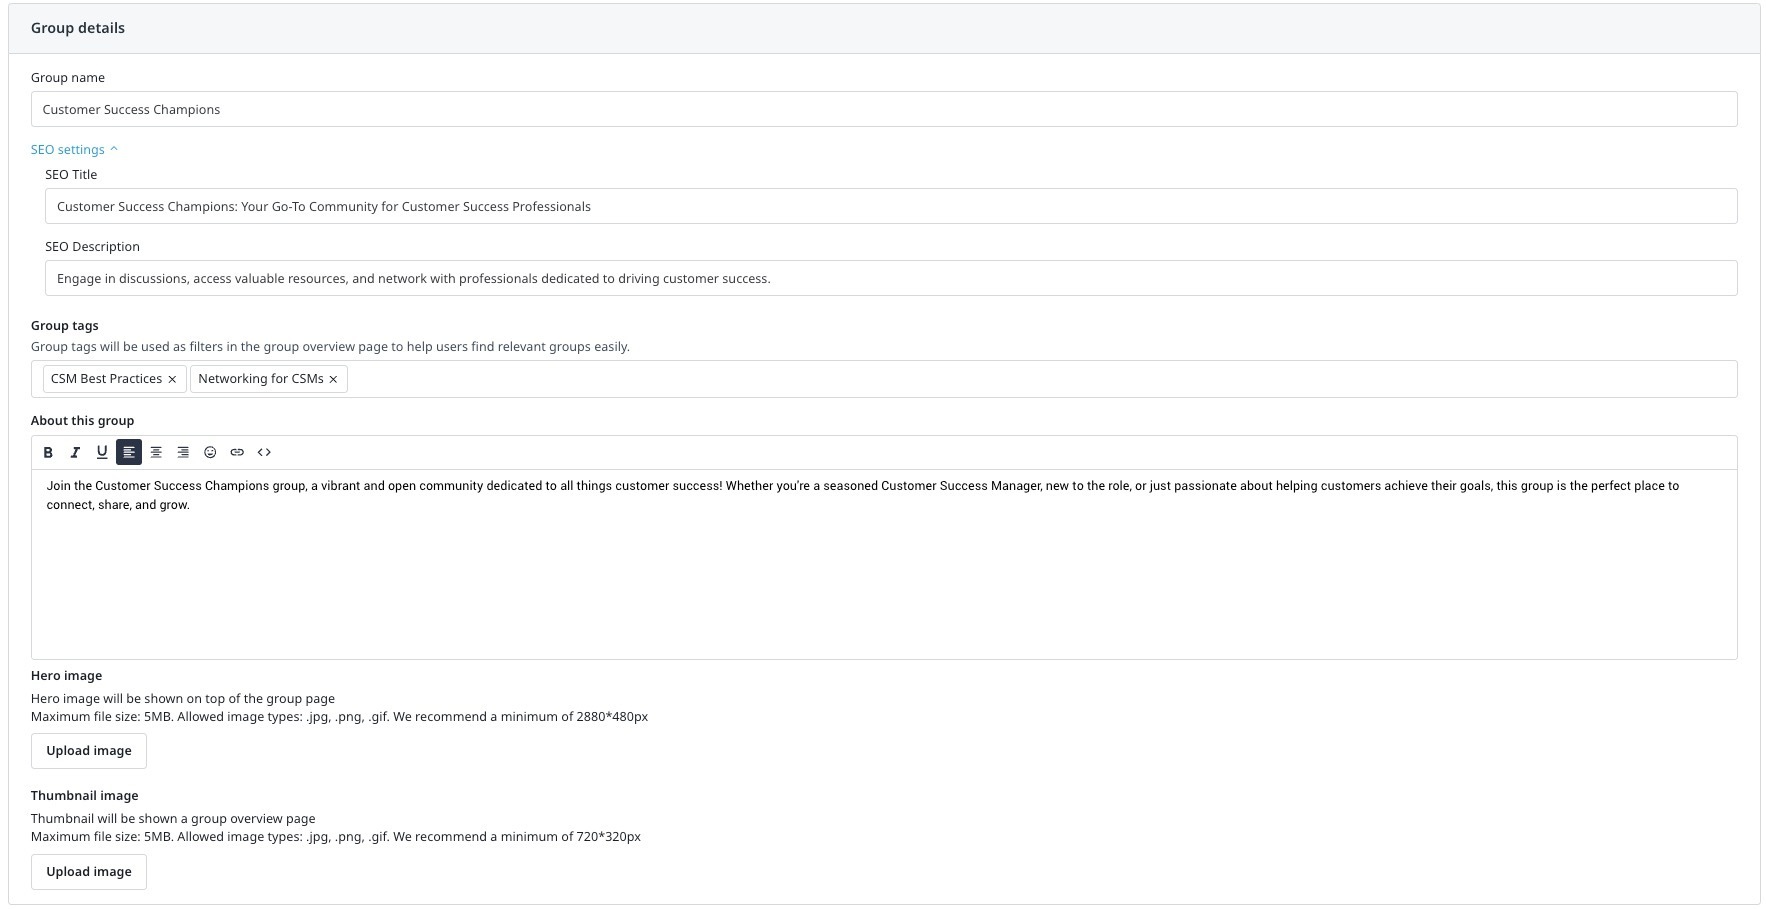
- In the Group details pane, provide the following information:
- Group name: Enter a name for the group.
- SEO settings: Enter the SEO title and description for search engine results.
- Group tags: Enter tags for the group to improve search performance.
- About this group: Enter a description for the group to help users understand group guidelines.
- Hero image: Upload a hero image as per the defined settings.
- Thumbnail image: Upload a thumbnail image as per the defined settings.

- From the Group type pane, select the type of group you want to create. For more information, refer to The different group types: Public, Private and Hidden groups article.

- In the Feature topics pane, enter the title and the URL of the topic you want to highlight in the group.

- Click Save Changes. The new group appears on the Groups page.
Edit a Group
To make changes in an existing group:
- Navigate to Platform > Groups. The Groups page appears.
- From the Group name column, select the group you want to edit. The group screen appears.
- In the Group Details tab, make the required changes.
- To view the list of members part of the group, click the Members tab.
- In the Members tab, you can take following actions:
- Click Refresh to refresh the members list.
- Click Export CSV to download the members list.
- Click Remove to withdraw a member from the group.
- To remove the group, click Delete this group. All topics must be removed before deleting the group.
- To change the current group type, click Edit group type.
- To add new members to the group, click Invite members.
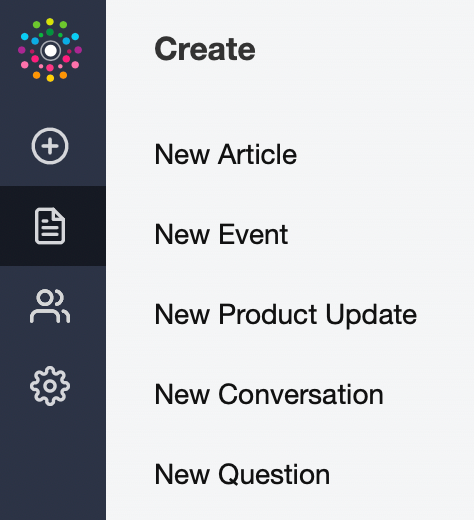
- To create and publish a new article, conversation, or question in the group, click the New article dropdown list and choose the appropriate option.

If you have any queries or feedback, please drop an email to docs@gainsight.com or post a reply to this article.


