
This article guides control users, including community managers, administrators, and moderators on how to create new events and edit existing events.

Overview

Events help community managers to drive engagement in the community. They provide a space for all community users to gather,share and collaborate, while also providing a platform for community managers to promote their upcoming events and increase participation. Using events, community managers can facilitate knowledge sharing, build lasting relationships, drive product adoption and advocacy, highlight customer success stories, and much more.

Create an Event

To create an event:

  1. Log in to Control.
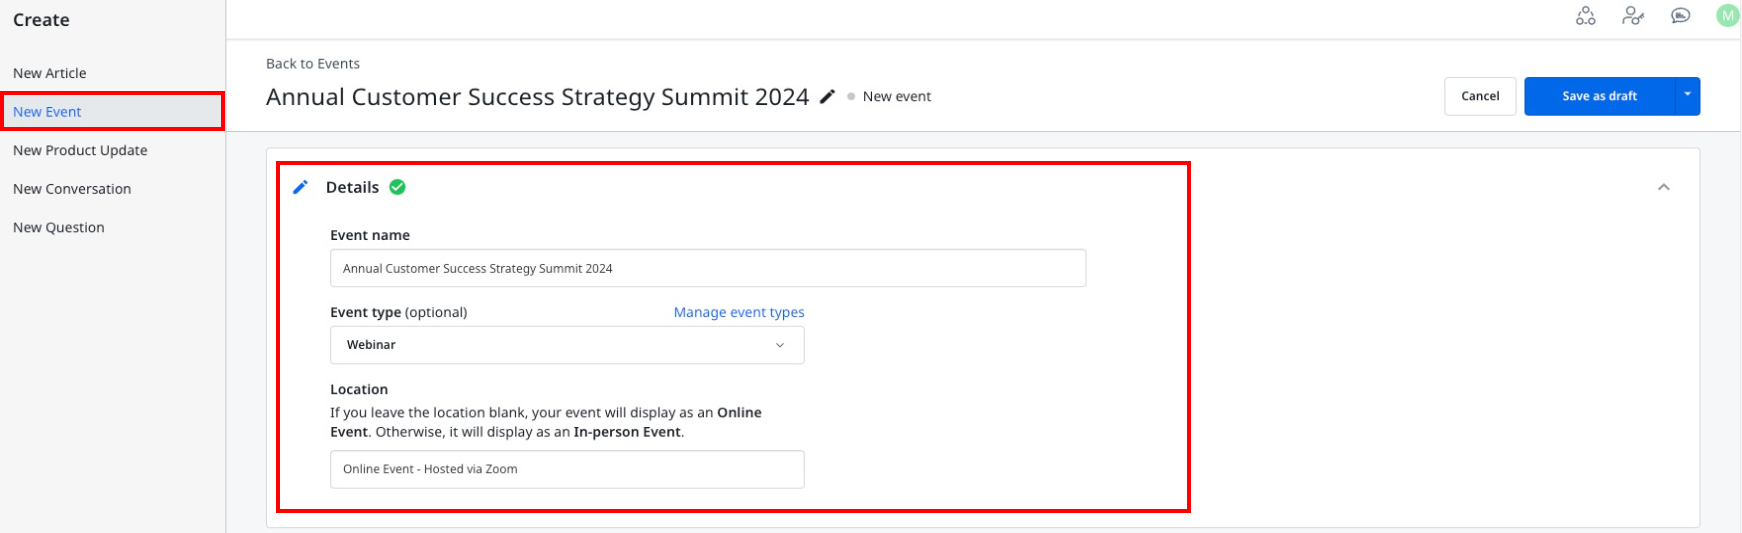
  2. Navigate to + > New Events. The new event page appears.
  3. In the Details pane, provide the following information:
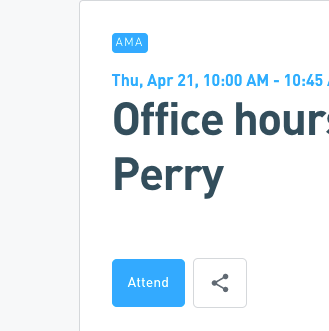
    • Event name: Enter a name for the event.
    • Event type: Select the event type. Five default event types are available that can be configured as per your community requirements. For more information on configuring event types, refer to the How to Configure Event Types article.
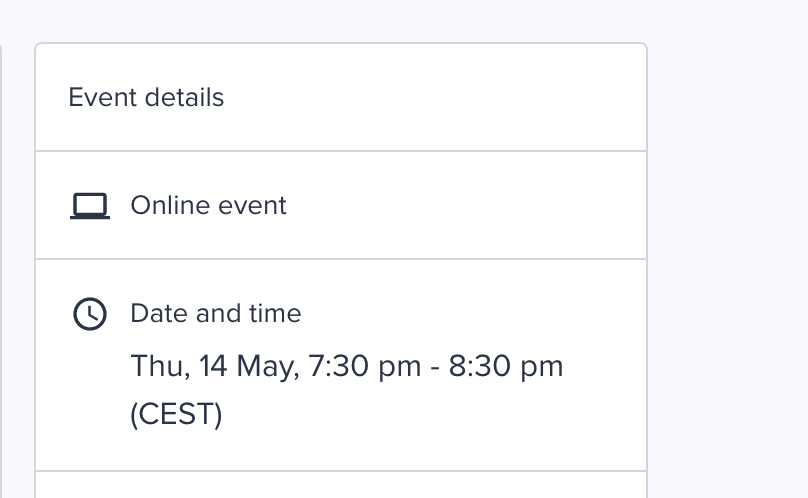
    • Location: Specify whether the event is online or in-person. If you leave this field blank, Online Event is displayed as default.
  1. In the Timezone pane, select the event time. When a date is selected, the event start and end time is automatically filled with an hour difference in between.
  2. In the Registration pane, select one of the following options:
    • Community Event: Select this option if you want community users to register for an event through the Events page in your community.
      • (Optional) Confirmation message: Enter an event related message that community users will receive upon registration.
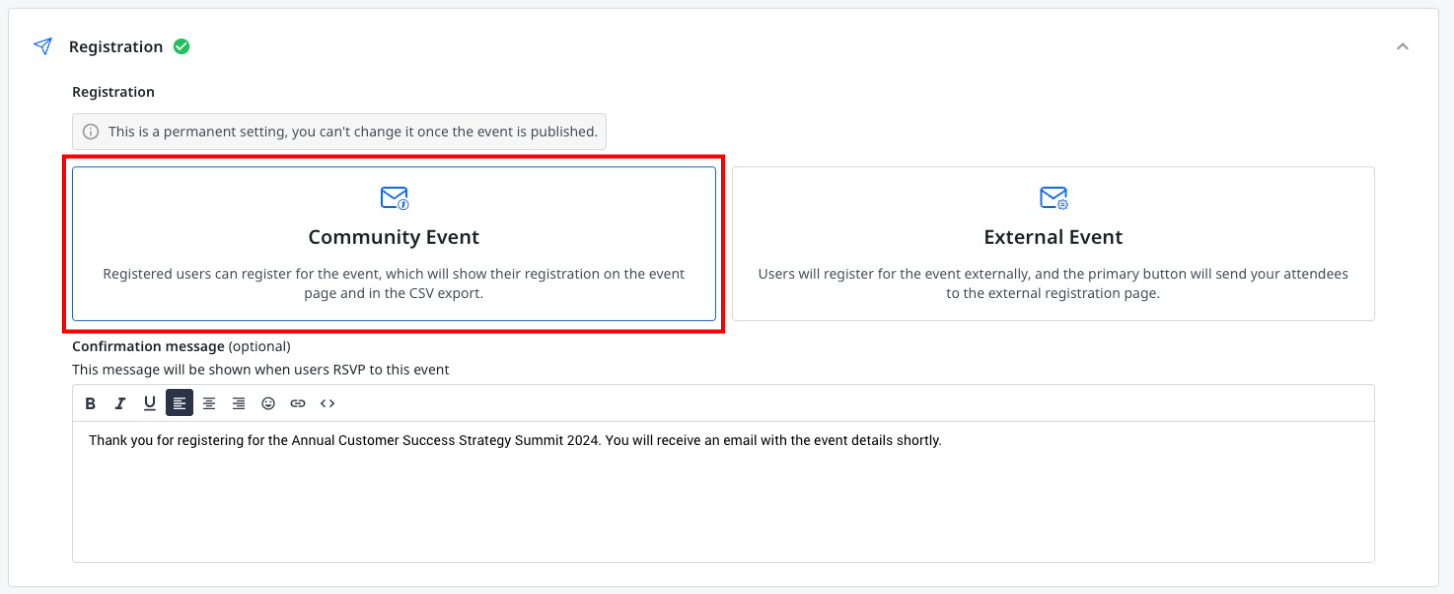
  • External Event: Select this option if you want community users to register on an external page for an event hosted by a third-party.
    • Registration button text: Enter the custom text for the button that will be available on the Events page.
    • Registration URL: Provide the external link where community users can complete their registration. 
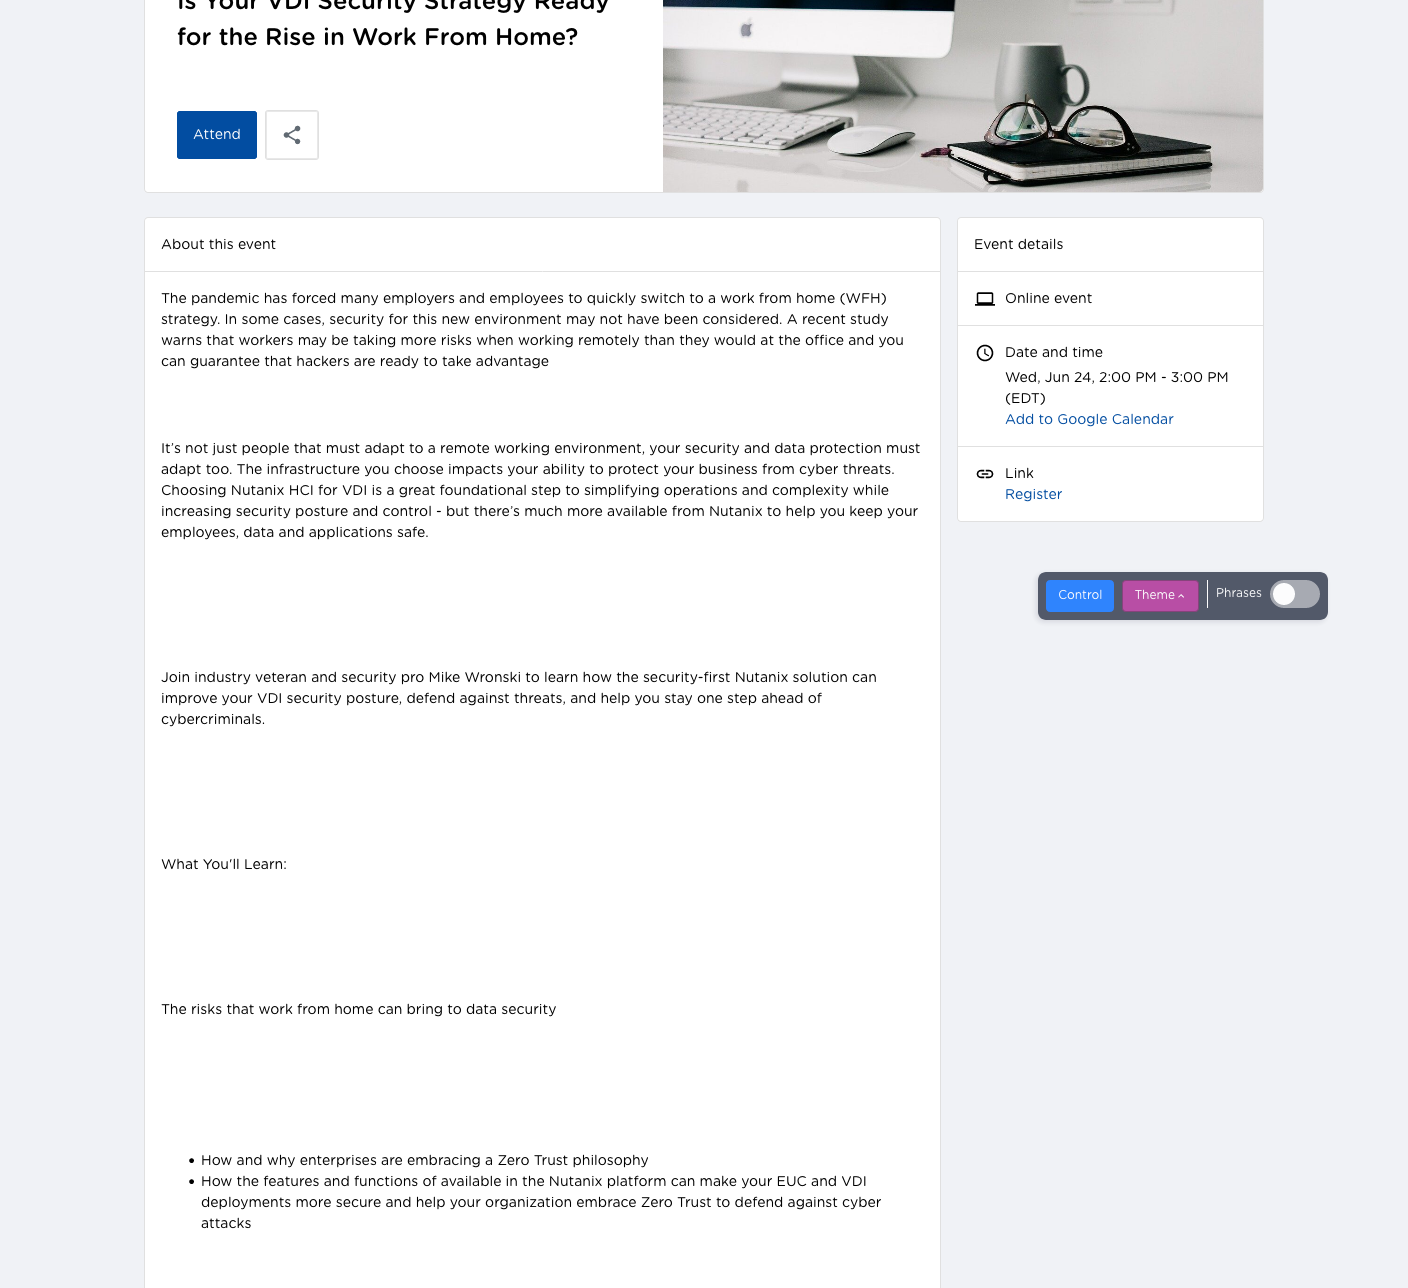
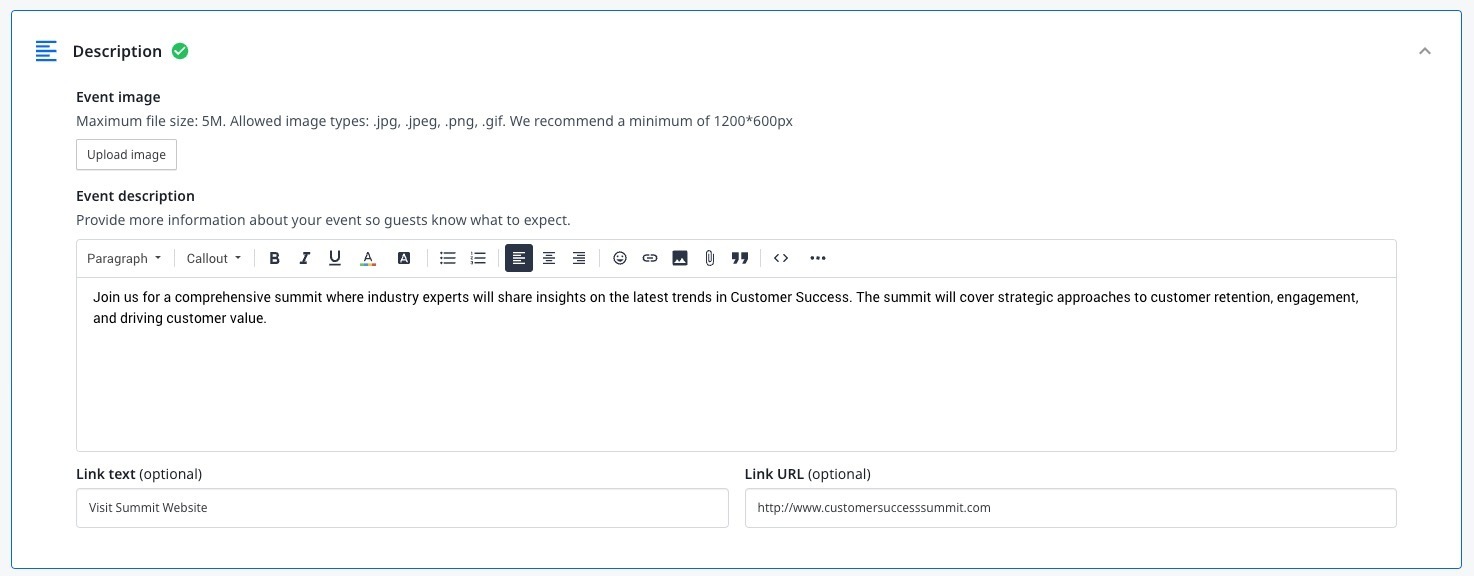
  1. In the Description pane, provide the following information:
    • Event image: Upload an image for the event based on the defined criteria.
    • Event description: Enter a detailed description to give community users insights about the event.
    • (Optional) Link text: Enter a display text for a link where community users can get more information about the event.
    • (Optional) Link URL: Enter the URL for the link text entered above.
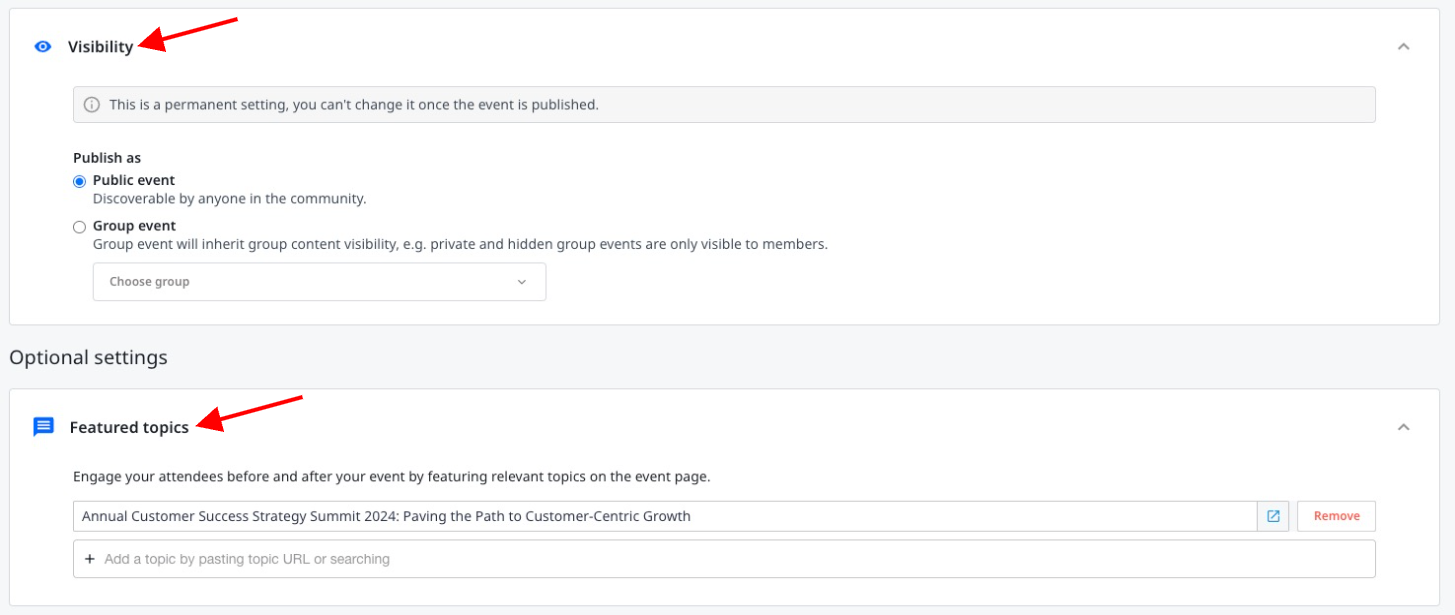
  1. In the Visibility pane, select one of the following options:
    • Public Event: Select this option if you want this event to be publicly visible and accessible.
    • Group Event: Select this option if you want to limit visibility and accessibility only to members of the selected group.

Note: Once the event is published in a private or hidden group, you need to ensure that the event is visible to users of that group. For more information on promoting events in a private or hidden group, refer to the Promote Events in a Private or Hidden Group article.

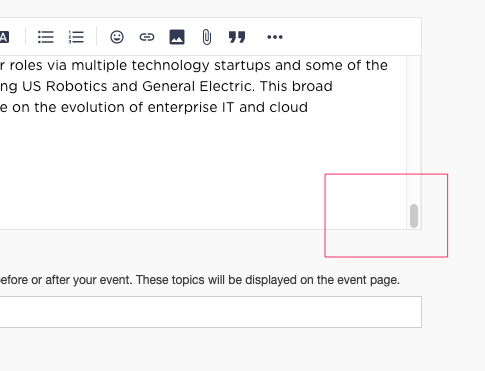
  1. In the Feature topics pane, provide the link to a topic that you want event attendees to access before or after the event.
  1. To publish the event, click Publish now.
  2. (Optional) To publish the event at a later date, click Save as draft.

Edit an Event

To make changes in an existing event:

  1. Navigate to Platform > Events. The Events page appears.
  2. Select the event you want to edit.
  3. (Optional) To export the CSV file with attendee details, click Download attendee list.
  4. Make the required changes.
  5. Click Save Changes.

Note: Settings under the Registration and Visibility panes cannot be changed after the event is created and published.

Duplicate an Event

Duplicating an event is beneficial for creating similar events with consistent details that allows you to save time and ensure accuracy by reusing the existing event's settings and content. To duplicate an existing event, on the Events page, click the Duplicate button. A new duplicate event is created in the draft mode.

Note: All event settings, except those in the Time pane, are prefilled in the duplicate event.

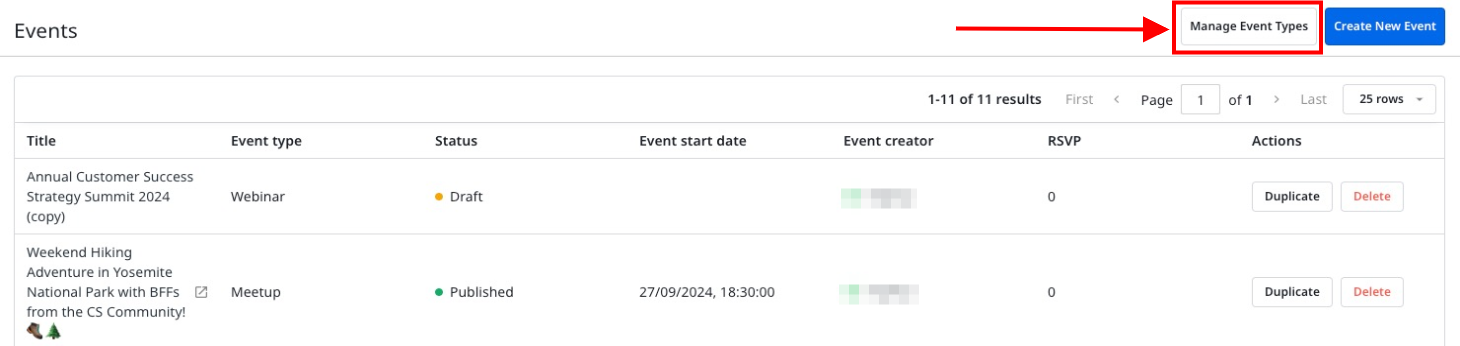
Consider the image below: a duplicate of the CS Strategy Summit 2024 event is created. The duplicate event title includes the suffix (copy), and the event is in Draft status.

Manage Event Types

Five default event types are available, such as Conference, Meetup, Webinar, Virtual Workshop, and Virtual Conference. You can customize the existing event types or create new event types. 

To access the Event Types page:

  1. Navigate to Platform > Events. The Events page appears. 
  2. Click Manage Event Types. The Event Types page appears.

For more information on configuring event types, refer to the How to Configure Event Types article.

If you have any queries or feedback, please drop an email to docs@gainsight.com or post a reply to this article.


Hi,

I really like this feature and want to use it, but I miss a couple things.

  1. Most of our events need a formal registration, and even following the tips above, I was afraid users would not notice that they still have to sign up formally. If they click the Attend/RSVP button, it’s confusing when the Confirmation Dialog says “you’re attending” but the text below contradicts that.

In the end I abandoned the Event and am still using Article type with everything formatted manually to avoid disappointed attendees.

I wonder if this aspect could be improved a bit so others in my situation can more confidently use the events feature?

  1. Another thing unclear to me is how the event time appears in different time zones? I would always prefer to see a time zone next to the time, as confirmation that it knows where I am, and I suppose users also appreciate this. Otherwise I would have to make this clear in text below, by stating the times in major time zones again, which is a bit redundant.

Thanks a lot for the feedback @JessEs!

We’d love to get you using events, so I’m interested to see how we can help you achieve #1 in particular. What platform are you using for the formal signups?

We do show the timezone to the end user on the events page based on their browser (see below) - are you talking about showing this in another location?


Hi @daniel.boon - we used Zoom to complete the signup for a webinar recently, but we have used other forms sending info to Salesforce or other systems.

I think a quick and easy solution would be to make the “Attend” button more customizable so that instead of just the built-in attendance counter, it could be optionally linked to a URL which could be whatever registration page.


One option we just made available is an integration via Zapier (see this inSpired idea). Documentation isn’t ready yet, but essentially this lets you create an integration with Zoom or other platforms to enable a one-click signup experience for end users. I still think being able to turn off attendees can be relevant, but with the Zapier integration you get the best of both worlds.

Would you consider using this @JessEs?


I’ll have to take it up with our marketing team, but it might help. :)


I’ll have to take it up with our marketing team, but it might help. :)

@JessEs any word on whether this Zapier trigger will work for you 🙂?


When pasting content into an event I noticed when saved spaces are included, and I need to go back and re-format the text. Wonder if this is something I am doing or happening to more folks? I copy from our event page and use firefox 77.


Also wonder if it would be useful to have the expand/resize option for the window when adding content into the events window.


Hey @aluciani. The extra spacing issue is a bug we thought we’d squished, but apparently it’s back - thanks for reporting it! Also a good suggestion on the textbox - hopefully something small we can add in :)


Hi @daniel.boon I am starting to test using Events only in our Private Groups.  We have a lot of users in Asia and Australia, but I don’t see those regions as options for the timezone picker.  How do we add those regions?


Hi @JKelley thanks for your question - we’ll take a look to see whether we can add some timezones for the Asia/Australia locations, so you can create events for users in those locations.


Hey @daniel.boon , good conversation here. Something that’s vital for us too is being able to sign people up on the spot (meaning, on the InSided events page). It’s indeed confusing to send folks to a page where the sign up process isn’t clear/complete - also we need to make sure people accept T&Cs and other marketing stuff and we can’t do all that on this page. 

I can see Miro has decided to build their own Events Page and use that as the shop window for their online events. I believe the Zapier team has done the same thing. We may need to use a similar approach unless this InSided events functionality can cover the entire journey - which is a shame because in all honesty I don’t want to be sending my customers to another page, I rather have them in my community. 

We are currently using third party tools to sign people up and run our events, but that’s only because we cannot do this via our own community. The reason why this is a bit of a waste is because we are sending tens of thousands of folks to a third party site as opposed to our community. Hope that gives a good overview of the gap/need. 


Thanks for sharing this feedback @Gabolino !

Totally understand your concerns around end users finding the sign up flow for externally hosted webinars confusing, and agree that it’s always better to keep customers in the community for a less fragmented experience. Is an integration then critical for you, or would a solution as described in this idea to customize the event RSVP button also make you more likely to promote events on inSided?

Would you be able to share with me which tools are you currently using to sign people up/run events/host webinars?


Y’all should vote for my event improvement 


Most of our Community members are business folks and don’t use Google calendar -- they’re Outlook users. I’ve upvoted the idea submission asking for support for adding to Outlook calendar, but in the meantime I’d like to remove the link for adding to Google calendar because it’s likely to just result in me getting emails/feedback that the link should allow for adding to Outlook. I haven’t found a way to do that but feel like I must be missing something? It seems the ability to customize Events is very limited? 


Good point @Julia_M -- I had a few complaints about that at our recent event. Some folks grabbed the link thinking that was all they needed to be registered and others too using Outlook couldn’t use it though already had a calendar link that worked cross-platform from our Zoom webinars that they could use to add to their calendar.


Something that would be neat is to have the ability to auto-send a reminder when people register.


Something that would be neat is to have the ability to auto-send a reminder when people register.


@joe.huber we do that with our event platform rather than inSided. In our case those reminders come from a mix of Zoom and/or Marketo. Might be worth a look there to see how you can leverage them.


Is there a way to remove the the social icon sharing functionality of an event?


@ryanne.perry add this to your custom CSS:

/* hide social sharing */
div.social-sharing {
display:none;
}


Thanks @Scott Baldwin 😄 It worked!


Hi all,

I’m at a place where I either need to rebuild the events page from scratch or use a different solution for displaying events to my community. Our business has just merged with 2 others, so the range of events (and the categorisation of them) we’re hosting is going to completely break InSided’s single-stream view of events. 

Is there a way to use the event components within InSided (eg - the event details page and registration flows) whilst customising the way events are displayed on the /events page?

Specifically I would like to:

  • Categorise events by type
  • Show events a user has previously attended / registered for

Not that I’ve seen @Onomatopoeia - these are both critical capabilities we are looking for as well. My earlier ideas on this


Thanks @Scott Baldwin - voted and commented :)


I keep trying to create my event and it’s saying that the event description is too short! How many words does it need to be? Ours is currently about 2 paragraphs long. 


Reply